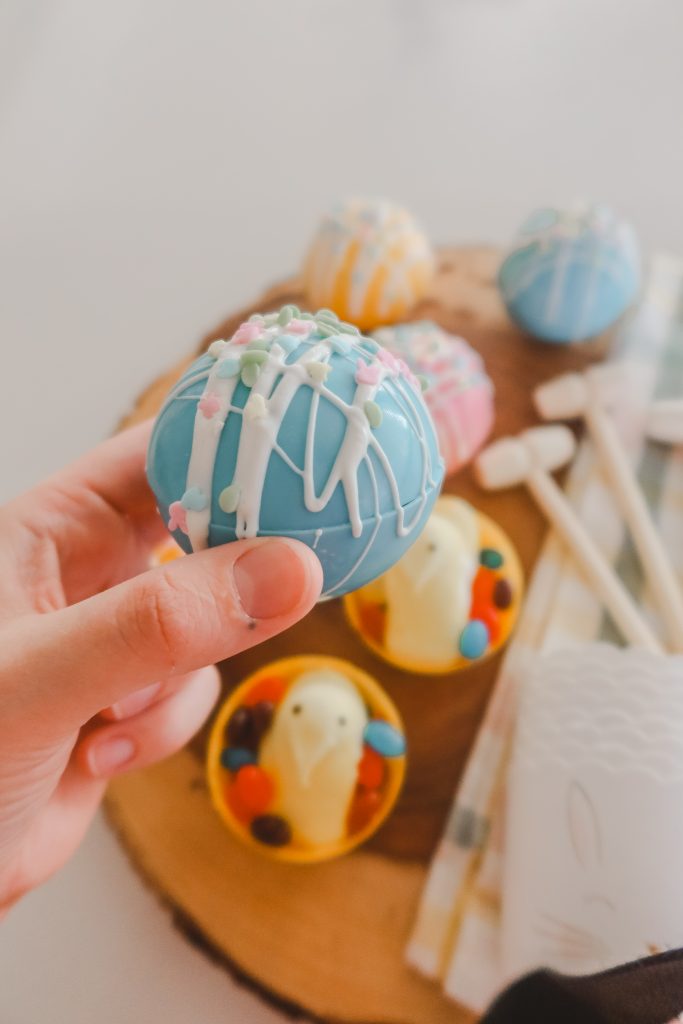
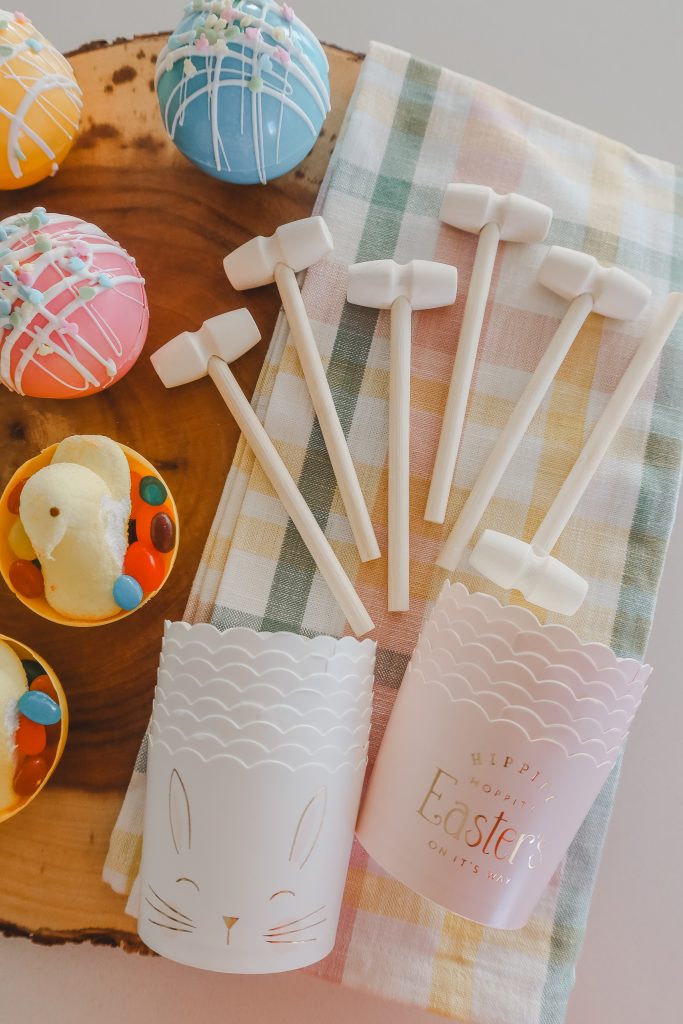
Have you seen these fun candy bombs all over social media?!?! Well they are a lot easier to make than you think! Today sharing how to make these fun candy bombs, plus all my tips and tricks for success!
How To Make Candy Bombs
Looking for something fun to do this weekend for Easter?!?! Try making Candy Bombs! These are super fun to make and are a hit with the kiddos and adults as well!
[spacer]
Ingredients/Supplies
Wilton Candy Melts 2 Bags Any Colors (Found at Walmart, Joanns, Micheals, Hobby Lobby, Amazon, party stores, etc.)
2 Tablespoons Crisco All-Vegetable Shortening
3 Bags Small Candies (Jellybeans, M&M’s, Reeses Pieces, Skittles, Gummy Bears, etc.)
16 Larger Candies (Roll up sour gummy, Reeses Cup, Peep, Snickers Mini, etc.)
Spatula/Basting Brush/Paint Brush
Wooden Hammers* Optional
Wilton Candy Melter* Optional


Tips & Tricks
For in depth pictures on how to make these chocolate spheres, check out here.
When working with melted chocolate, use plastic or wooden utensils. Mixing chocolate with metal and ruin the consistency of the chocolate.
Don’t skip putting the choclate sphere molds in the fridge! These babies need a good 10 minutes to cool in the fridge to help them firm up and be durable!
These don’t need to be perfect! Just remember if a piece of the chocolate sphere breaks off, you can still keep going. These are going to be smashed anyways, so just have fun!
Another fun option is just doing 1/2 spheres, fill them up with candy and then sealing them to a plate to smash.
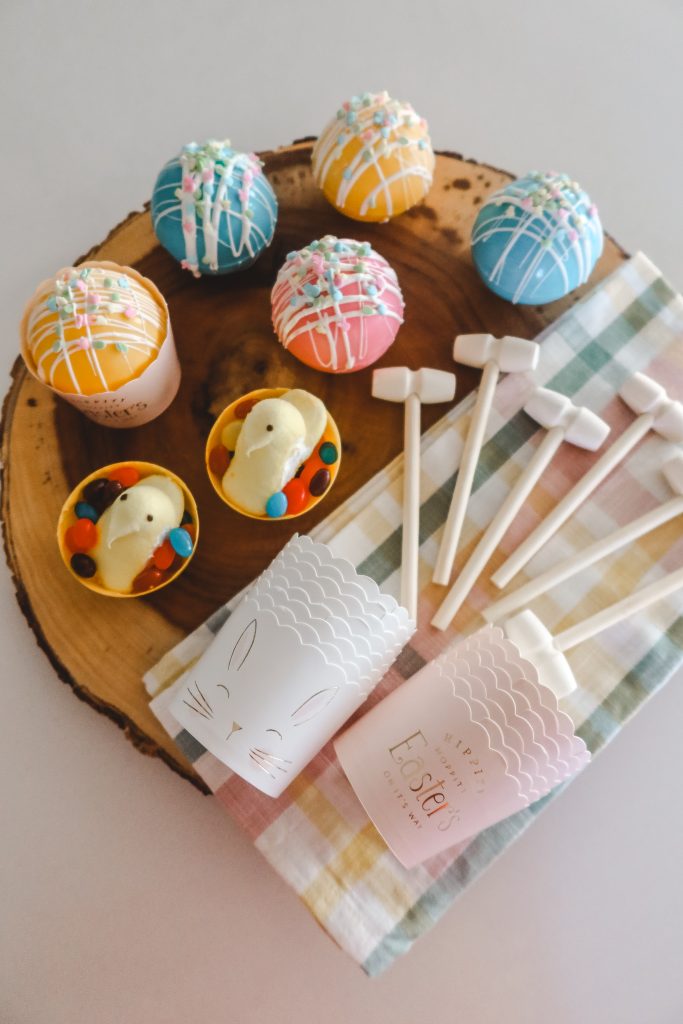
These make great gifts! Put the candy bomb in a cupcake liner, or small disposable cup to package up. Attach a wooden hammer with a ribbon and give to a friend!
[spacer]
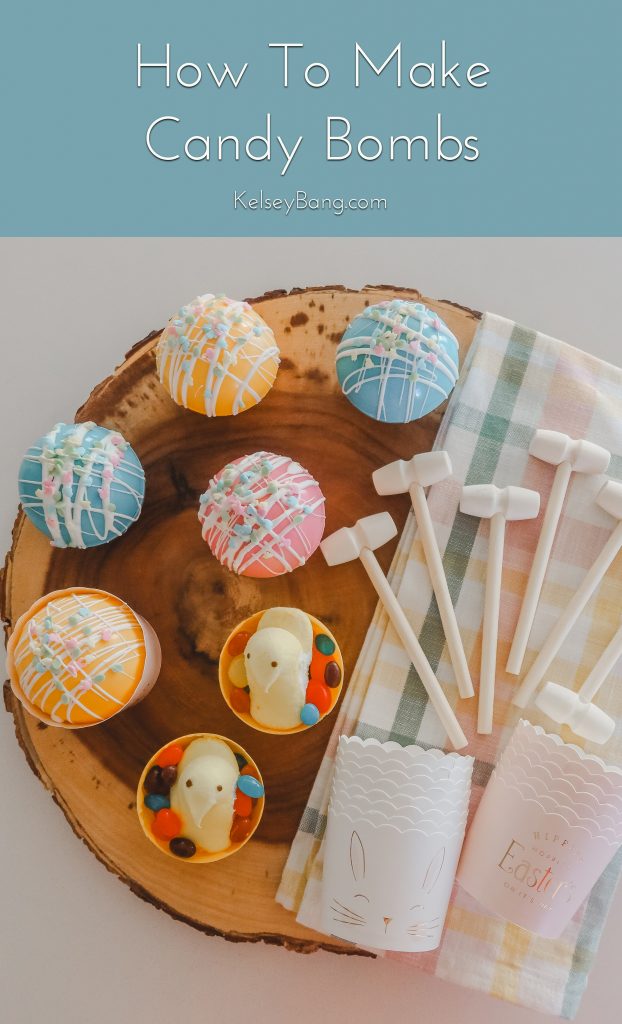

Thanks so much for stopping by to make these fun candy bombs with me! If you get a chance to make these I would love to hear how it goes and what you fill your candy bombs with! Hope you have a wonderful day!
[spacer]
[spacer]
[spacer]
[spacer]
If You Liked This Post, You Might Like These Posts:
Easter Basket Ideas For Toddlers
Fun & Inexpensive Ideas To Make Easter Special For Your Little Ones
Quick And Easy Bunny Sugar Cookies

Candy Bombs
Equipment
- Silicone Sphere Mold
- Spatula/Basting Brush/Paint Brush
- Wooden Hammers* Optional
- Wilton Candy Melter* Optional
Ingredients
- 2 Bags Wilton Candy Melts (Found at Walmart, Joanns, Micheals, Hobby Lobby, Amazon, party stores, etc.)
- 2 TBSP Crisco All-Vegetable Shortening 1 TBSP for each bag of Wilton Candy Melts
- 3 Bags Small Candies (Jellybeans, M&M’s, Reeses Pieces, Skittles, Gummy Bears, etc.)
- 16 Large Candies (Roll up sour gummy, Reeses Cup, Peep, Snickers Mini, etc)
- Sprinkles
Instructions
Chocolate Shell Time!
- Start by melting the Wilton chocolate melting chips. Follow the directions on the packaging to melt. I melt the entire bag at one time, and add 1 tbsp of Crisco. This really helps to thin out the chocolate and make a smooth constancy. I start with one bag of melting chips, make all the candy bombs, then melt my next bag and make another set of different colored candy bombs.One bag of melting chips makes about 7-9 candy bombs. Save a small amount of the melted chocolate of each color in a microwavable bowl. This will be used later to drizzle on top of the coordinating colored chocolate.
- Grab silicone chocolate molds. Use spatula/brush to scoop in about a tablespoon of chocolate into each sphere. Start to pull the chocolate up on the sides, covering the entire sphere. If you need to add more chocolate, add a little to your brush and add more. Make sure to move your mold around to see if all areas of the sphere are covered.Once the sphere molds are covered in chocolate, time for the fridge. Put the mold in the fridge for 5-10 minutes, or until chocolate is hard. When using white chocolate add a few extra minutes for cooling off in the fridge.
When Chocolate Spheres Are Cooled Off
- Once chocolate has been hardened, take the molds out of the fridge. Time to pop the chocolate out of the mold. From the under side, slowly push, pulling the edges away from the chocolate till the chocolate sphere shell comes out. Once popped out, place that sphere cup side up on a baking sheet or counter.When you are popping the chocolate out of the molds if the chocolate is too thin, put the chocolate back in the mold and add a second layer of chocolate.For these next steps try to touch the spheres as little as possible. These spheres can be delicate and melt. Touching them a little bit will be just fine, but just be aware they can melt when being held for a chunk of time.
- For this next step you can either microwave a glass plate till it’s warm, or use a pan on the stove top. I prefer the stove top. The goal here is to create a flat edge on the chocolate sphere. Turn the stove on low. Take one chocolate sphere and put it edge down on the pan for about 1-2 seconds twisting it. Once the edges are melted flat, put it cup side up on a plate. Repeat and do this for half of the chocolate spheres.If you have 6 chocolate spheres, only warm the edges of 3 of them. If you have 18 spheres, do this for 9.When you are done melting edges, turn off the stove. Any remaining chocolate on the pan can burn and it smells really gross. By turning off the stove helps to prevent this as well as needing to clean the pan an extra time.
Candy Time!
- Time to fill up 1/2 of those chocolate spheres with goodies! You will want to fill up the chocolate spheres that you flattened the edges.For each chocolate sphere that needs to get filled add a couple of each treat you picked out. I usually fit about 10-15 Jellybeans, 3 Cadbury eggs and 1 Peep.
Sealing The Spheres Together
- This next step is for the remaining chocolate spheres that are not melted on the edges. These are going to be the tops of the candy bombs. Just liked you did before, take your empty chocolate sphere edge down on a warm pan. Twisting the chocolate sphere so the edges flatten and melt just a little bit.
- Quickly place the sphere that was just melted on top of a sphere that is filled with candy goodies. Gently set it on top and press the spheres together. Then set the chocolate ball on a plate/table to dry.
Chocolate Drizzle and 2nd Batch
- Now time to melt your second bag of melting chips.Once it is melted drizzle chocolate over candy bombs. I just used my spatula and waved it over the hot chocolate bombs in a zig zag motion to create the chocolate drizzle design. Then while the chocolate is still warm, added sprinkles on top.*Tip – Test the temperature of the melted chocolate before drizzling. If it is too hot it will melt through the hot chocolate bomb. If the melted chocolate is hot to the touch, but wont burn your fingers off… its good to drizzle.
- With the remaining melted chocolate, repeat the steps above and create more chocolate spheres until the 2nd bag of melted chips is gone.
- For the drizzle for the 2nd batch of candy bombs, use the left over chocolate from the first batch that was put in a microwave bowl. If you need to melt, the chocolate for a few seconds in the microwave to drizzle. Top with sprinkles and done!
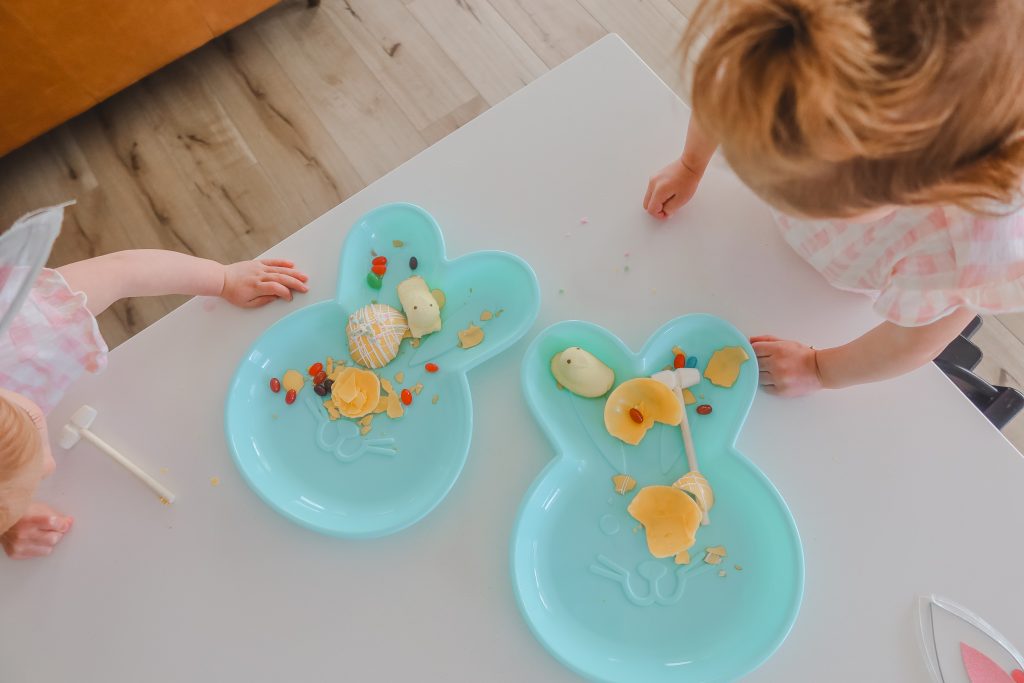
- Once done with your creations, smash open for a fun surprise or wrap them up and save for later!










Sabrina Dias
May 6, 2021Suas postagens são ótimas, estou seguindo seu blog e curtindo bastante!! Parabéns!