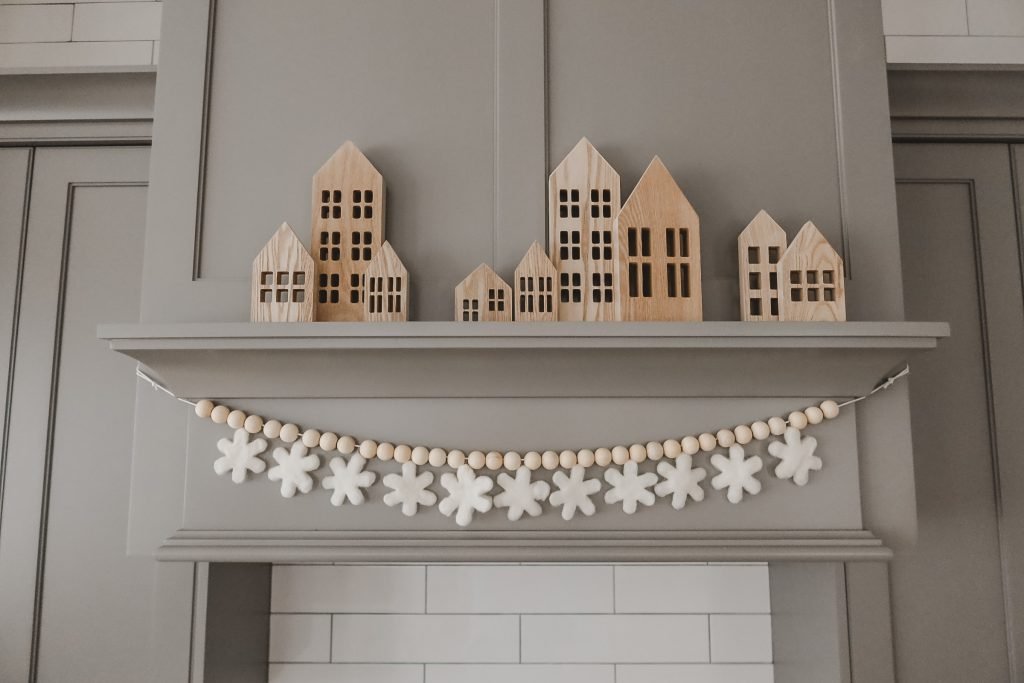
Looking for a fun project out of roving wool!?!? Try making these fun shapes that are perfect for garlands, ornaments and even present embellishments. This is a simple and fun DIY you will be wanting to do over and over!
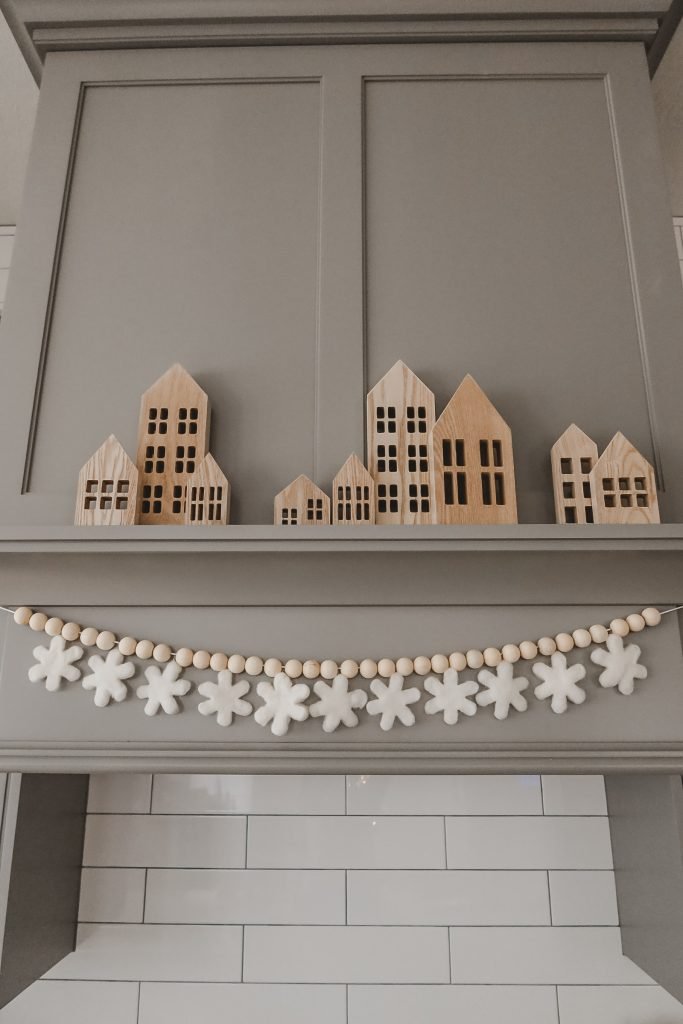
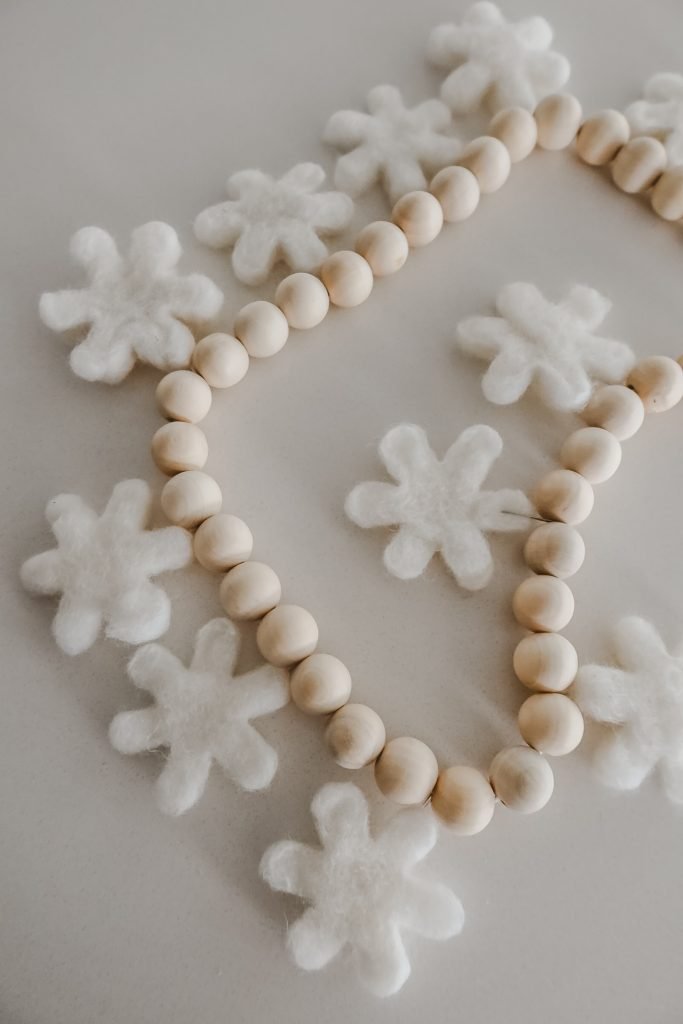
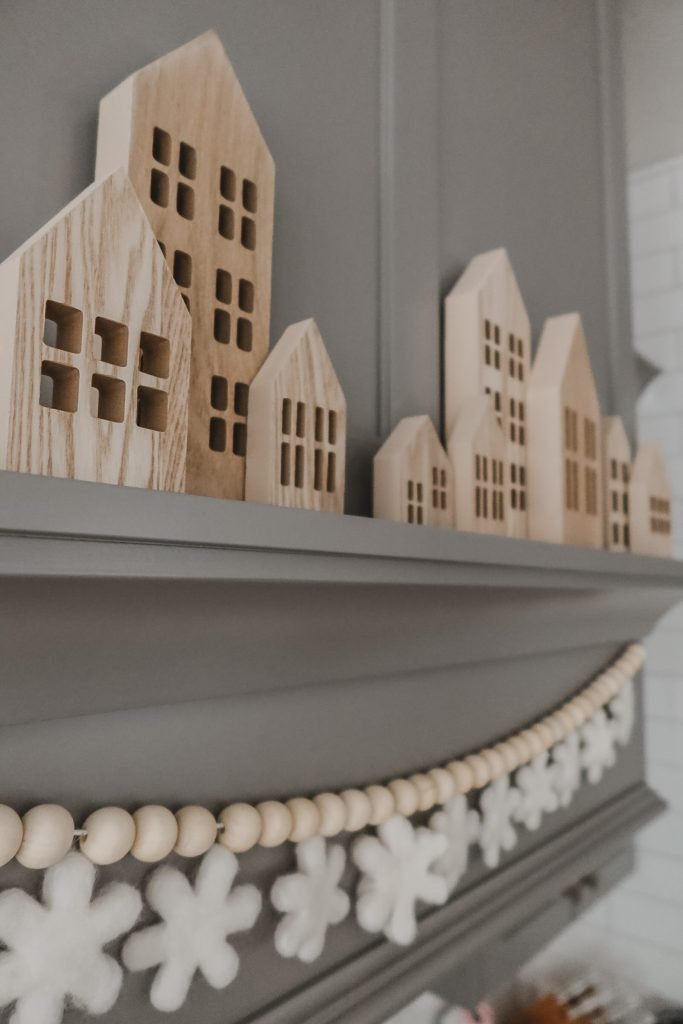
Have you ever worked with wool before!?!!? It can be super fun! Jake and I were wanting to make a few more Christmas garlands for the house, so we decided to use roving wool! We put together these fun wool shapes for date night and then added them to a garland! These shapes are such a great time to make and they would be so perfect to add as embellishments on gifts, make ornaments, or like we did..garlands!
[spacer]
Supplies
Roving Wool
Online and Hobby Lobby are great places to find Roving Wool. It comes in lots of colors as well. The roving wool I got from Hobby Lobby came in little individual packaging. I was able to make 6 small shapes from it.
Cookie Cutter Shapes
Any cookie cutters will do, but I found the cookie cutters that are just metal work best. I also found smaller cookie cutters are easier than the bigger ones.
Soap
Any kind of soap will do. I used Mrs. Meyes dish soap.
Cookie Sheet
A cookie sheet or something flat with edges on it will work great so water doesn’t get everywhere.
Dish Towel
Use something you don’t mind getting wet or smelling like a sheep 🙂
Hot Water
For this project you will need warm/hot water. I used my kettle to warm up some water. If your faucet gets pretty hot, use that. Just make sure your water is not to hot because you will be touching it and don’t want to burn those fingers!
Step One
Gather all the supplies. Take roving wool out of the packaging and start to pull it apart. Roving wool tears super well. Pull the wool into strips. I like to tear the strip length similar size to the cookie cutter I am using.
Step Two
Grab your cookie cutter and lay it down inside your cookie sheet. Start to add your strips of wool till it covers the shapes area.
Step Three
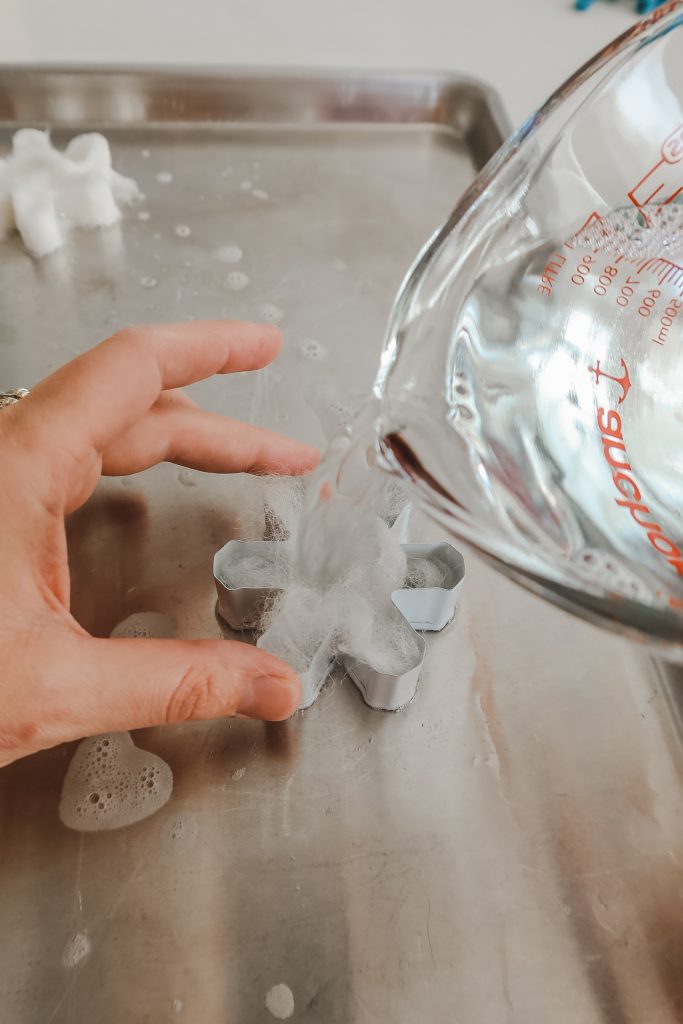
In a large liquid measuring cup combine 3 cups hot water and 1 teaspoon soap. (This does not need to be exact, you just need soapy water!) Next, pour water mixture over the wool. The wool will start to go more flat.
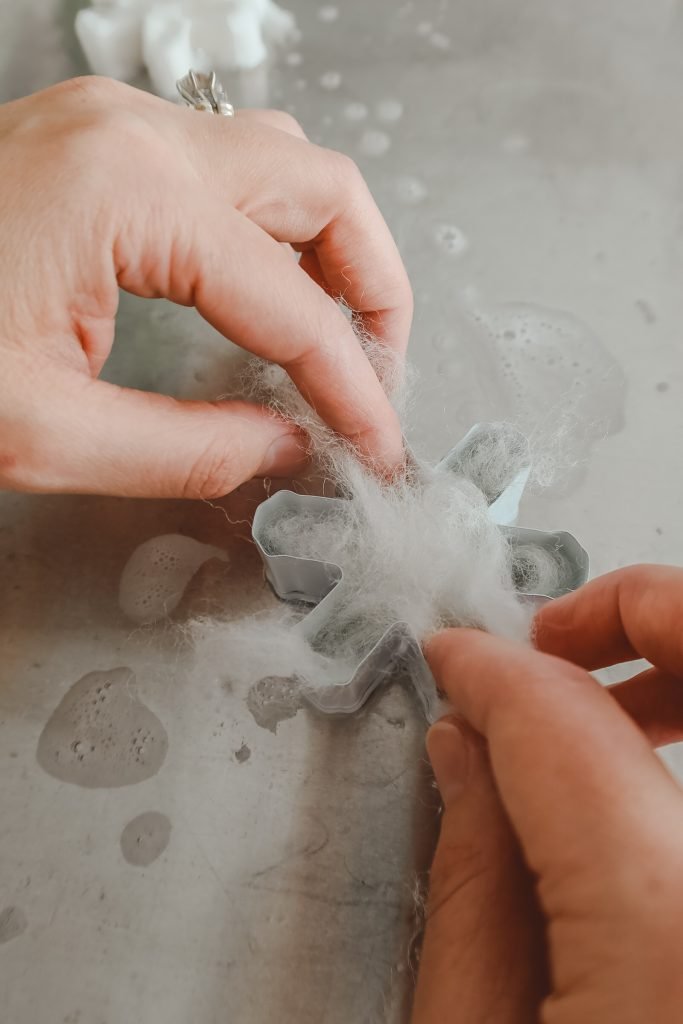
Start pushing down the wool in the cookie cutter till the wool is all wet. If an area feels thinner than another spot, add more wool to it. For thickness, I like my wool shapes to be about a 1/4 inch thick. If you want them thicker, add more wool.
Step Four
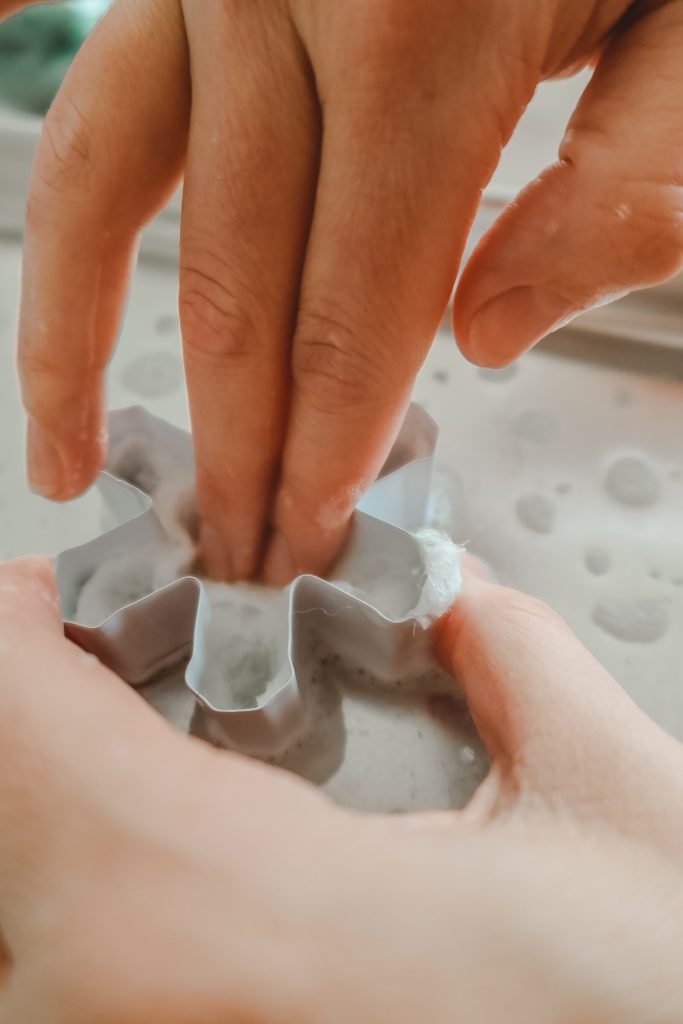
With your fingers push down on the wool in the shape of the cookie cutter for 6-10 minutes. If you are using a smaller shape, push the wool for 6 minutes. For larger shapes push the wool for 8-10 minutes. I like to set a timer and push one side for half the time, and then flip the shape over and push the wool on the other side for the remaining time.
Step Five
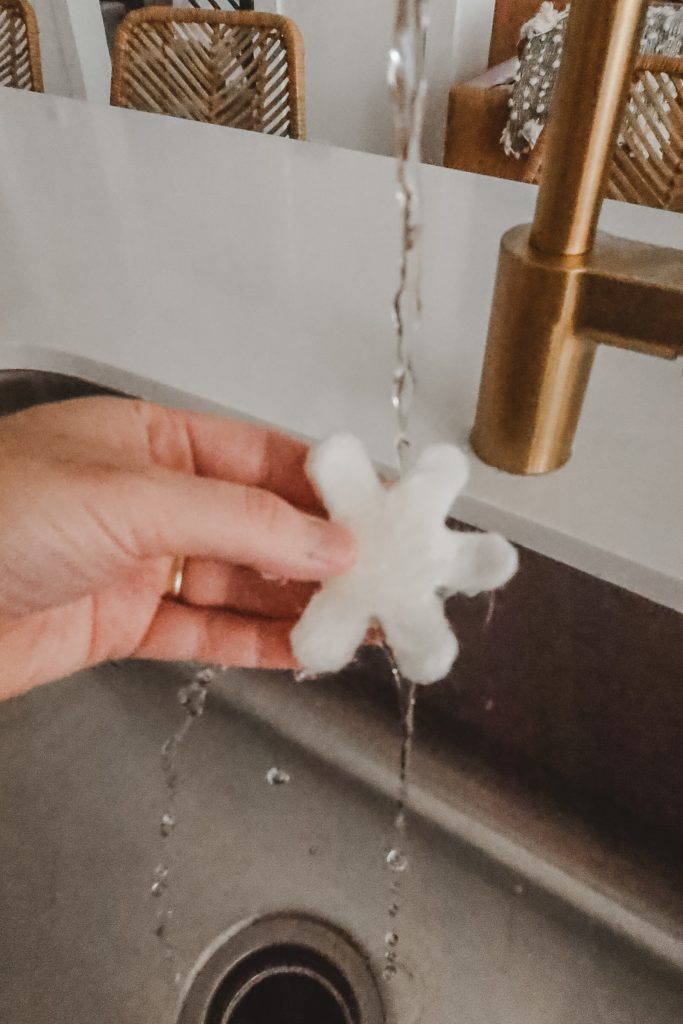
Once the shape starts to feel more firm and not flimsy, take the wool shape out of the cookie cutter. You want the shape to be matted and flat on both sides. Put the wool shape in palm on your hand and gently rinse the soap out.
Step Six
After the soap is rinsed out, I like to gently squeeze each area on shape to get excess water out. This is a great time to reshape little areas if needed by using finger tips to shape.
Step Seven
Lay the wool shape on a towel to dry. The shapes usually take a few hours too dry.
Step Eight
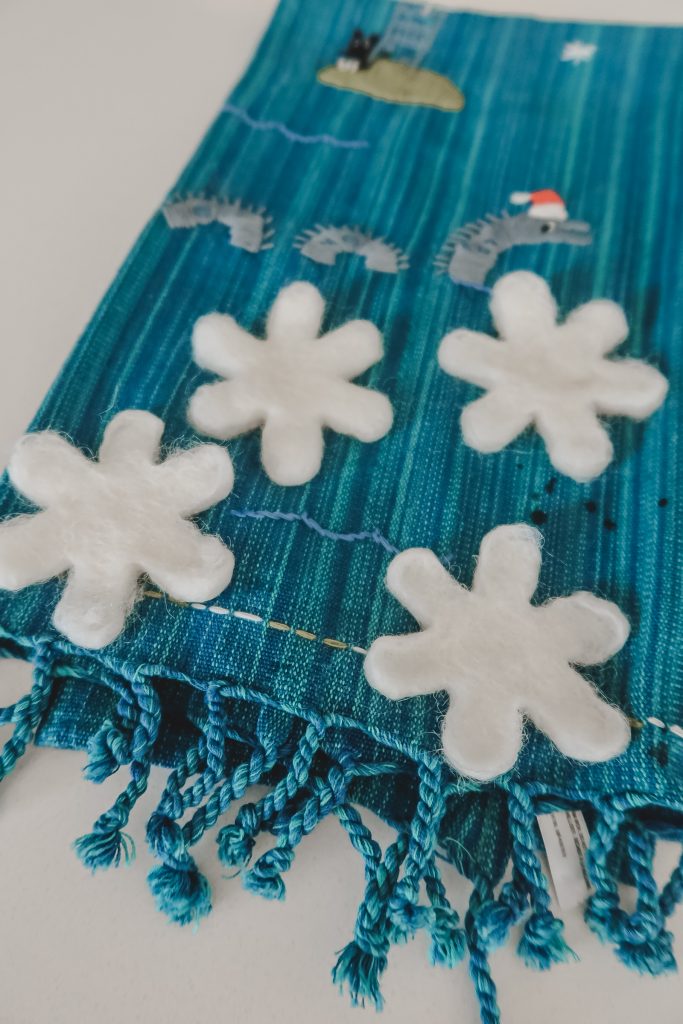
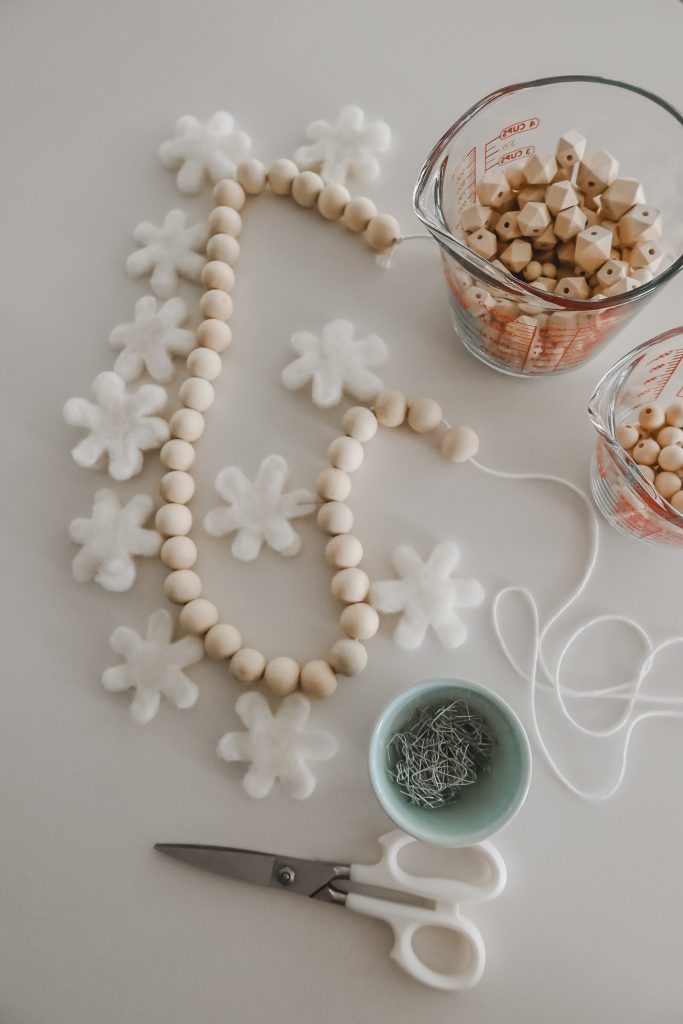
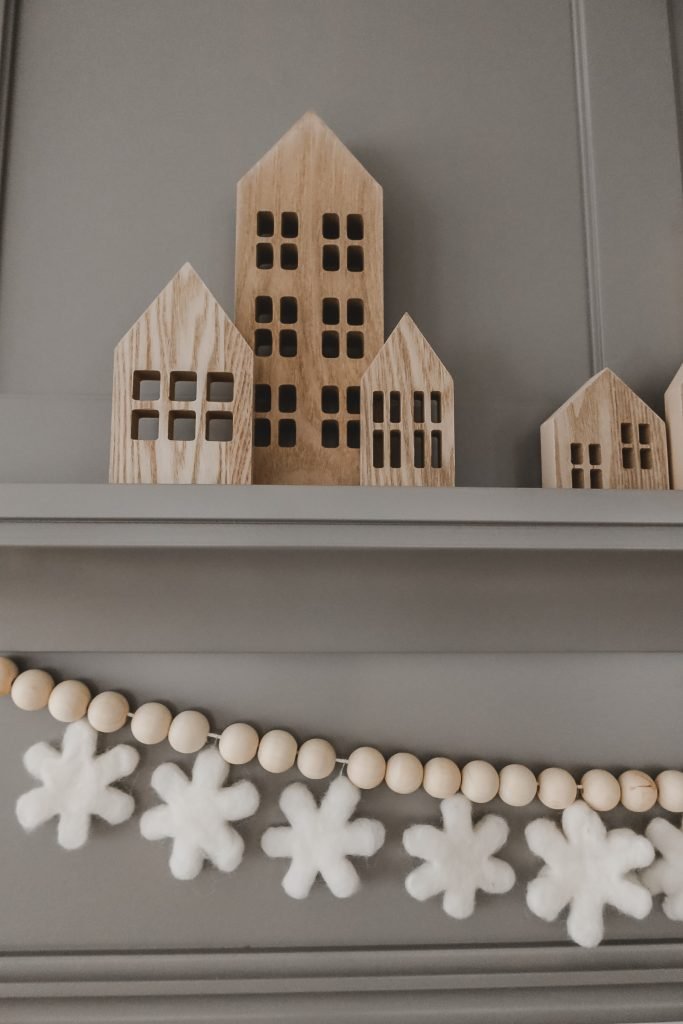
Once the shapes are dry, time to have some fun with them! Turn wool shapes into ornaments, use as an embellishment on a present, or make a garland! The possibilities are endless!
Done!
Enjoy your new wool projects and have fun making some more!
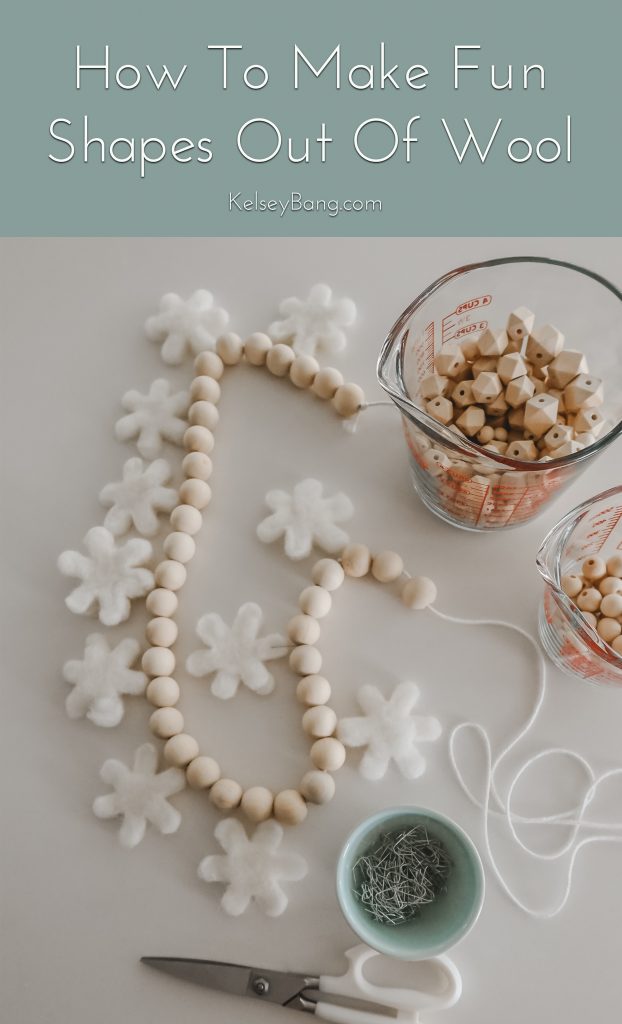
If you get a chance to make fun shapes out of roving wool, tag me, I would love to see what you create! Thanks so much for stopping by today, happy holidays!
[spacer]
If You Liked This Post, You Might Like These Posts
Cute & Simple Way To Wrap Presents- Pom Pom DIY
Easy Salt Dough Ornament Recipe- Perfect For Handprints
Creative Ways To Get Pictures With Santa For 2020
[spacer]
Shop The Post
Roving Wool | Metal Cookie Cutters | Soap | Cookie Sheet | Dish Towel | Wood Beads






Elizabeth Walker
December 16, 2020Adorable and fun <3 Thank you for sharing!
Review Belt For Man And Women
Erin
December 8, 2021How did you attach your felt shapes to the garland?