

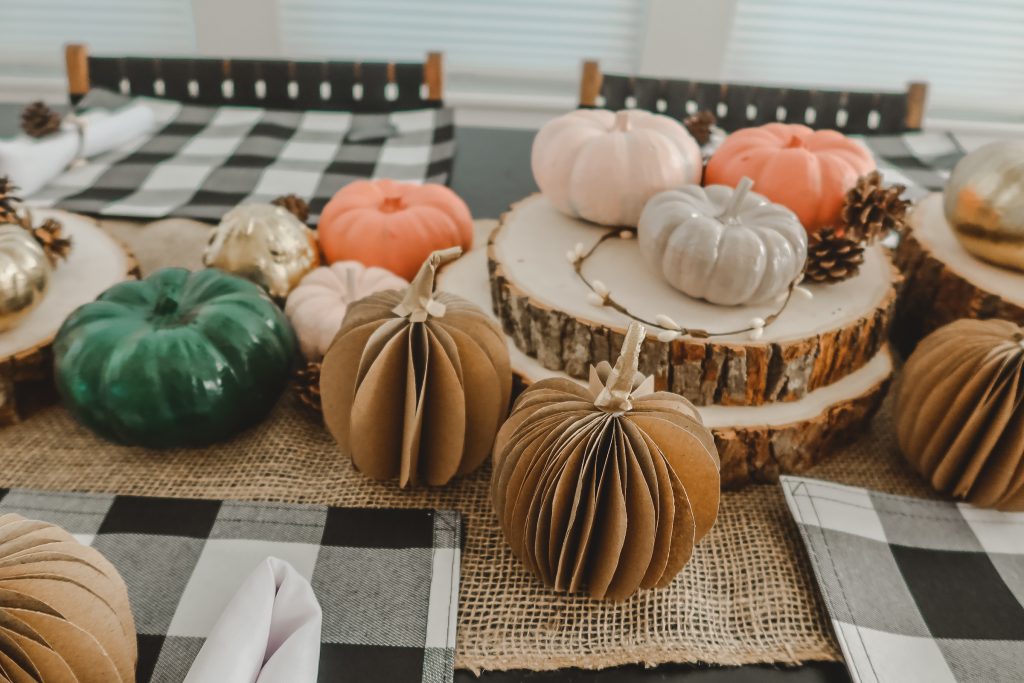
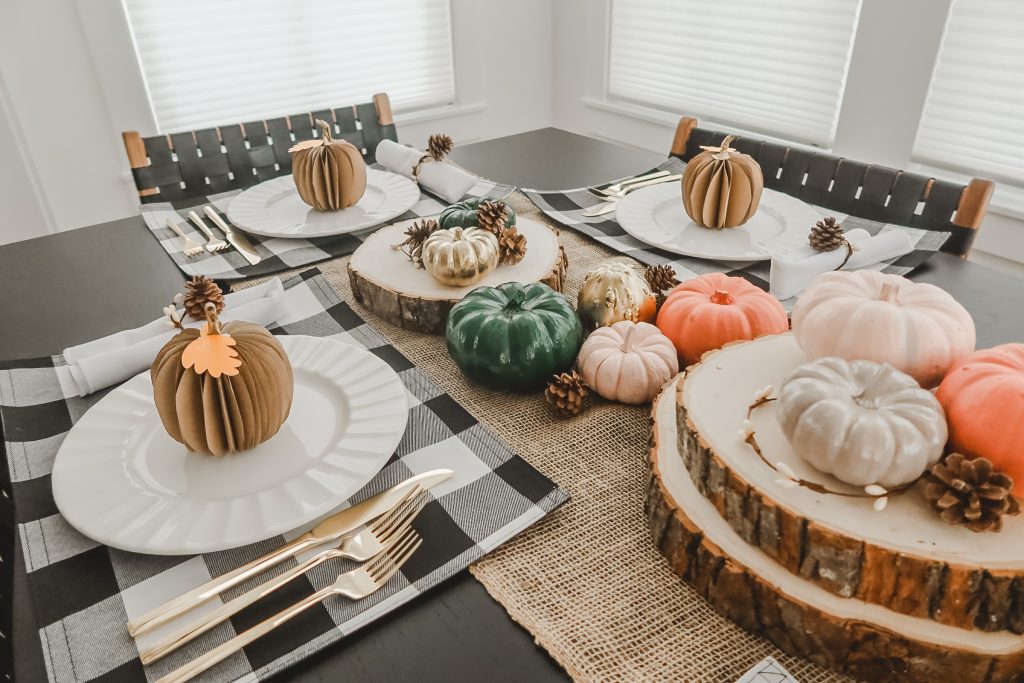
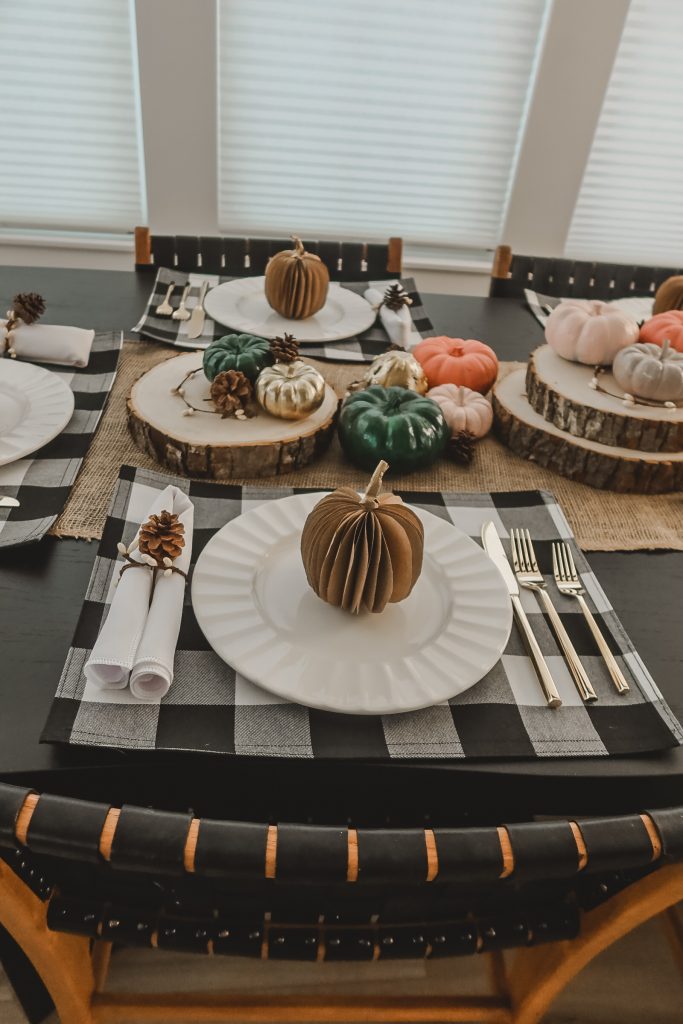
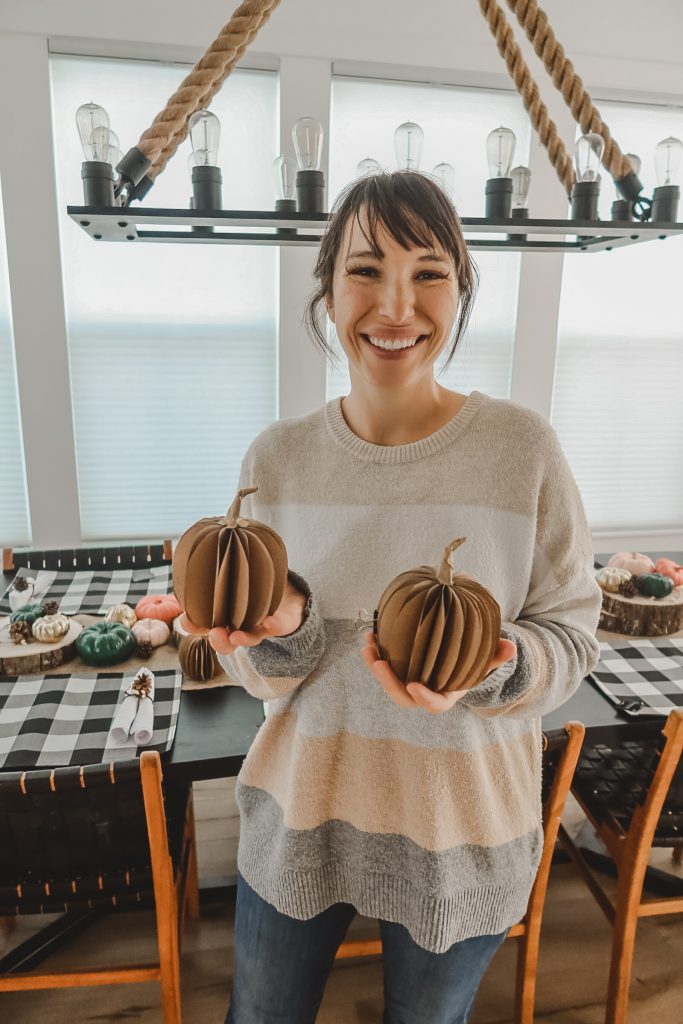
Looking for a fun way to spice up your Thanksgiving table?! Try making these fun paper pumpkin name cards.

Paper Pumpkin Place Card DIY
Even though the holidays may look a little different this year, doesn’t mean it still can’t be special. Today I am sharing a little DIY for making paper pumpkins. These paper pumpkins are super fun to make and can even be used as name card holders. Lots of fun options with these!
Below are all the details on how you can make your own paper pumpkins. (Here is also a step by step video as well.)
[spacer]
SUPPLIES
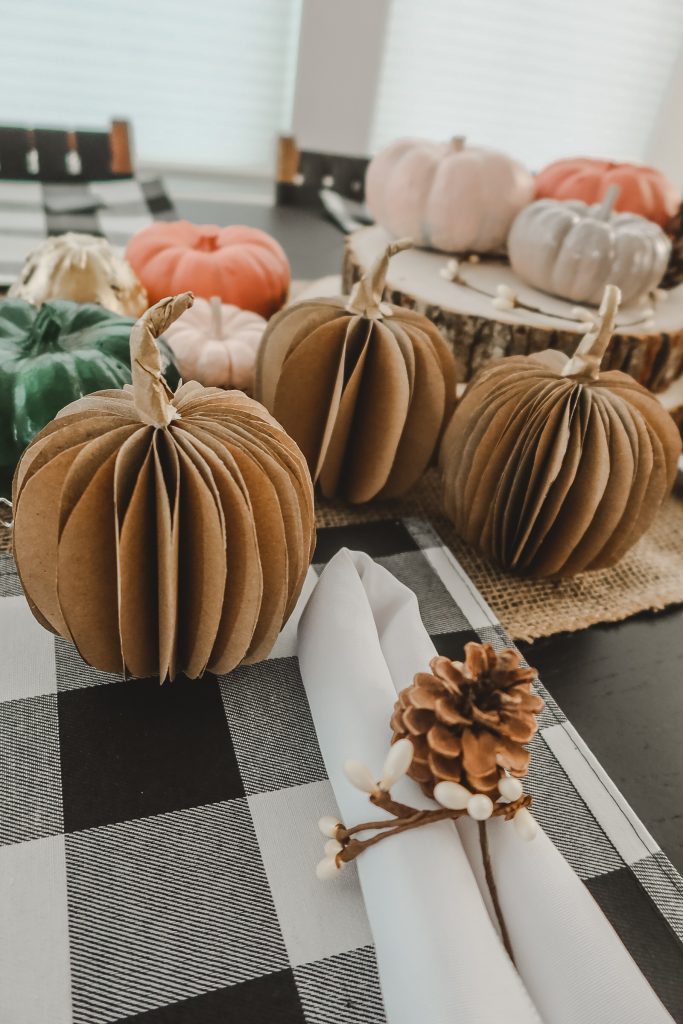
Kraft Paper
You can use any kind of light weight paper for this to match your table colors. I love the look of kraft paper, plus its so inexpensive too!
Quick Dry Glue
For this project you will want a quick dry glue so you don’t need to wait long in between steps. A glue gun is also a great option!
Small Binder Clips
Scissors
Gold Spray Paint
Any brand will do. This is to paint the stems with to add a little bit different color. You can use a different color than gold as well.
Pumpkin Pattern
Download Here
Leaf Pattern
If you are using these pumpkins to decorate, no need to print off a leaf pattern. But if you are using the pumpkins as name card holders, print of leaf pattern here.

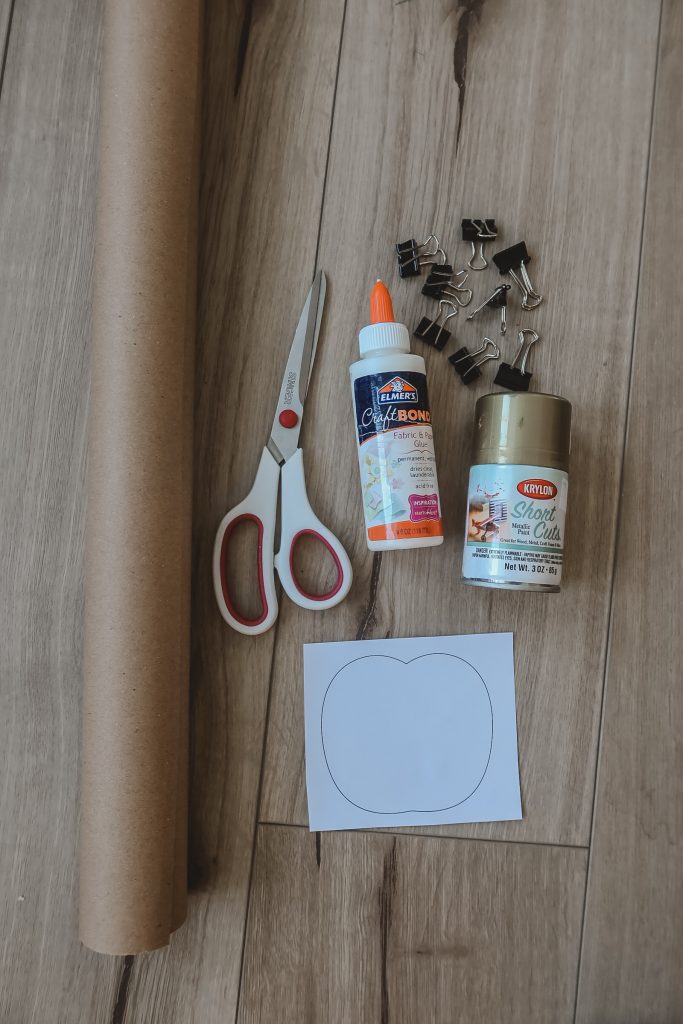
STEP ONE
Gather all your supplies.
Scissors, Quick Drying Glue , Small Binder Clips, Gold Spray Paint, Kraft Paper, Pumpkin and Leaf Pattern
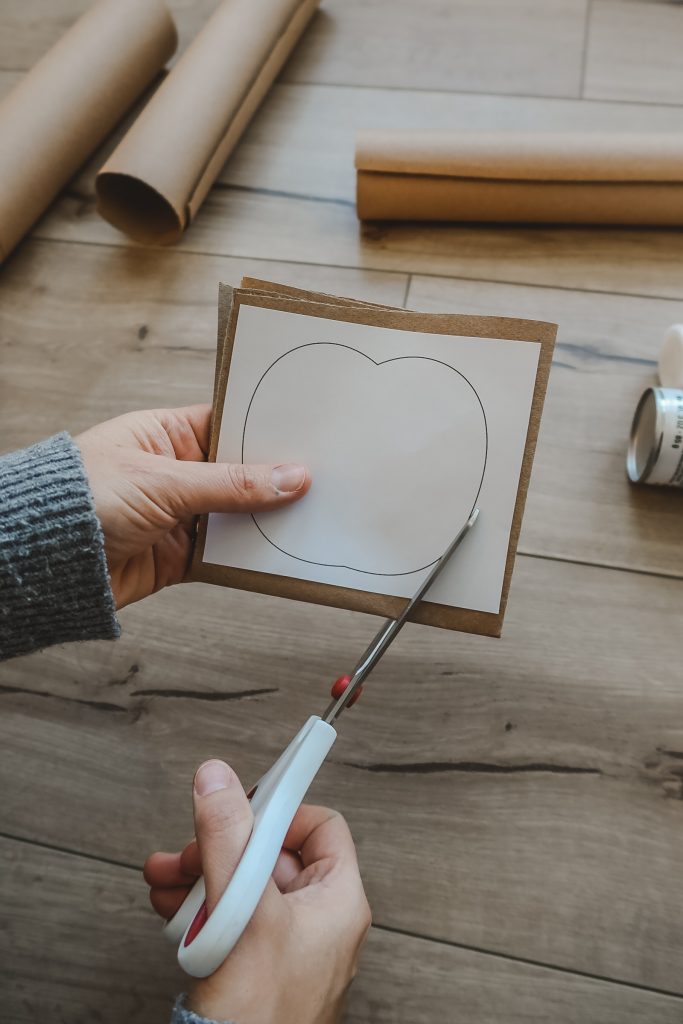
STEP TWO
Cut out 20 paper pumpkins.
You can cut out 4-6 at a time.
If you are making multiple pumpkins, you will need 20 cut out pumpkins for each.
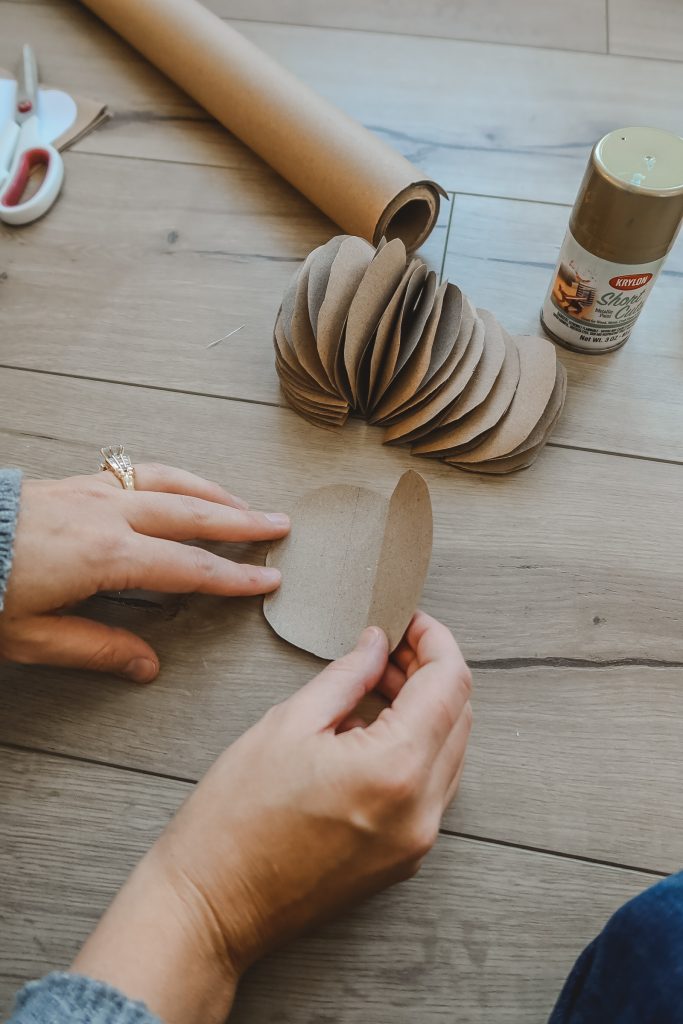
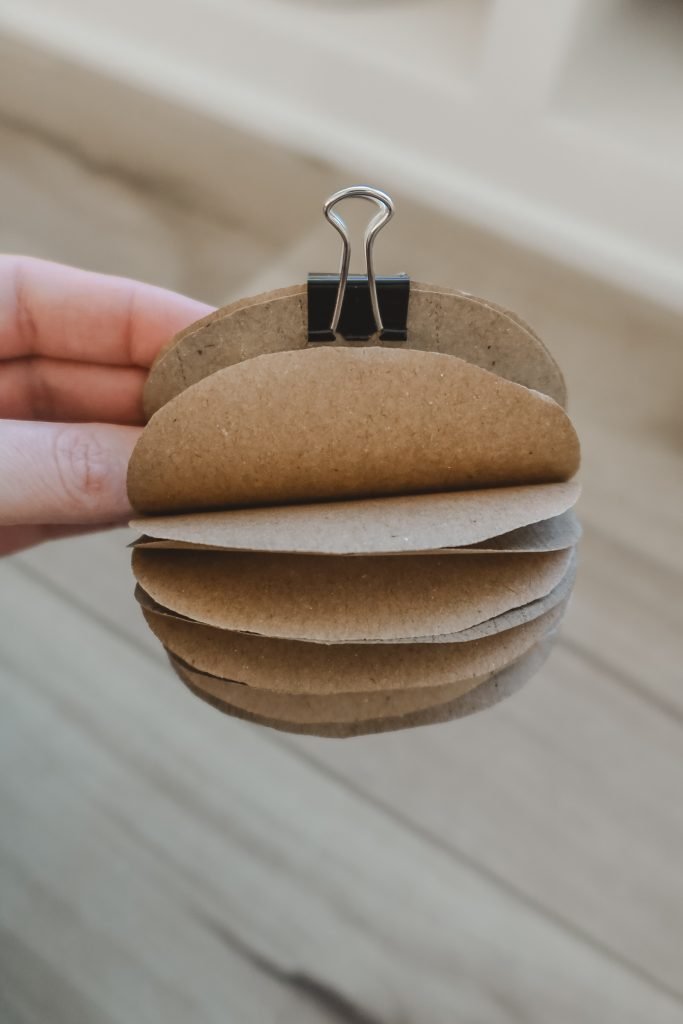
STEP THREE
Fold your pumpkin shapes in half. I like to fold one right on top of the last one I folded creating a stack.

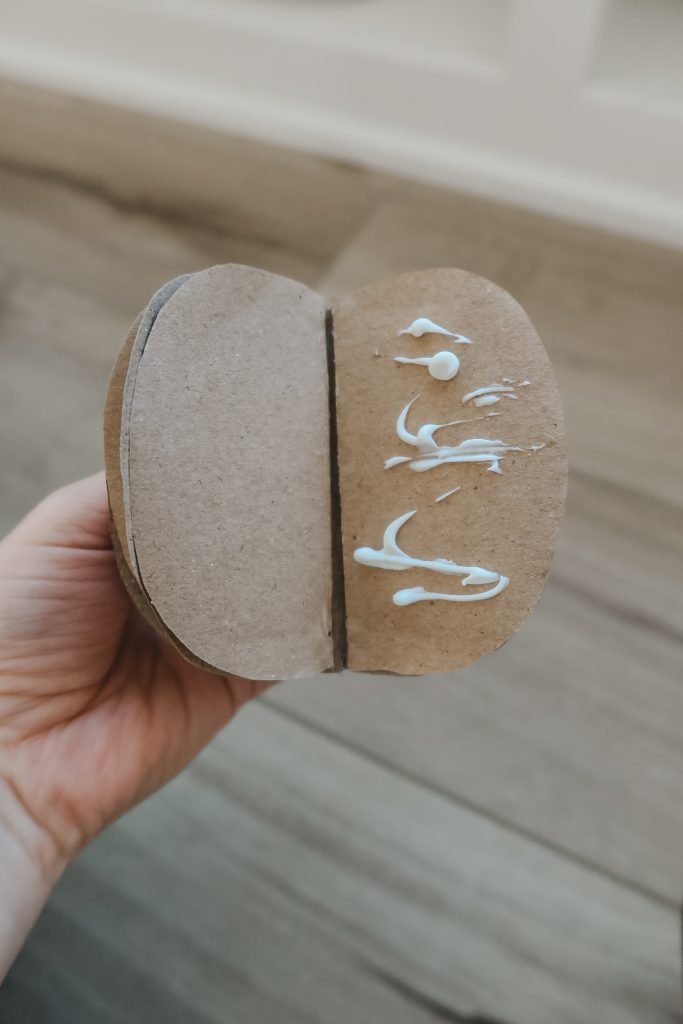
STEP FOUR
Clip your folded stack of 20 paper pumpkins on each side.
Add glue to the glue to the folded edges.
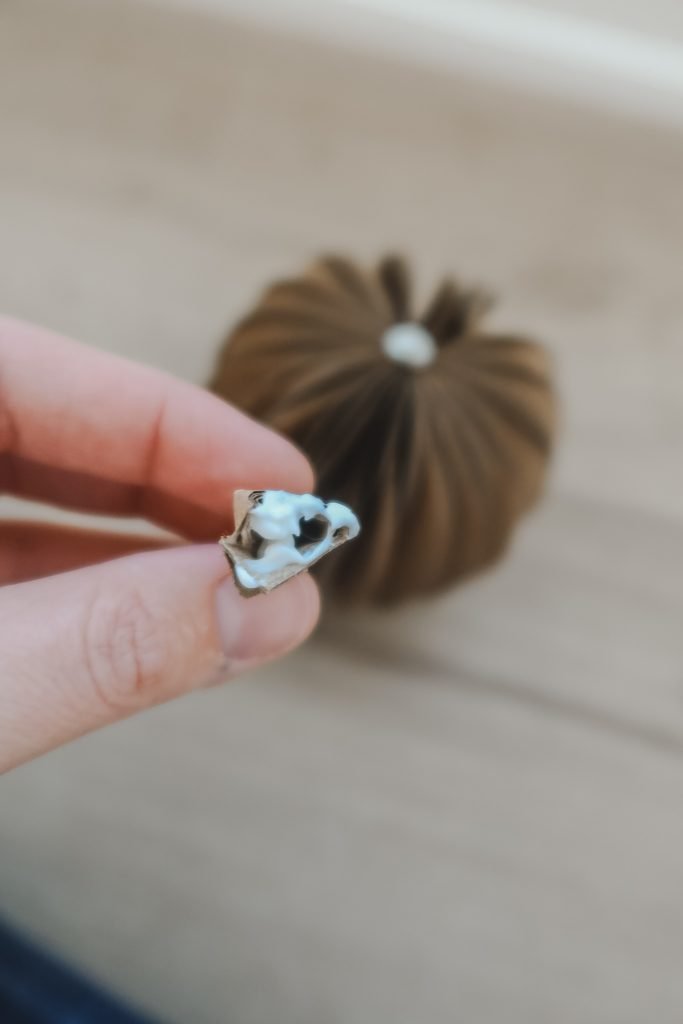
STEP FIVE
Use a paper scrap to help spread the glue until all the folds are covered.
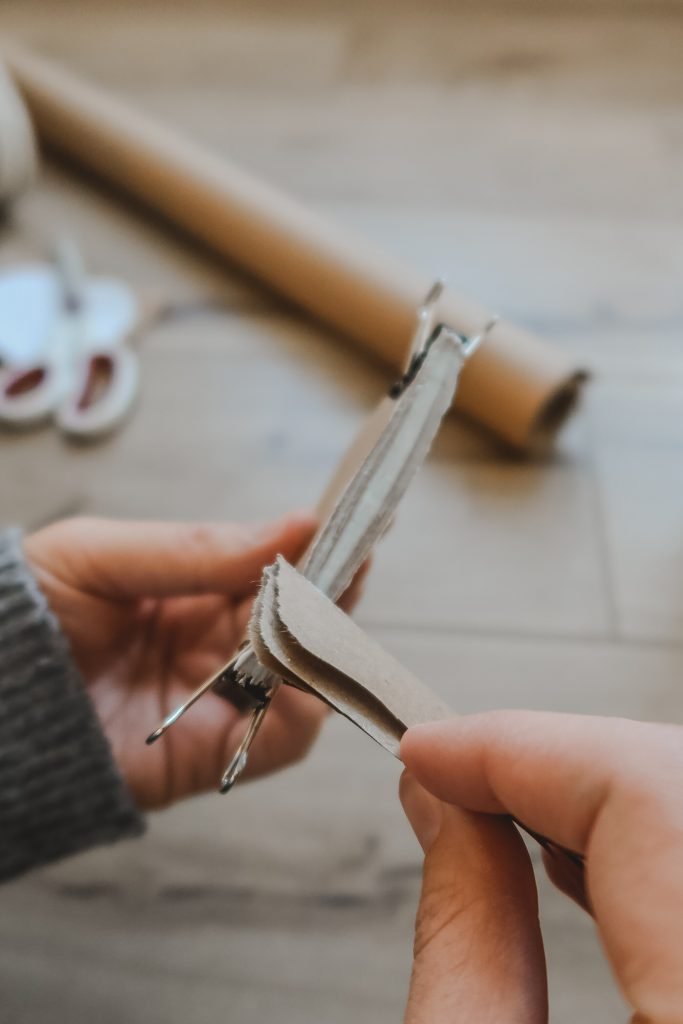
STEP SIX
Once glue dries, take off the binder clips. Fan out the pumpkin and glue the two loose sides.
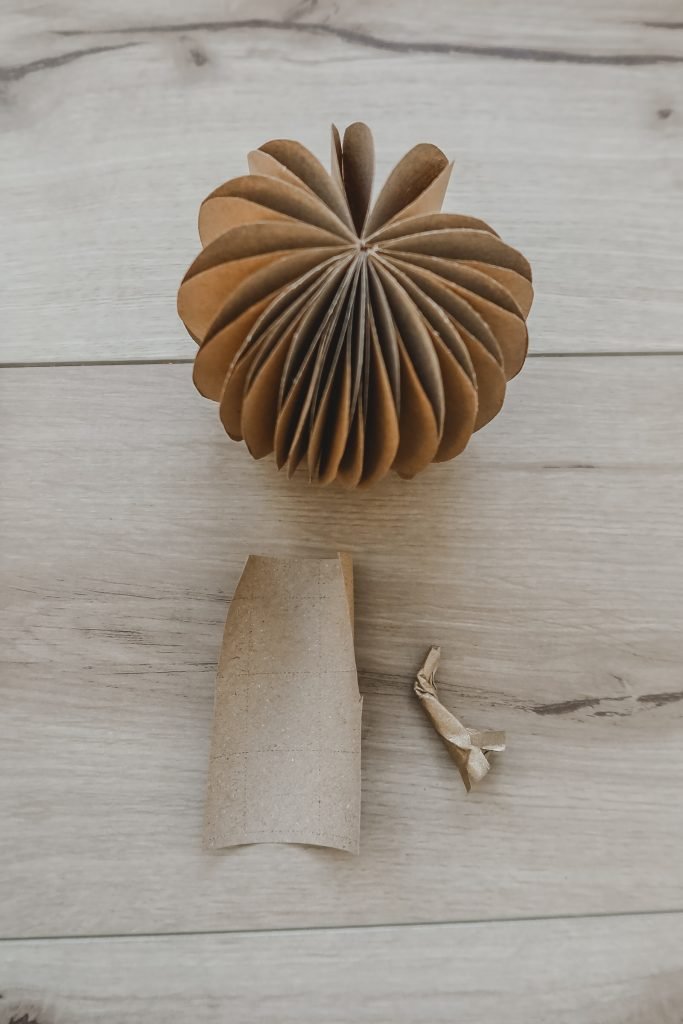
STEP EIGHT
Time to make a stem!
Cut a small rectangle of craft paper. About 2 inches by 4 inches.
Add a little glue at the long top and roll your paper.
Start twisting and scrunching the roll into a stem shape.
Cut four slits in the bottom of your stem so it can sit flat on the pumpkin.
Spray paint the stem gold.
STEP NINE
Glue the bottom of the stem to the top of the pumpkin. I like to add a little glue to the top of the pumpkin to to make it extra secure.
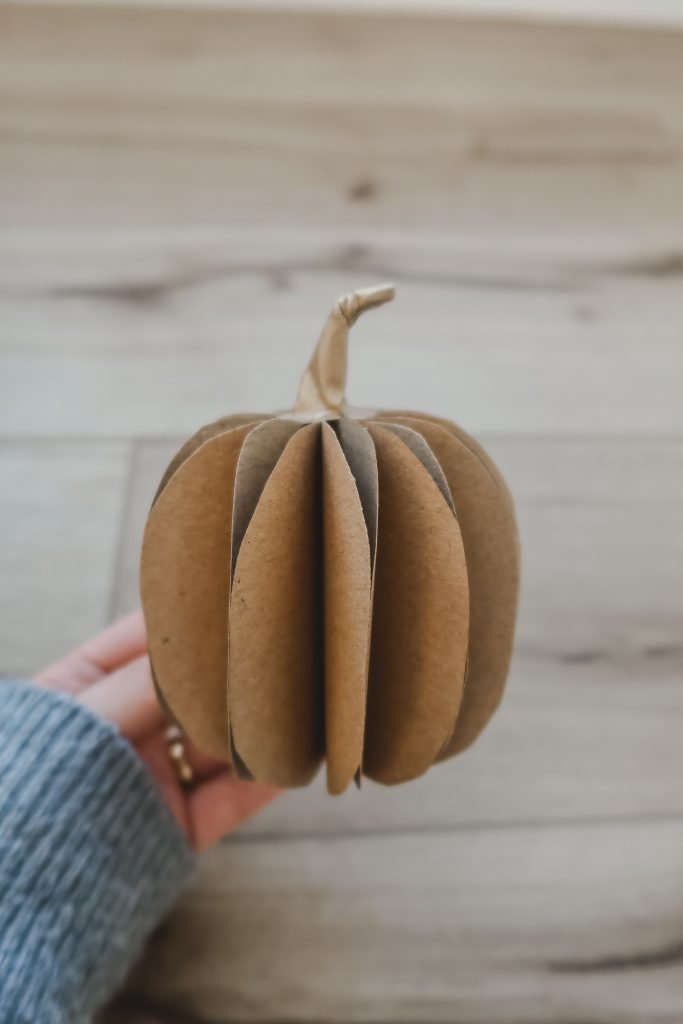
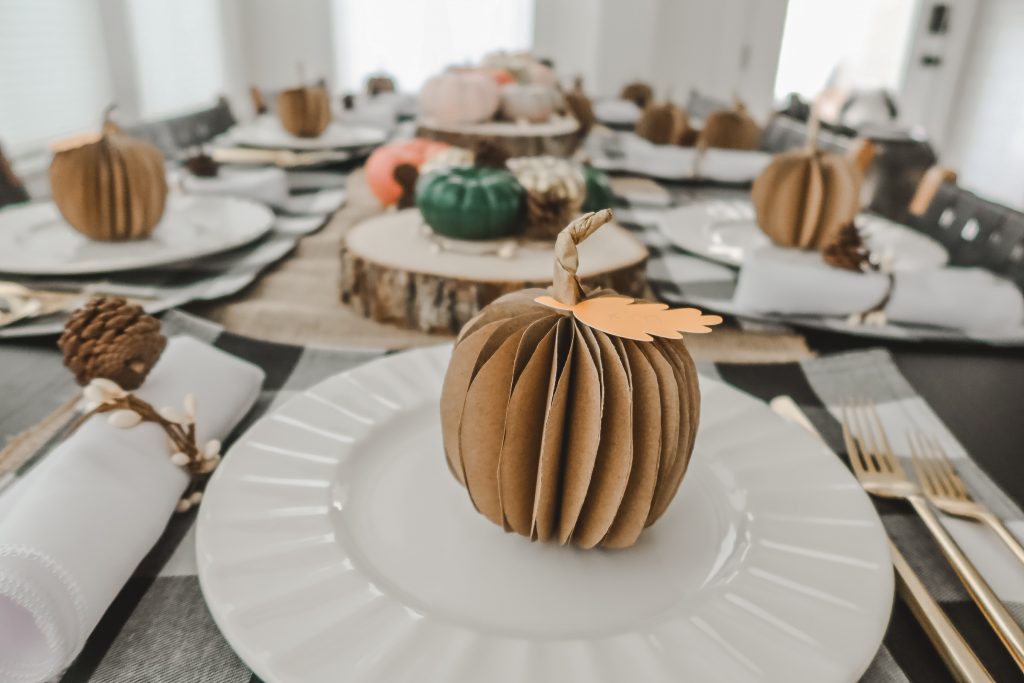
HEY PUMPKIN!
Oh hey there cute pumpkin! If you want you can stop here and use your cute pumpkins to decorate with. If you want to use these pumpkins as name card holders like I did, continue on.
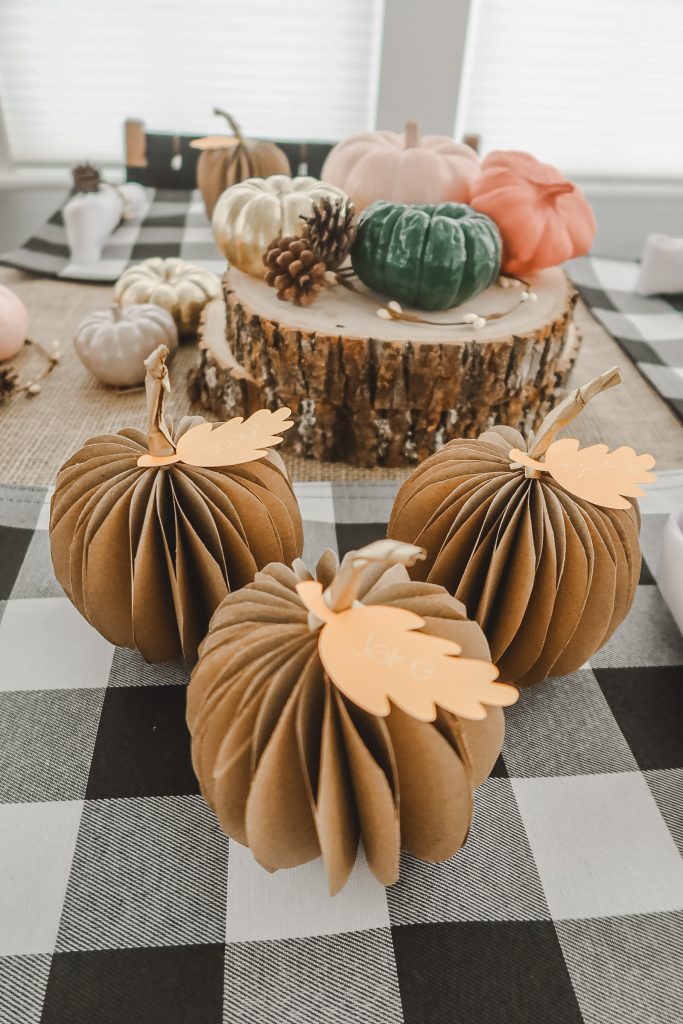
STEP TEN
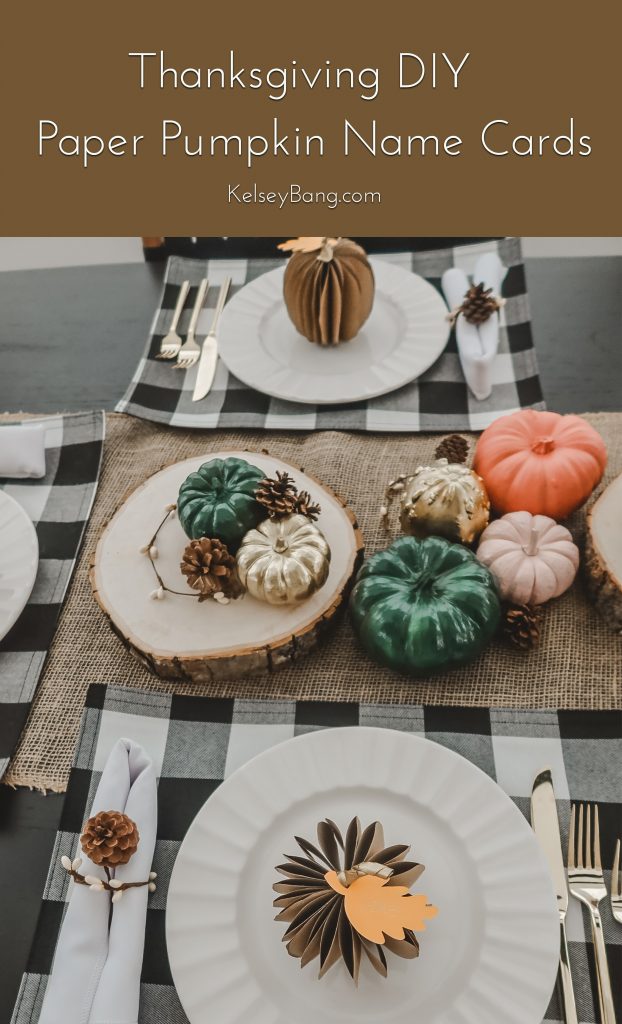
Cut out leaf shape pattern. Write a name on the leaf and glue leaf to the top of the pumpkin. If you want to get real fancy, you can use a Cricut machine to cut your leaves and gold foil the names.
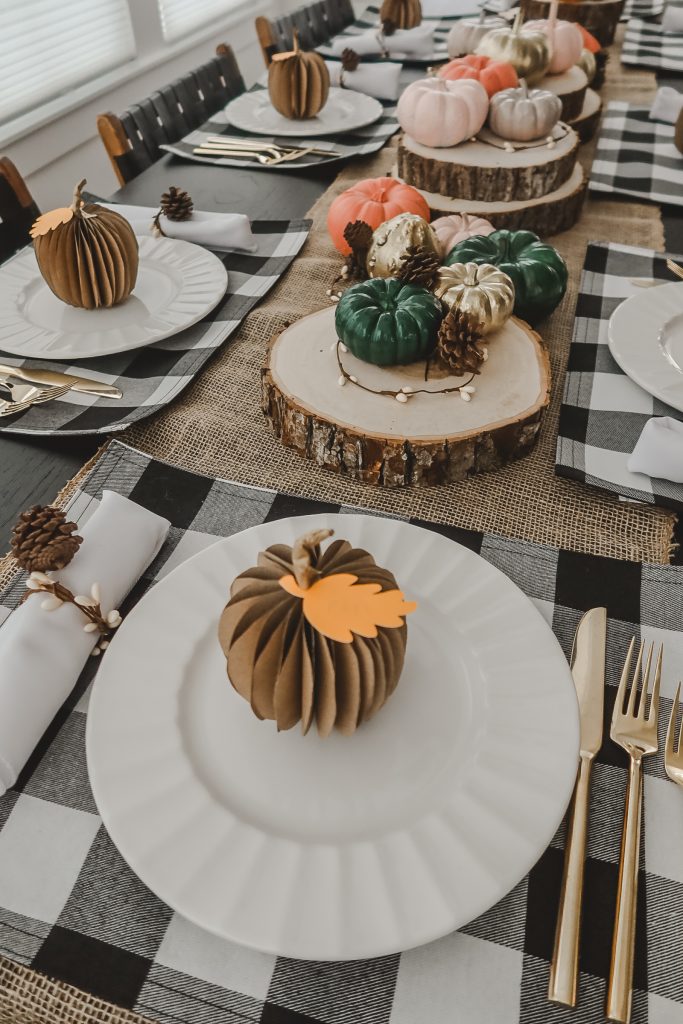
DONE!
Add your paper pumpkin to a plate and you are done! Hope you enjoy and have a wonderful Thanksgiving!
Thanks so much for stopping by for this fun Thanksgiving craft. If you get a chance to make these paper pumpkin name cards, tag me @kelseybang. I would love to see what you create! Thanks so much for stopping by today, hope you have a wonderful day!
[spacer]
If You Liked This Post, You Might Like These Posts
How To Spray Paint Pumpkin Centerpieces
3 Ingredient Fruit Dip- Easy & Delicious
Favorite Christmas Board Books
Holiday Gift Guide For Toddlers
[spacer]
Shop This Post


The Exclusive Beauty Diary
November 22, 2020These look so beautiful on table. Thank you fro sharing idea.
New Post – https://www.exclusivebeautydiary.com/2020/11/declare-caviar-perfection-luxury-anti.html
Madilyn Burkwood
October 31, 2022These are SO charming, I love the finishing touch they give the setting. This will be my first year hosting Thanksgiving and I’ve been searching for ways to really set me apart from past hostesses (I even resurfaced my floors to prep for the holiday). I think these place card holders will do the trick, thanks for the inspo!
BETTY W JOHNSON
November 22, 2023Such a cute idea. Thank you for sharing.