

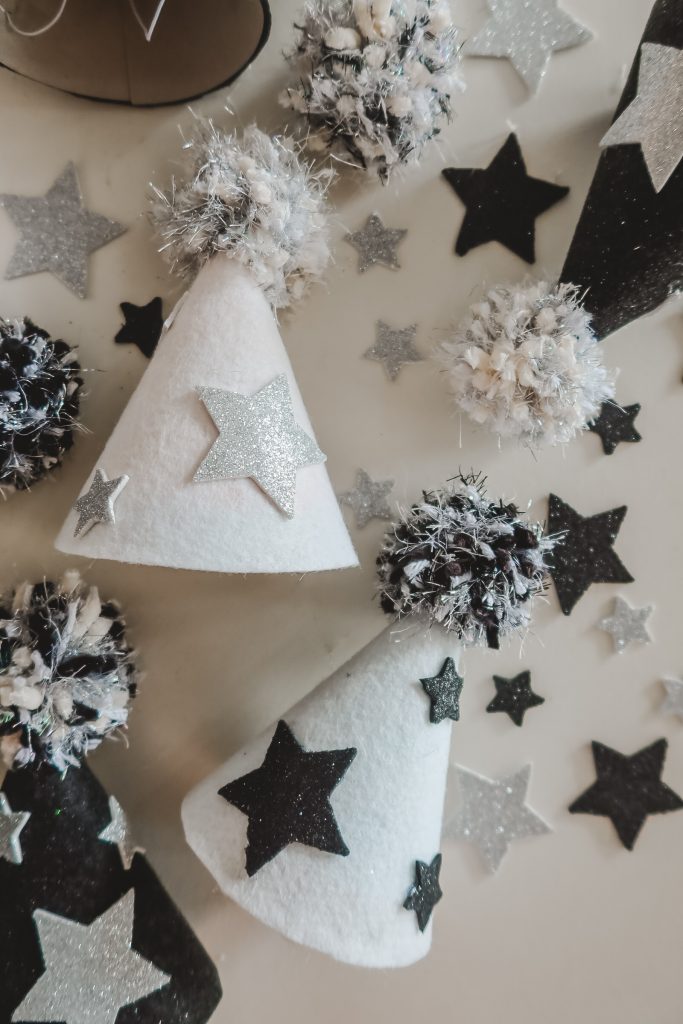
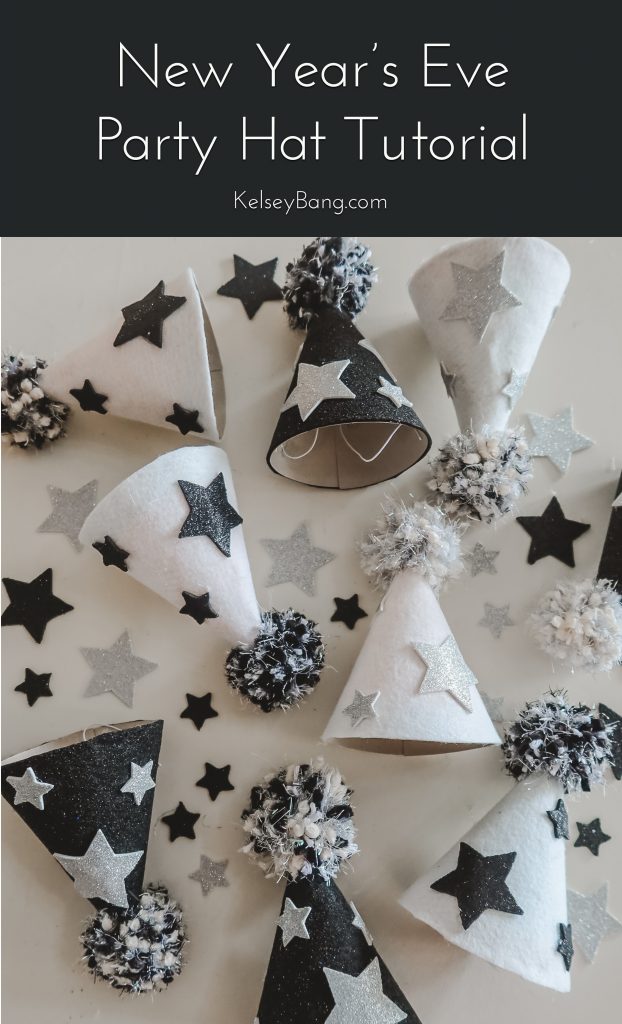
Looking for a fun party hat for New Years?!?! Try making your own party hat with this step by step pom pom party hat tutorial! These are super fun to make and sure to make a cute statement as well!
DIY New Year’s Felt Party Hat Tutorial
Wow!! What a year it has been! Anyone else looking forward to the new year!? I made similar pom pom hats for my twins first birthday and thought it would be fun to make something New Years edition! These were super fun to make and can’t wait for the whole fam to wear these party hats for New Year’s Eve!
Supplies
Party Hats
Lots of great party hats out there! I found these ones at Target for $3 (pack of 10) and liked that they are a little smaller than most. Any size cone party hat will work great for this though!

[spacer]
1/2 Yard Felt
I like to buy felt by the yard at Joanns (usually around $4 a yard). 1/2 of a yard would be enough to cover 10 party hats. You can also find felt in paper sized sheets at Hobby Lobby, Micheals and Joanns. If you are making 1-2 hats this is a great option. For making more than 2 hats, I recommend buying felt at Joanns to be more cost effective.
[spacer]
Yarn (1-5 Colors)
Lots of great yarn options these days. For this project I recommend getting 1-2 sparkly yarn, 1 thick yarn, 1 thin and a 2 velvet yarns. For pom poms (which is what the yarn is for) it’s nice to have a few different textures and colors of yarn. If you don’t feel like making pom poms skip the string buying and buy pre-made pom poms instead.
Sparkle Paper/ Foam/ Foam Stars
If you want to do stars like I did, I got sparkle foam paper and cut out stars. Regular paper will work great too! Or you can ditch the stars and hot glue on rhinestones, sequins, buttons, anything! I saw these pre-made sparkle stars too that would work awesome! If I were to make these again, I would just buy the pre-made stars! hahaha (This option does cost a few dollars more, but would be worth the time that would be spent cutting stars out.)
[spacer]
Hot Glue Gun & Glue Sticks
If you don’t have a hot glue gun yet, it’s time! Trust me..there are so many things to use it for! You can find these at Walmart for under $5, or any craft store usually around $20. This is the one my mom has that I want to order! (I like it better than the one I have because of the pointy tip on it.) These are the glue sticks to go with it.
[spacer]
Fabric Scissors
Any scissors will do, but to make this project faster and not getting frustrated with yarn… fabric scissors are what I would recommend. Fabric scissors work like a charm with pom poms and felt!

Step One
Start off by making a pom pom! These are super fun and easy to make. Here is step by step instructions + a little video on how to make these HERE.
For these sized pom poms I made, instead of wrapping the yarn around four fingers I wrapped the yarn around three fingers for a smaller size.
Step Two
Plug in the glue gun so it starts to heat up. Put the glue gun on some cardboard or a plate for any excess glue that may drip out of the glue gun.
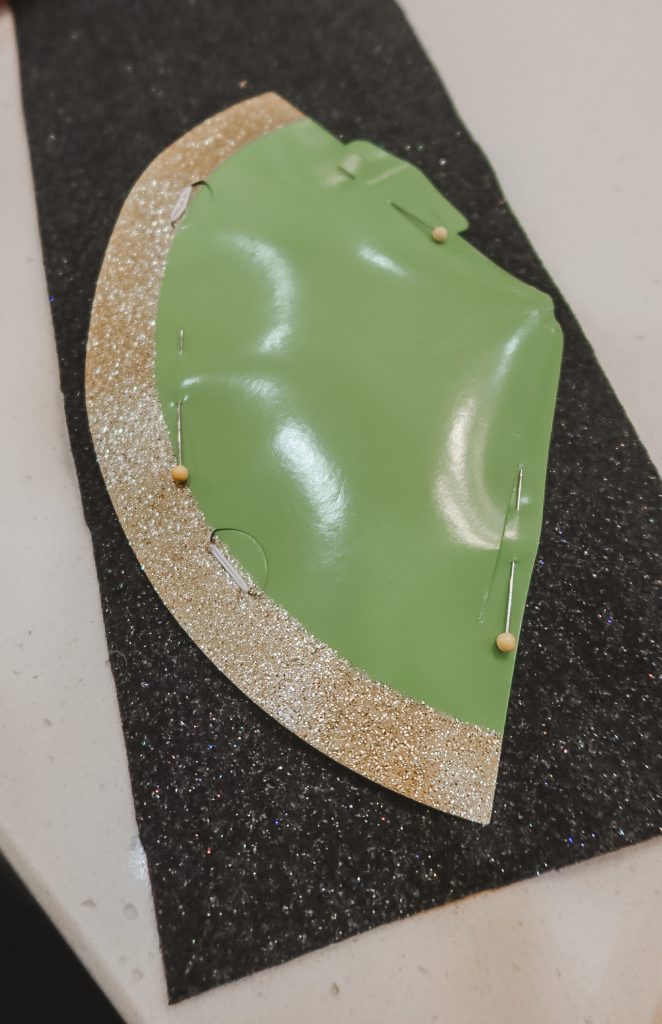
Take one party hat apart to be a pattern. Lay the party hat flat on the felt and pin the party hat to the felt.
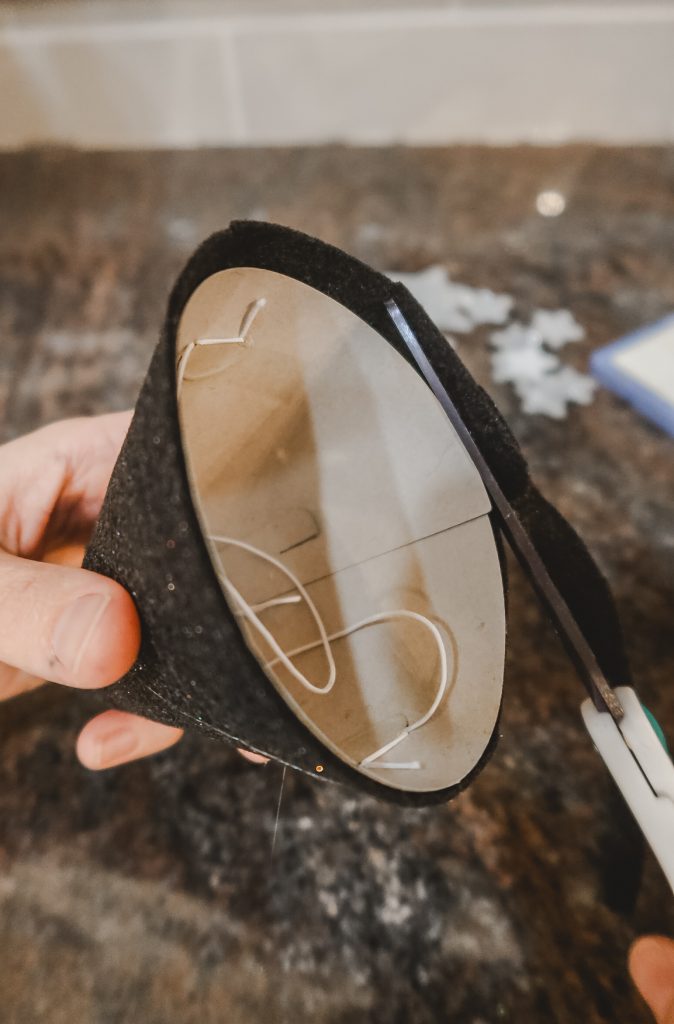
Step Three
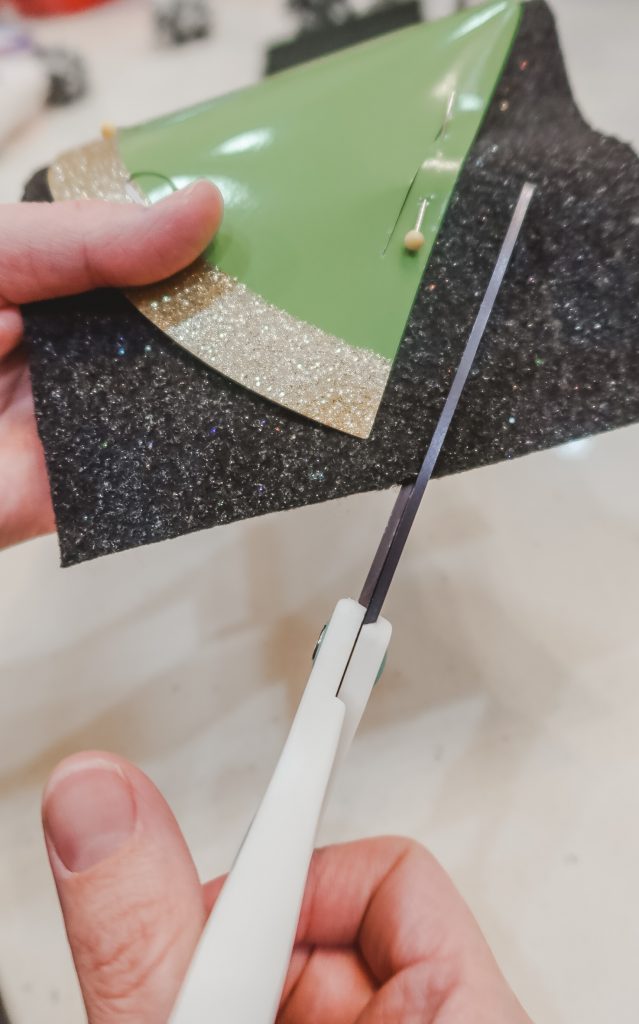
Cut around the party hat leaving an extra 1/4 inch around each edge. It’s nice to have a little wiggle room with the felt.
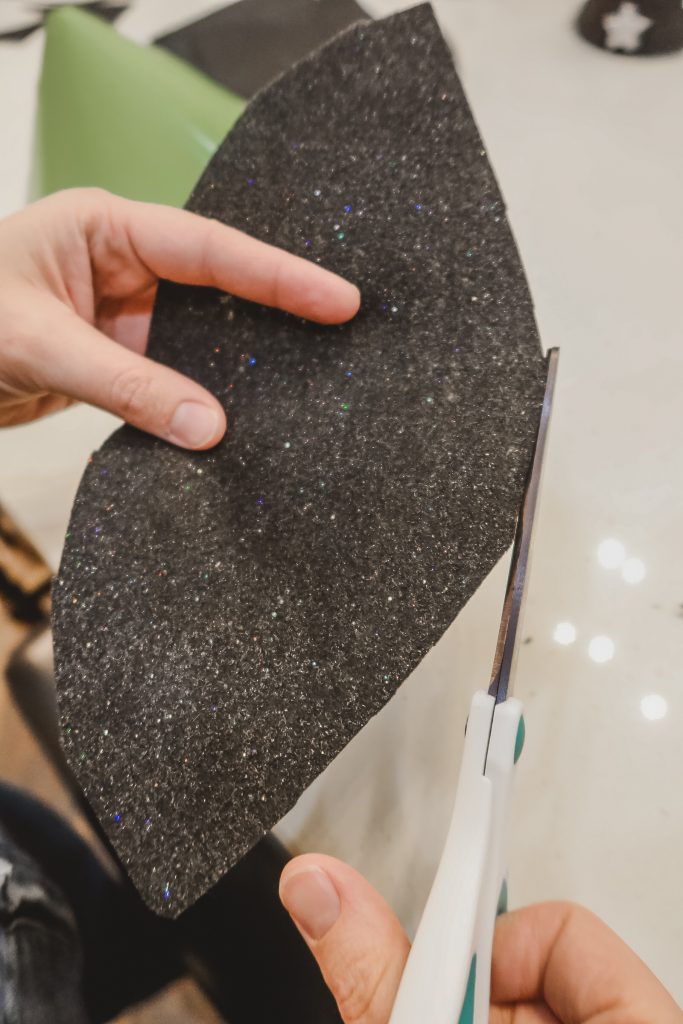
Step Four
Take out the pins and party hat pattern from the felt. At the top where the point is, cut a small part off the tip so it’s a straight edge.
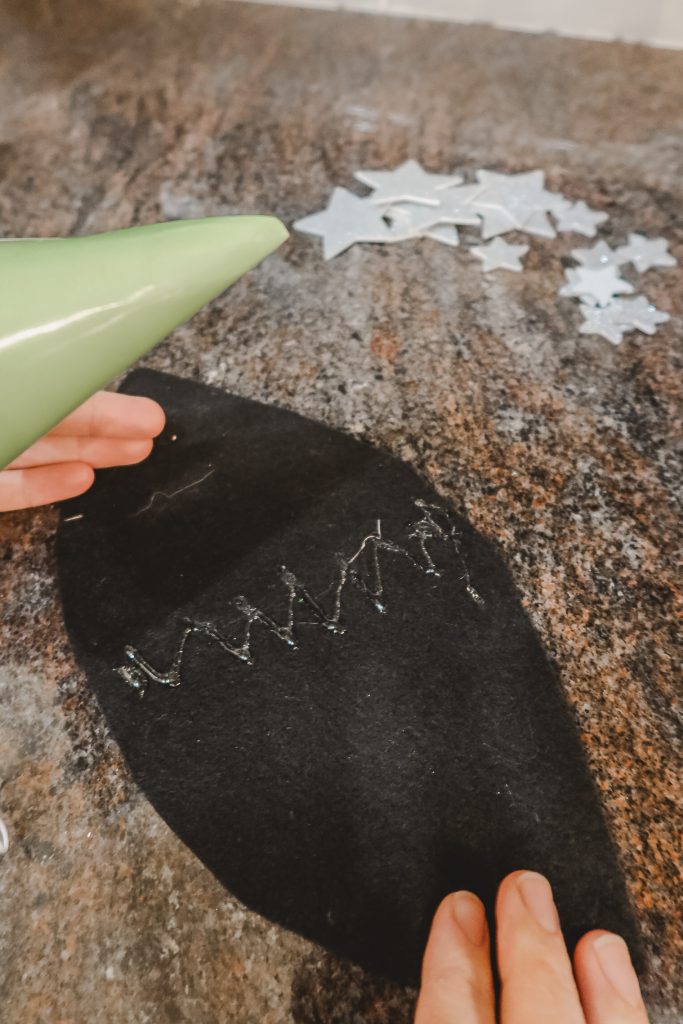
Step Five
Grab a party hat, cut out felt and head to the glue gun. In the middle, put some glue for the party hat to attach too. When attaching the party hat, make sure it’s the front smooth part of the party hat. This will help the seams of the party hat to aline with the felt side edges. When putting the party hat down on the glue, start with the lining up the top of the hat to the felt and work your way to the bottom.
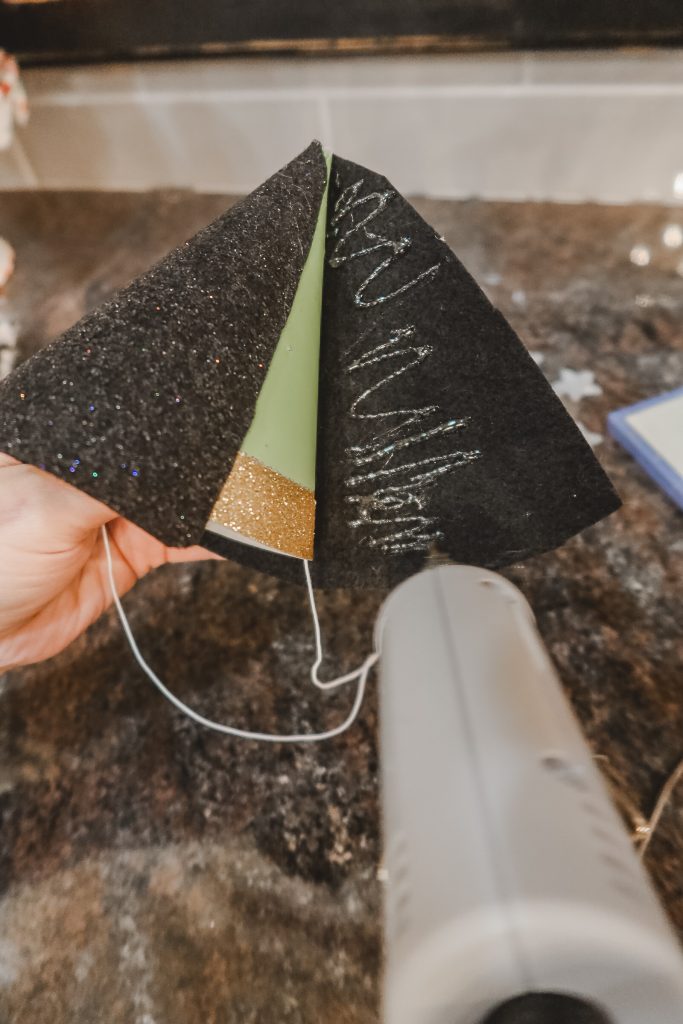
Step Six
Once the hat is attached to the felt, start hot glueing the rest of the felt around the hat.
Step Seven
Where the felt overlaps on the party hat, glue the seam down so everything is secure.
Step Eight
Any excess felt on the bottom of the party hat, cut off.
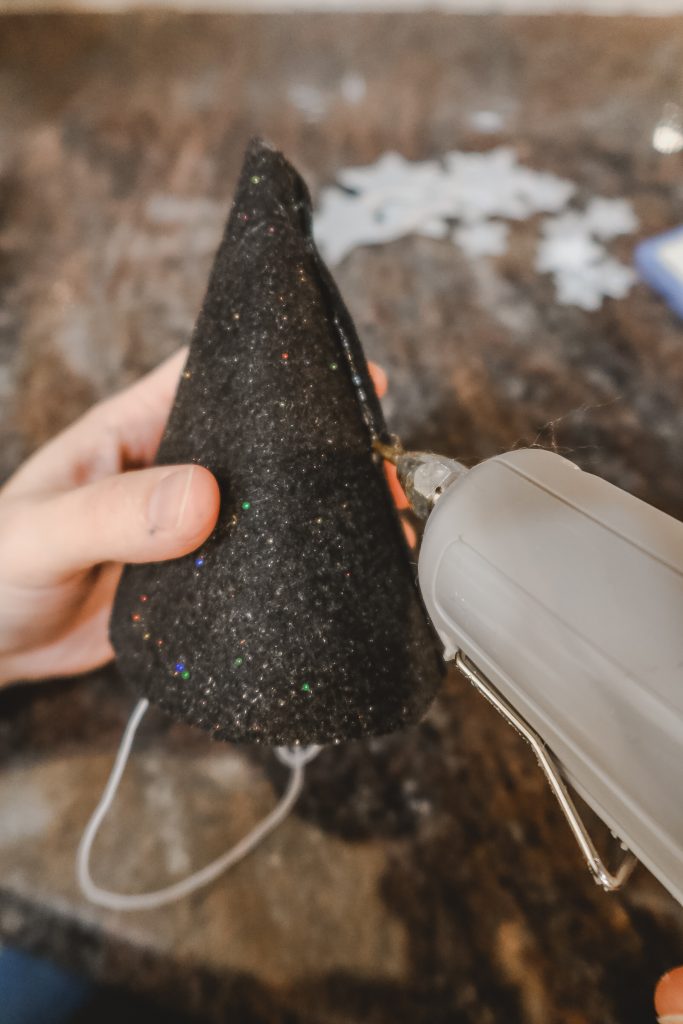
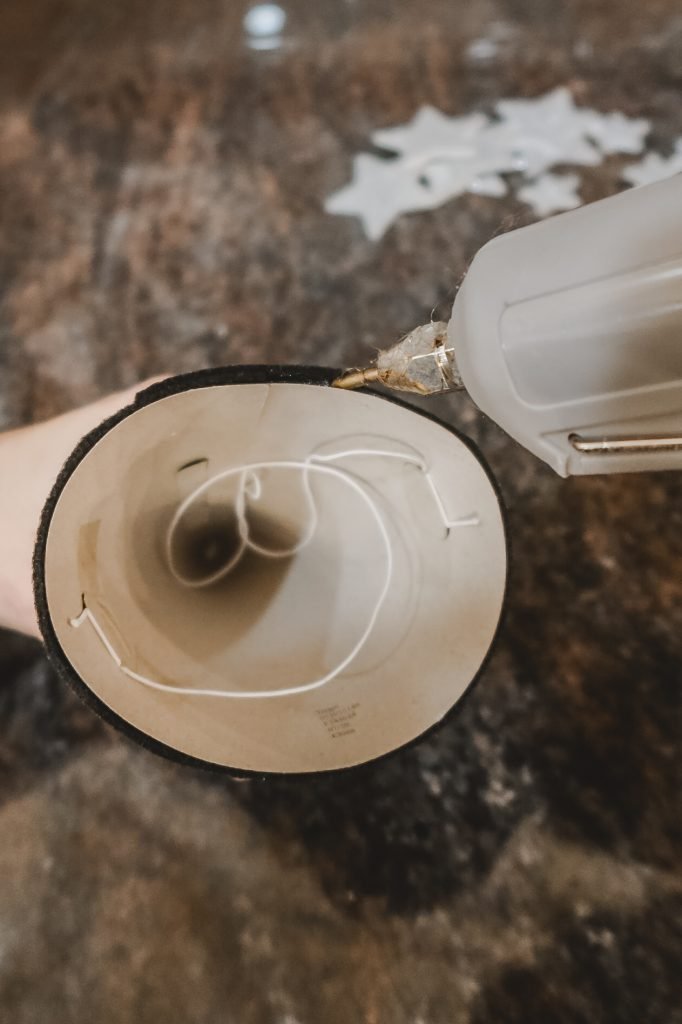
Step Nine
Take your glue gun and place in between the party hat and felt. Add glue around where needed. If needed, pinch the bottom of the party hat and felt where just glued with finger tips to secure it all. Be careful to not burn fingers.
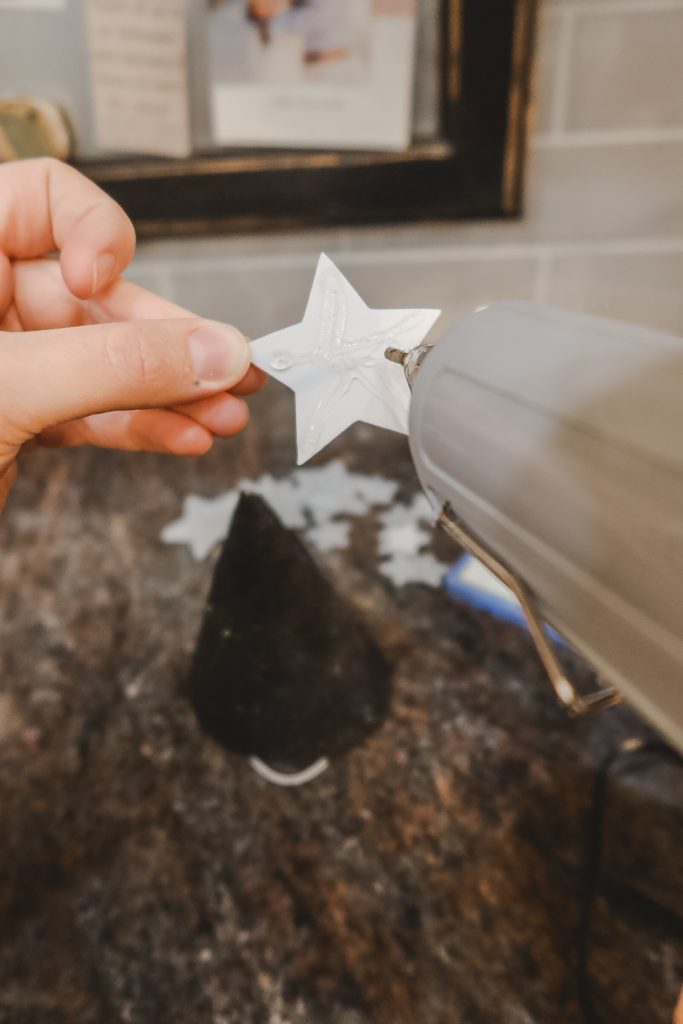
Step Ten
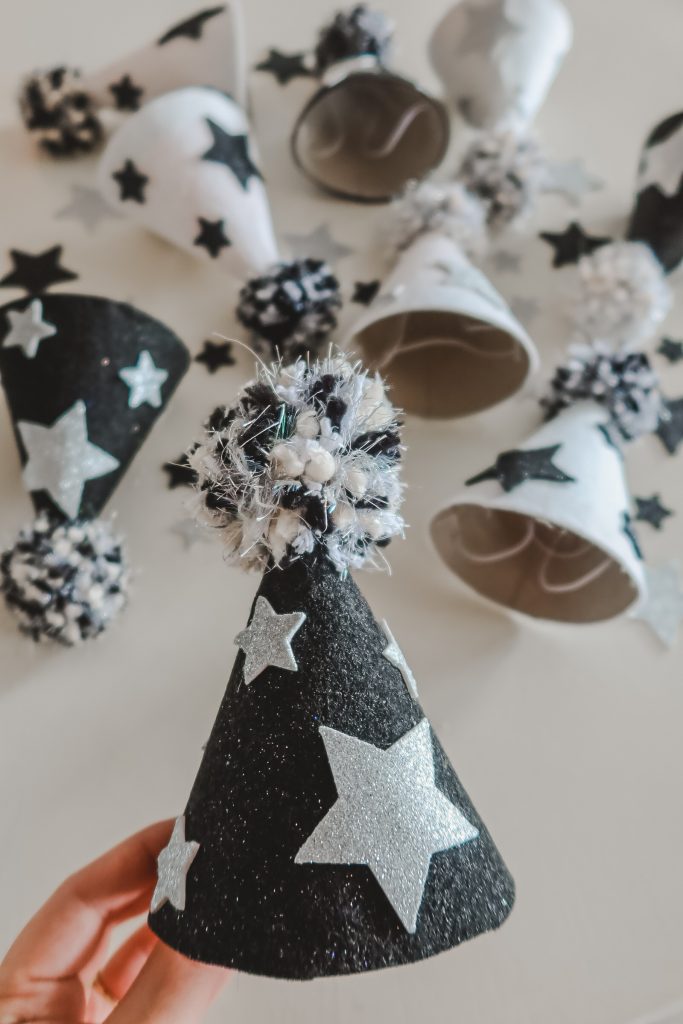
Now for the fun part! Time to add embellishments and bedazzle the party hat! Use stars, jewels, sequin, buttons, possibilities are endless! I just used 4-6 foam stars per hat, but lots of fun combo options out there!
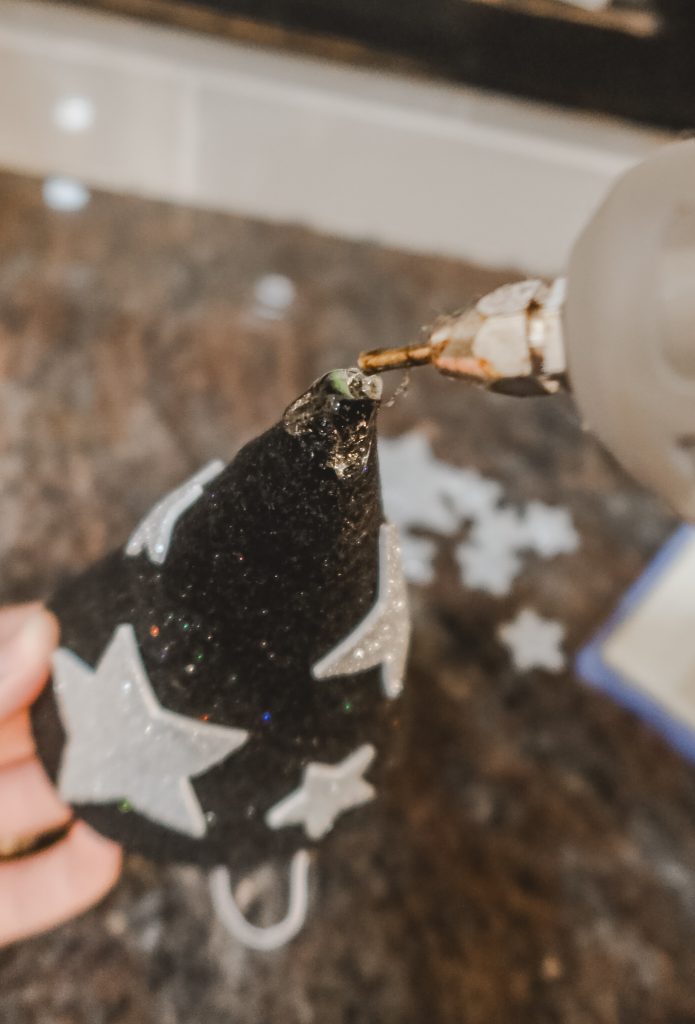
Step Eleven
Glue a dime sized amount of hot glue on the point of the party hat.
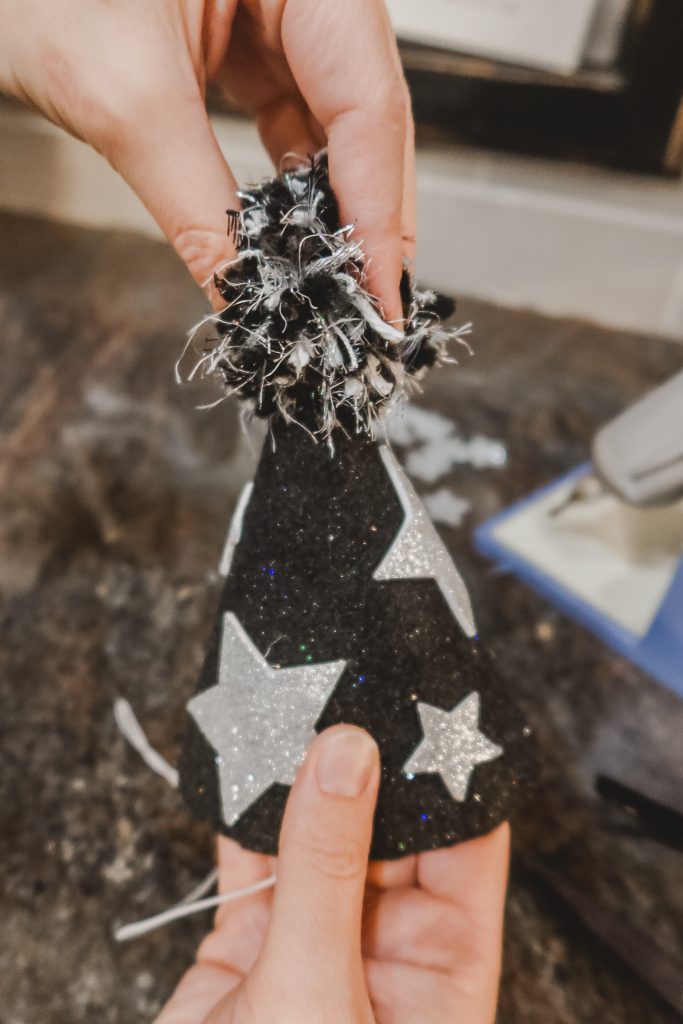
Step Twelve
Grab a pom pom and place on the glue on top of the hat. Use fingers to press the sides of the pom pom to the glue. Be careful to not burn fingers. I like to pinch around all the sides of the pom pom to secure it to the glue. If it feels wobbly, add more hot glue underneath the pom pom.
Once the pom pom is attached, put that New Year’s party hat on and have some fun!
Thanks so much for stopping by today for a DIY New Year’s party hat tutorial! If you get a chance to try these, tag me! I would love to see your creations you make. Hope you have a wonderful day and HAPPY NEW YEAR!
[spacer]
If You Liked This Post, You Might Like These Posts
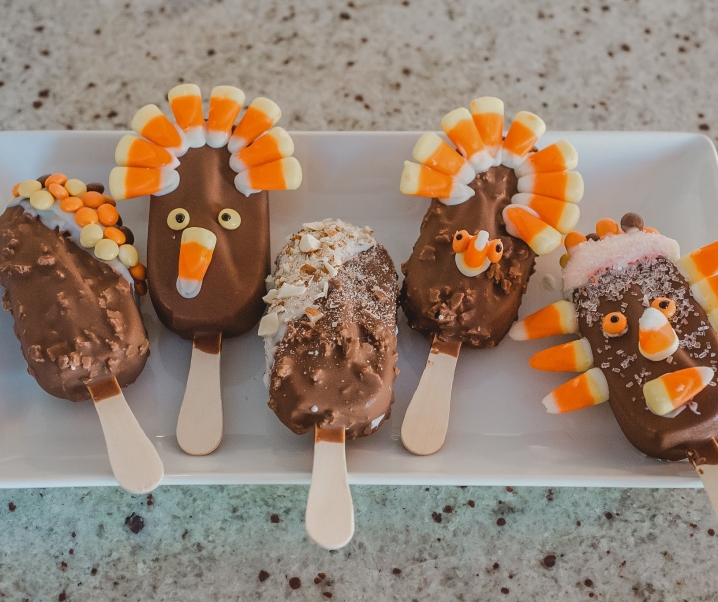
How To Make Hot Chocolate Bombs
How To Make Fun Shapes Out Of Wool- Perfect For Garlands
Pedicure In A Jar- Party Favor DIY
[spacer]
Shop The Post

DIY New Years Party Hat Tutorial
Materials
- 10 Party Hats
- 1/2 Yard Felt (I like to buy felt at Joann by the yard, but it can also be bought in paper sized sheets at any craft store.)
- 1-5 Yarns (I recommend getting 1-2 sparkly yarn, 1 thick yarn, 1 thin and a 2 velvet yarns. For pom poms (which is what the yarn is for) it's nice to have a few different textures and colors of yarn)
- 1 Pack Foam Stars (Lots of options for embellishments! Gems, sequin, buttons, foam shapes, etc.)
- Hot Glue Gun
- Glue Sticks
- Scissors (Any will work but would recommend fabric scissors. Helps big time with the pom pom and felt cutting.)
- Sewing Pins
Instructions
Start Off By Making A Pom Pom
- Pick out 1-5 different yarns. I recommend using chunky yarn to add some meat to these pom poms. You can use one color, or a few different ones. I also like yarn with some sparkle too!
- Once you got your yarn colors picked out, find the end of each string and group them together so you have all the ends of each of your yarn in your hand. Have your left palm facing toward you with your thumb up. Place your yarn down on your fingers with the ends opposite of your thumb. Start wrapping all the yarn around your hand using your thumb to keep the yarn in place. You will want to wrap around the yarn till it gets pretty thick.For chunky yarn, if I were using just one yarn I would wrap it around my hand about 40 times. If I were using 4-5 yarns, I would wrap it around 20 times. For these sized pom poms I used 3 fingers to wrap around.
- Once you have wrapped your yarn enough, cut the yarn. Then you are going to pull the yarn ball off your fingers leaving it as if it was still wrapped around your fingers and set it on the table. With a corresponding yarn color, pick one and cut about a 12 inch section. Take that section and place it flat on the table. Put your yarn ball on top of it with the openings on each side of the strings. Tie that string in the middle of your yarn ball pulling tight and tie it in a knot.
- Now is the fun part! Take your scissors and cut all the loops from your yarn ball. This makes the fun pom pom ball shape! Trim up any long yarn pieces hanging so you get a ball shape. Taaa dahhh you have your pom pom!
Cut Out Felt
- Plug in the glue gun so it starts to heat up. Put the glue gun on some cardboard or a plate for any excess glue that may drip out of the glue gun.
- Take one party hat apart to be a pattern. Lay the party hat flat on the felt and pin the party hat to the felt.
- Cut around the party hat leaving an extra 1/4 inch around each edge. It's nice to have a little wiggle room with the felt.
- Take out the pins and party hat pattern from the felt. At the top where the point is, cut a small part off the tip so it's a straight edge.
Glue Felt To Party Hat
- Grab a party hat, cut out felt and head to the glue gun. In the middle, put some glue for the party hat to attach too. When attaching the party hat, make sure it's the front smooth part of the party hat. This will help the seams of the party hat to aline with the felt side edges. When putting the party hat down on the glue, start with the lining up the top of the hat to the felt and work your way to the bottom.
- Once the hat is attached to the felt, start hot glueing the rest of the felt around the hat.
- Where the felt overlaps on the party hat, glue the seam down so everything is secure.
- Any excess felt on the bottom of the party hat, cut off.
- Take your glue gun and place in between the party hat and felt. Add glue around where needed. If needed, pinch the bottom of the party hat and felt where just glued with finger tips to secure it all. Be careful to not burn fingers.
Add Embellishments To The Party Hat
- Hot glue foam stars, jewels, buttons, sequin, whatever you want to the hat. Leave a little room at the top point where the pom pom will go.
- Once done adding embellishments, add a dime sized amount of hot glue on the point of the party hat.
- Grab a pom pom and place on the glue on top of the hat. Use fingers to press the sides of the pom pom to the glue. Be careful to not burn fingers. I like to pinch around all the sides of the pom pom to secure it to the glue. If it feels wobbly, add more hot glue underneath the pom pom.
- Now you are done! Put on that party hat and enjoy! If you are making more party hats, repeat the steps over again 🙂 Happy New Year!!


What do you think?