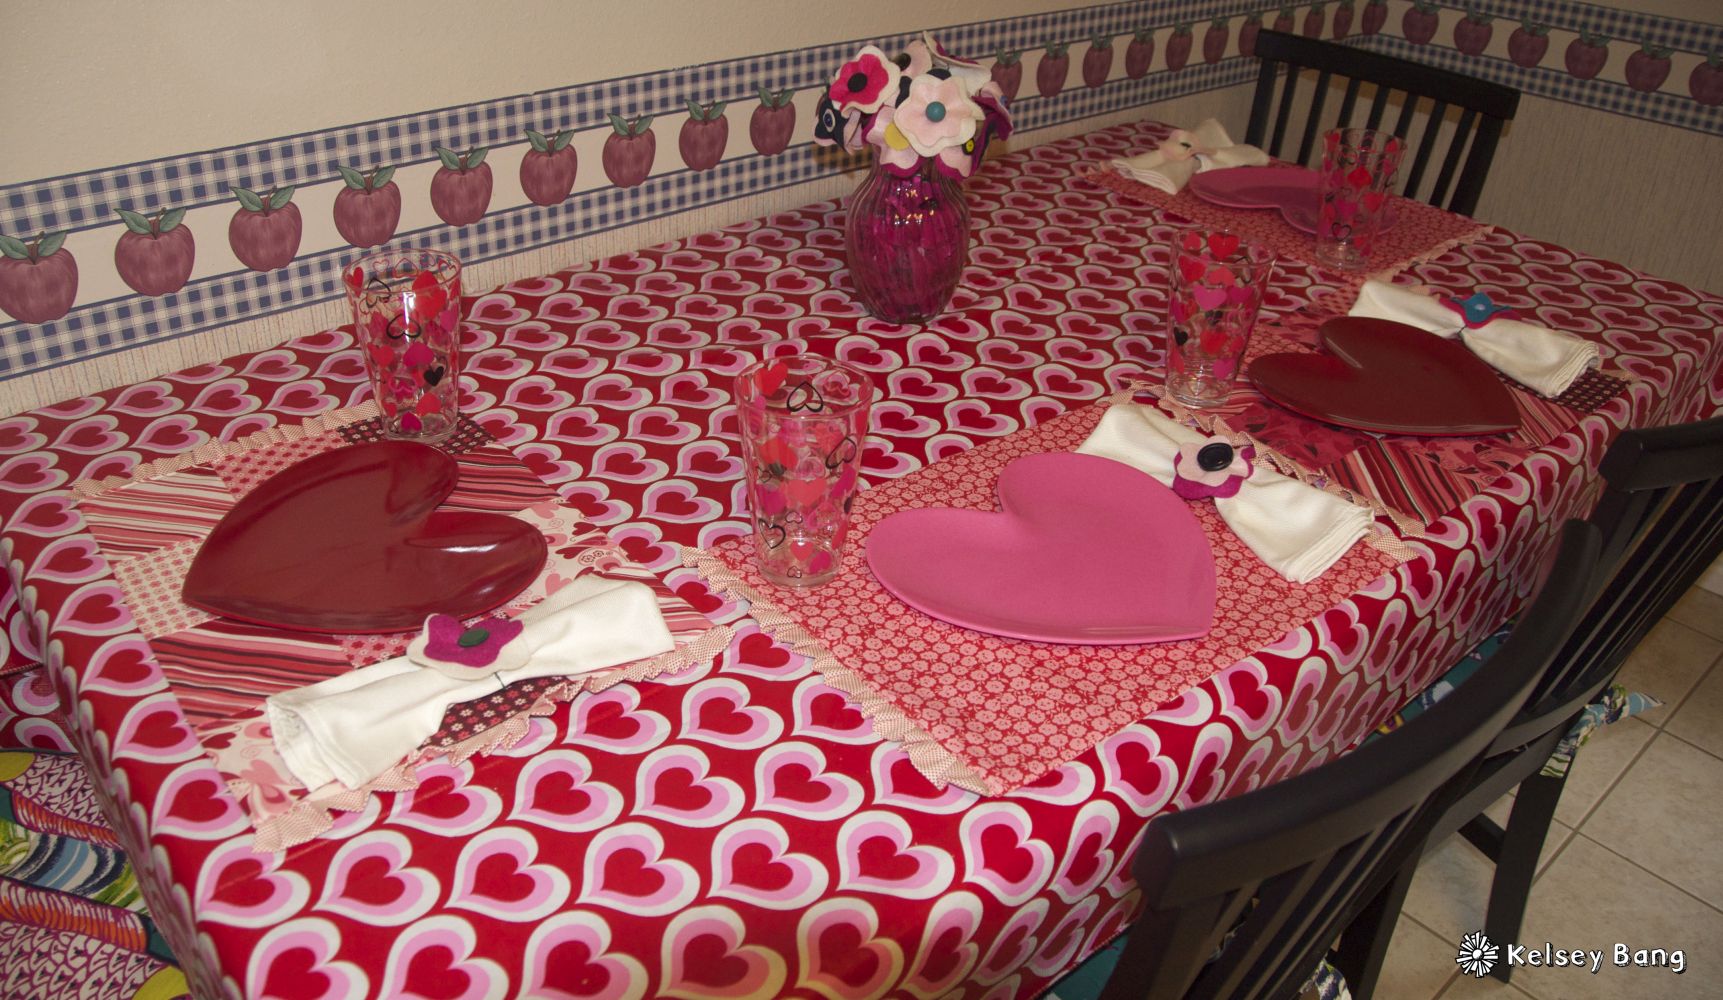
Items needed to make 4 easy beginner quilted reversible Valentines placemats:
-1 valentines fabric charm pack
-1 yard of fabric (for back of placemats)
-1 fat quarter (for side ruffles, but if you dont mind having the same back as ruffles, you dont need this)
-1 1/2 yard interfacing
Lets get started!
-all seam allowances 1/4 inch
1. First things first. Lets get all the cutting out of the way. Fold your yard of fabric in half and get all your sides to match up. Now cut out 13 1/2 inches by 18 inches. You will need four of these. If you fold your fabric in half and cut through your fabric, you had 4 layers, so that is your 4 backs and you are done with that step. If you are not comfortable cutting 4 out in a time you can cut one out at a time, just make sure each back measures 13 1/2 by 18 inches.
1.25 Then get your interfacing. Cut out 4 pieces 13 1/2 by 18 inches
1.50 Get out your fat quarter and cut 8 2 inch strips. They should measure 2×22 inches.
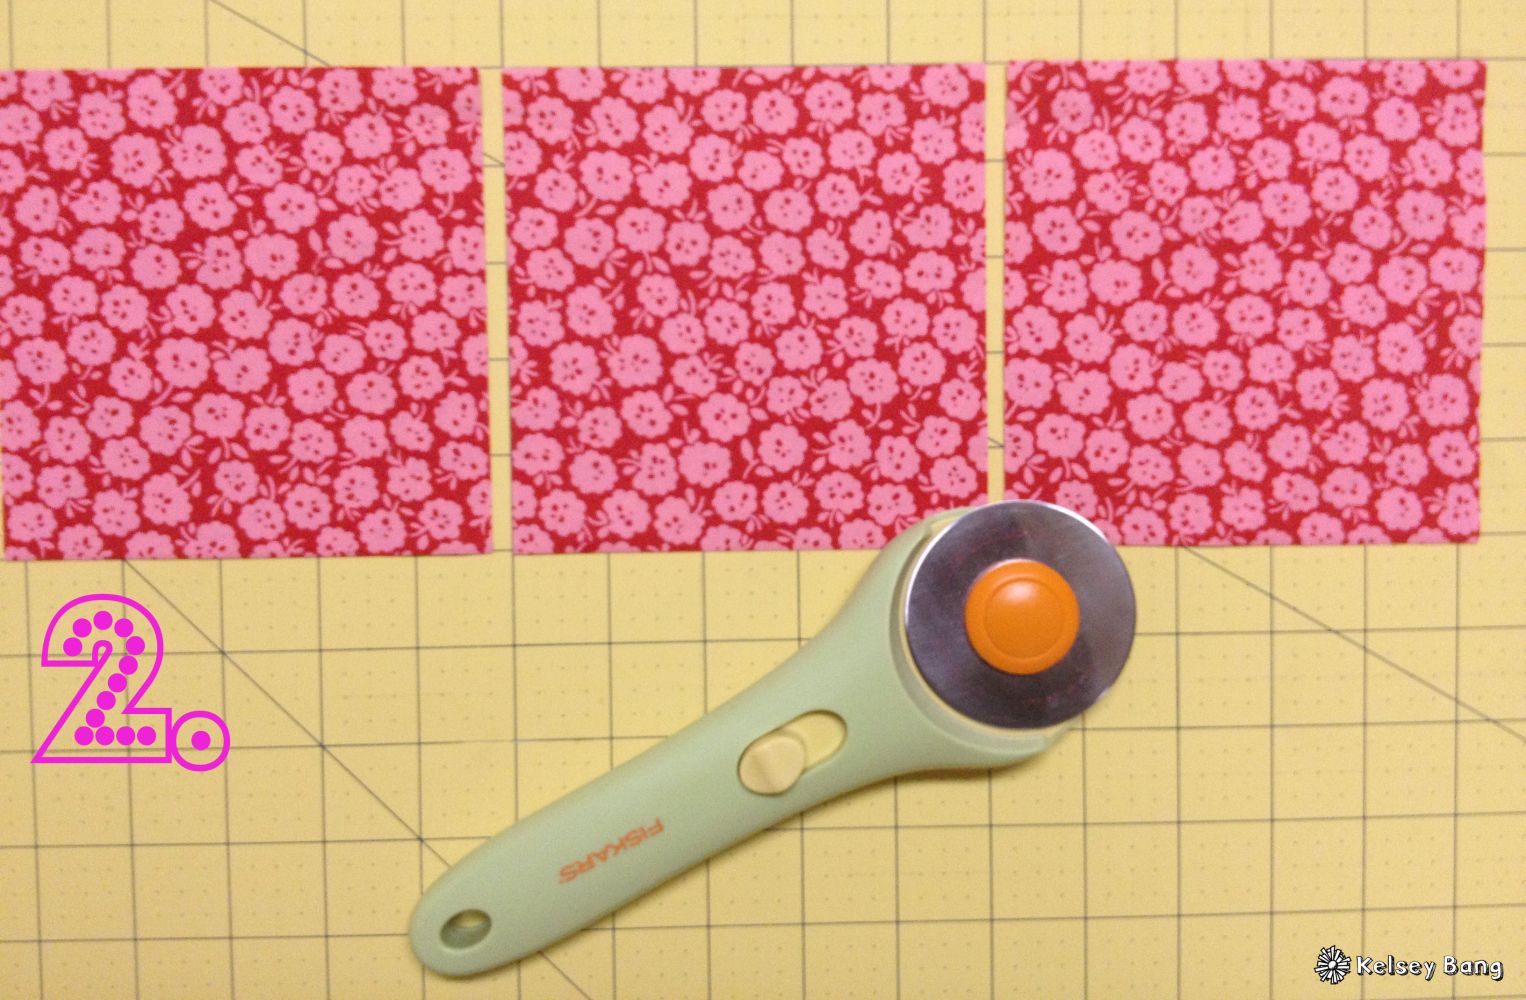
2. You will be 6 charm pieces short, so take your extra backing fabric and cut out 6 5×5 inch peices. These will go on top of the placemats with your charm pack.
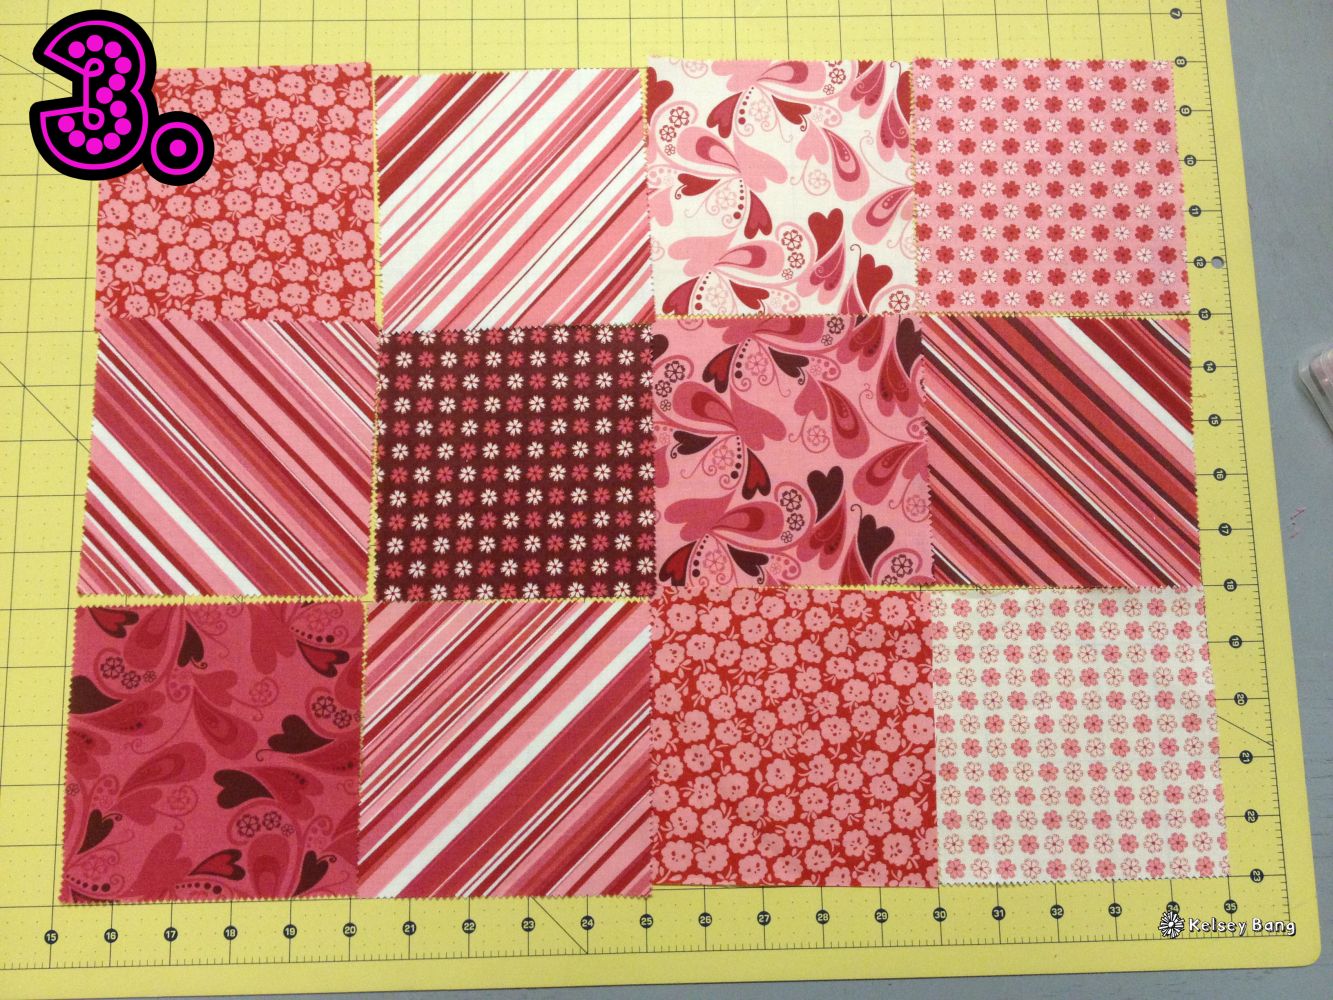
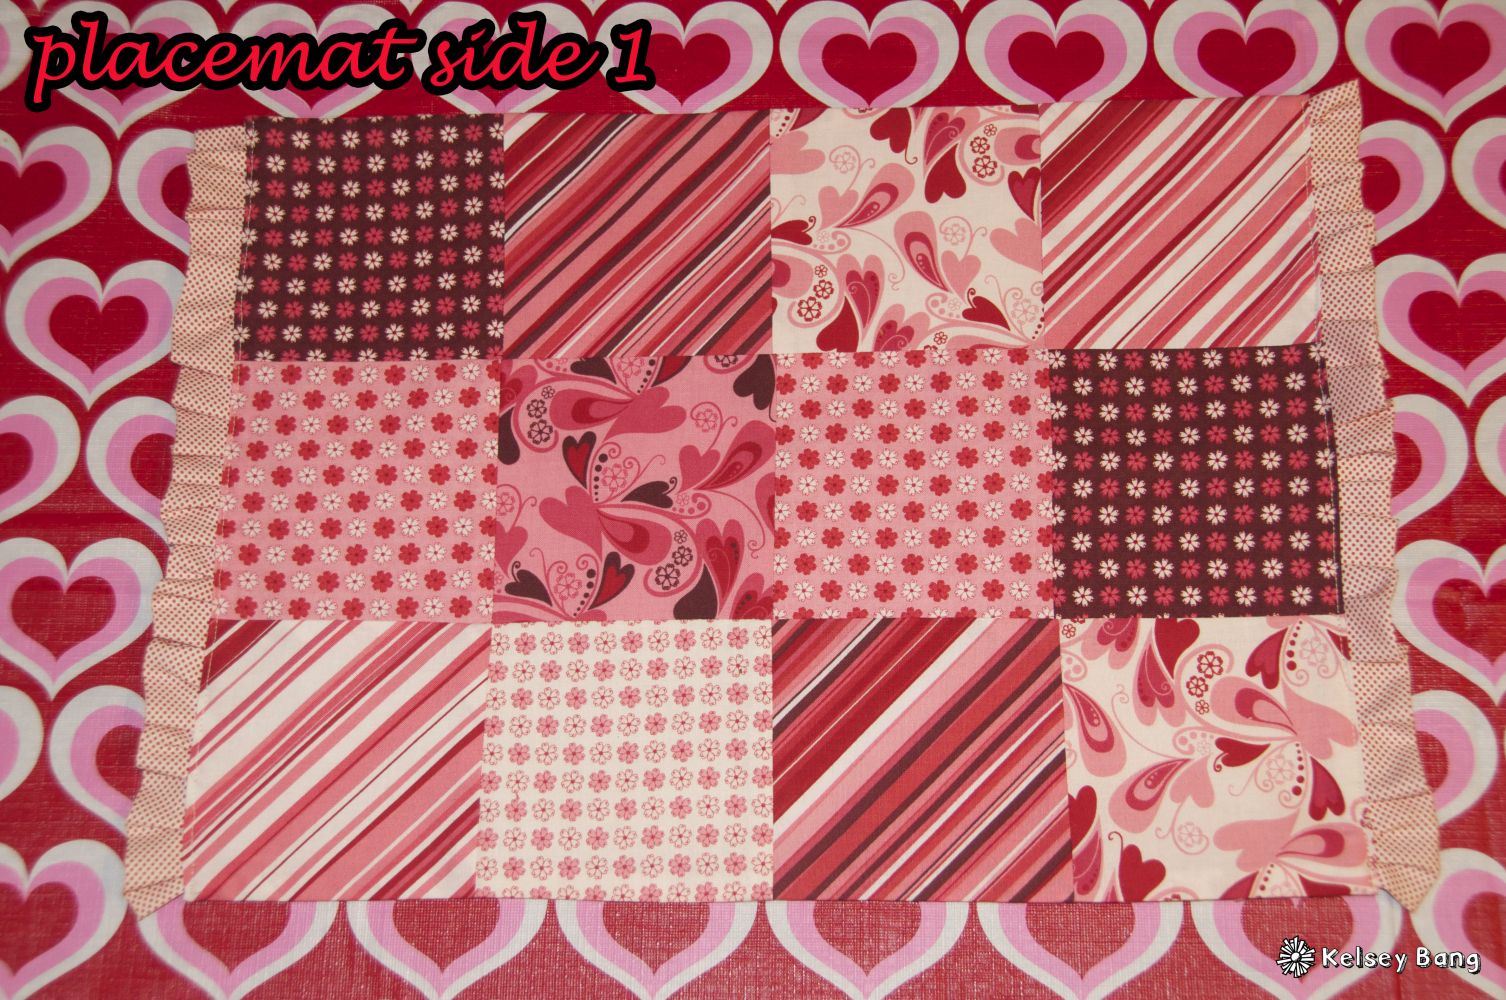
3. Next, open up your charm pack. Lay out your pieces how you want them. You will do this and lay out 4 sets so these will be the tops of your 4 place mats. Each placemat will be 3×4 charm pieces. You will also include the 6 charm pieces you cut out in these.
-Now it is time to sew, I would recommend only doing 1 placemat top at a time so it doesn’t get confusing.
-sew everything with 1/4 inch seam allowance.
-Consider your newly laid charm pack mats in rows 1, 2, 3. This is how I’ll refer to them in the directions below.
-also get your iron out and turn it on!
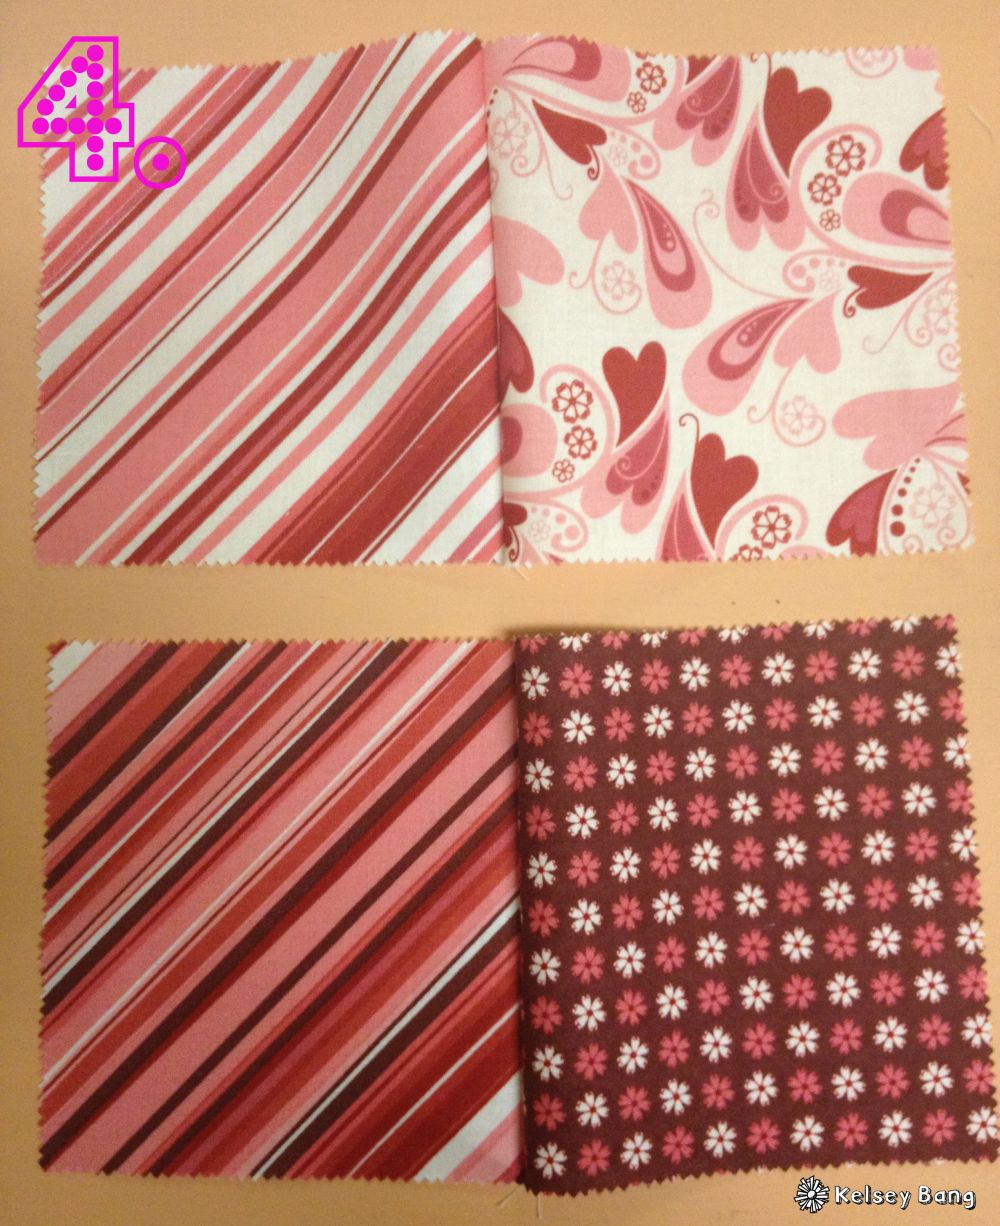
4. Start with row one. Take your 4 pieces and sew two pieces, and two pieces together.
5. Then sew your two pieces together to make one. This is where it gets kinda tricky to remember which piece goes where, so try and make a mental note, of where each charm pieces goes wehre. It really does not matter though because all the pieces are mixed up…so yea
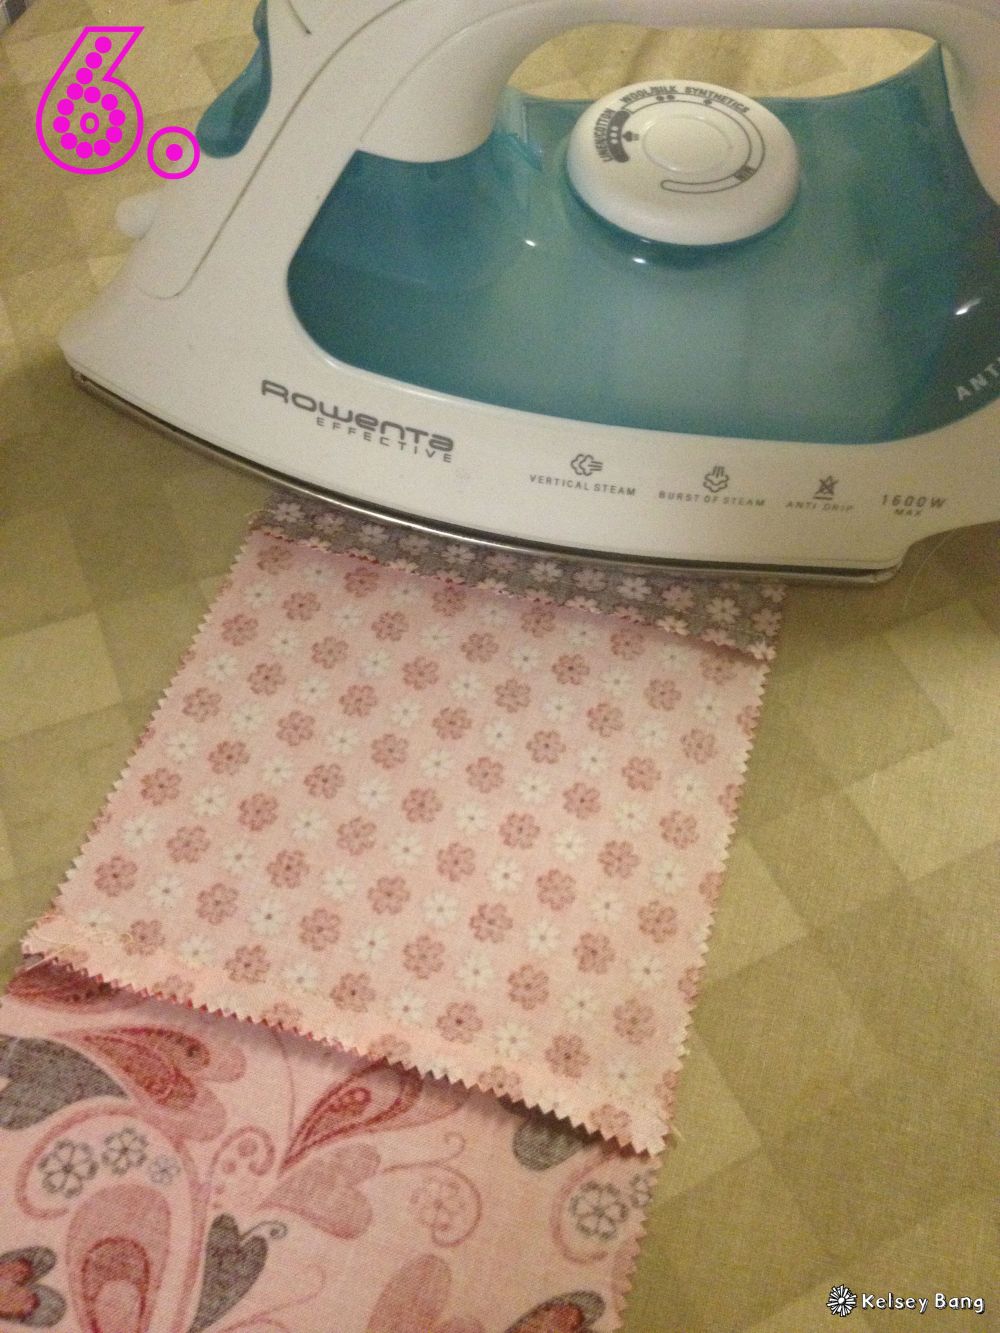
6. Now time to iron. Turn your row one over on its back side where you can see the seams. Iron all the seams to one side. Then lay your row one back on the table and get ready to start working on row 2.
Now do this for rows 2 and 3.
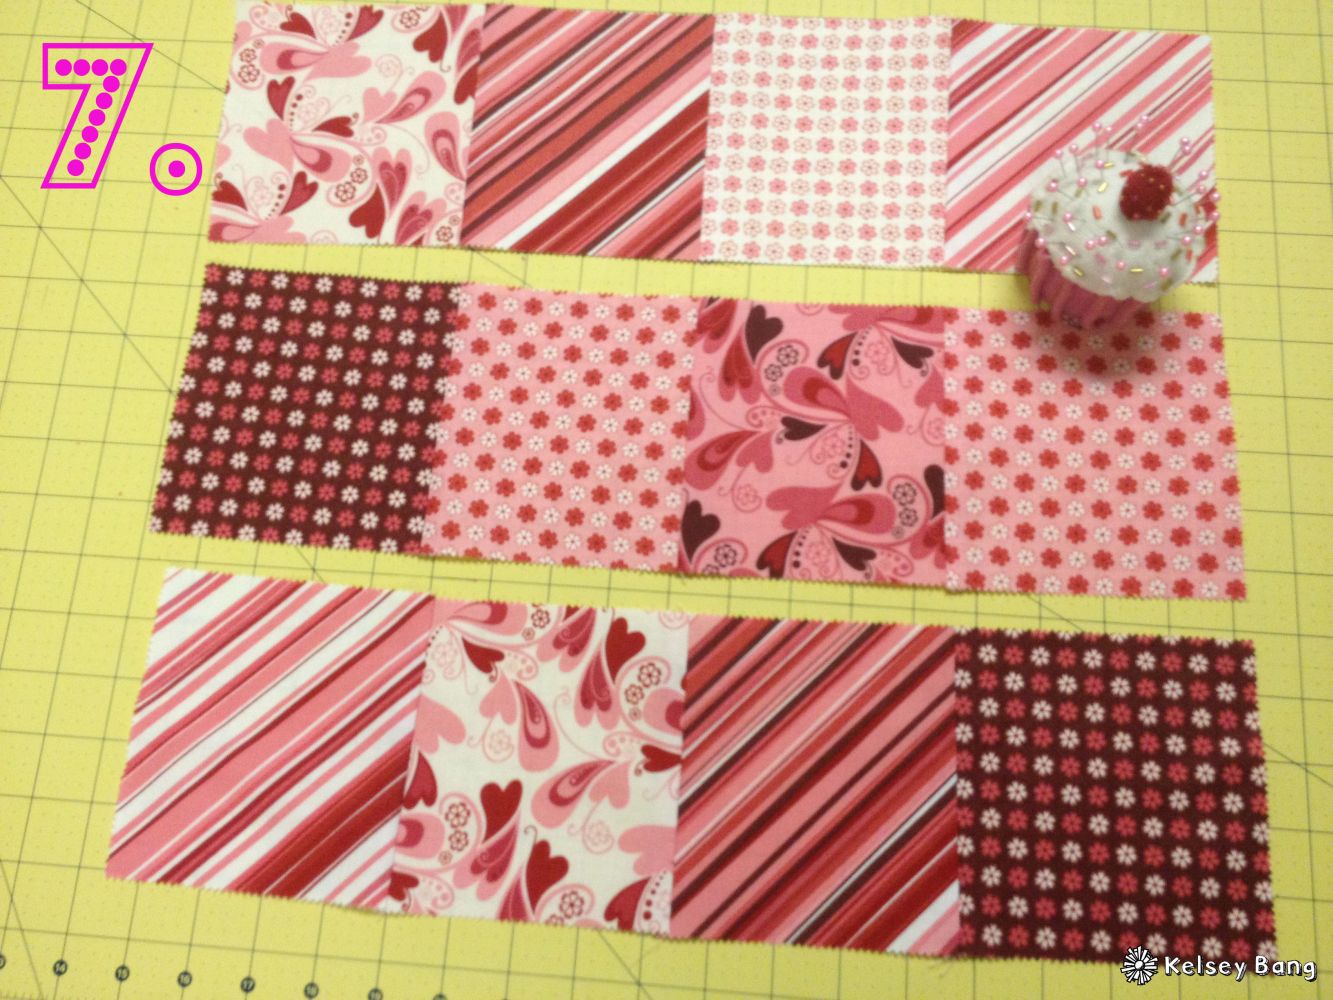
7. Now that you have finished sewing together rows 1, 2, 3, you are ready to sew them all together. Get out your pin cushion.
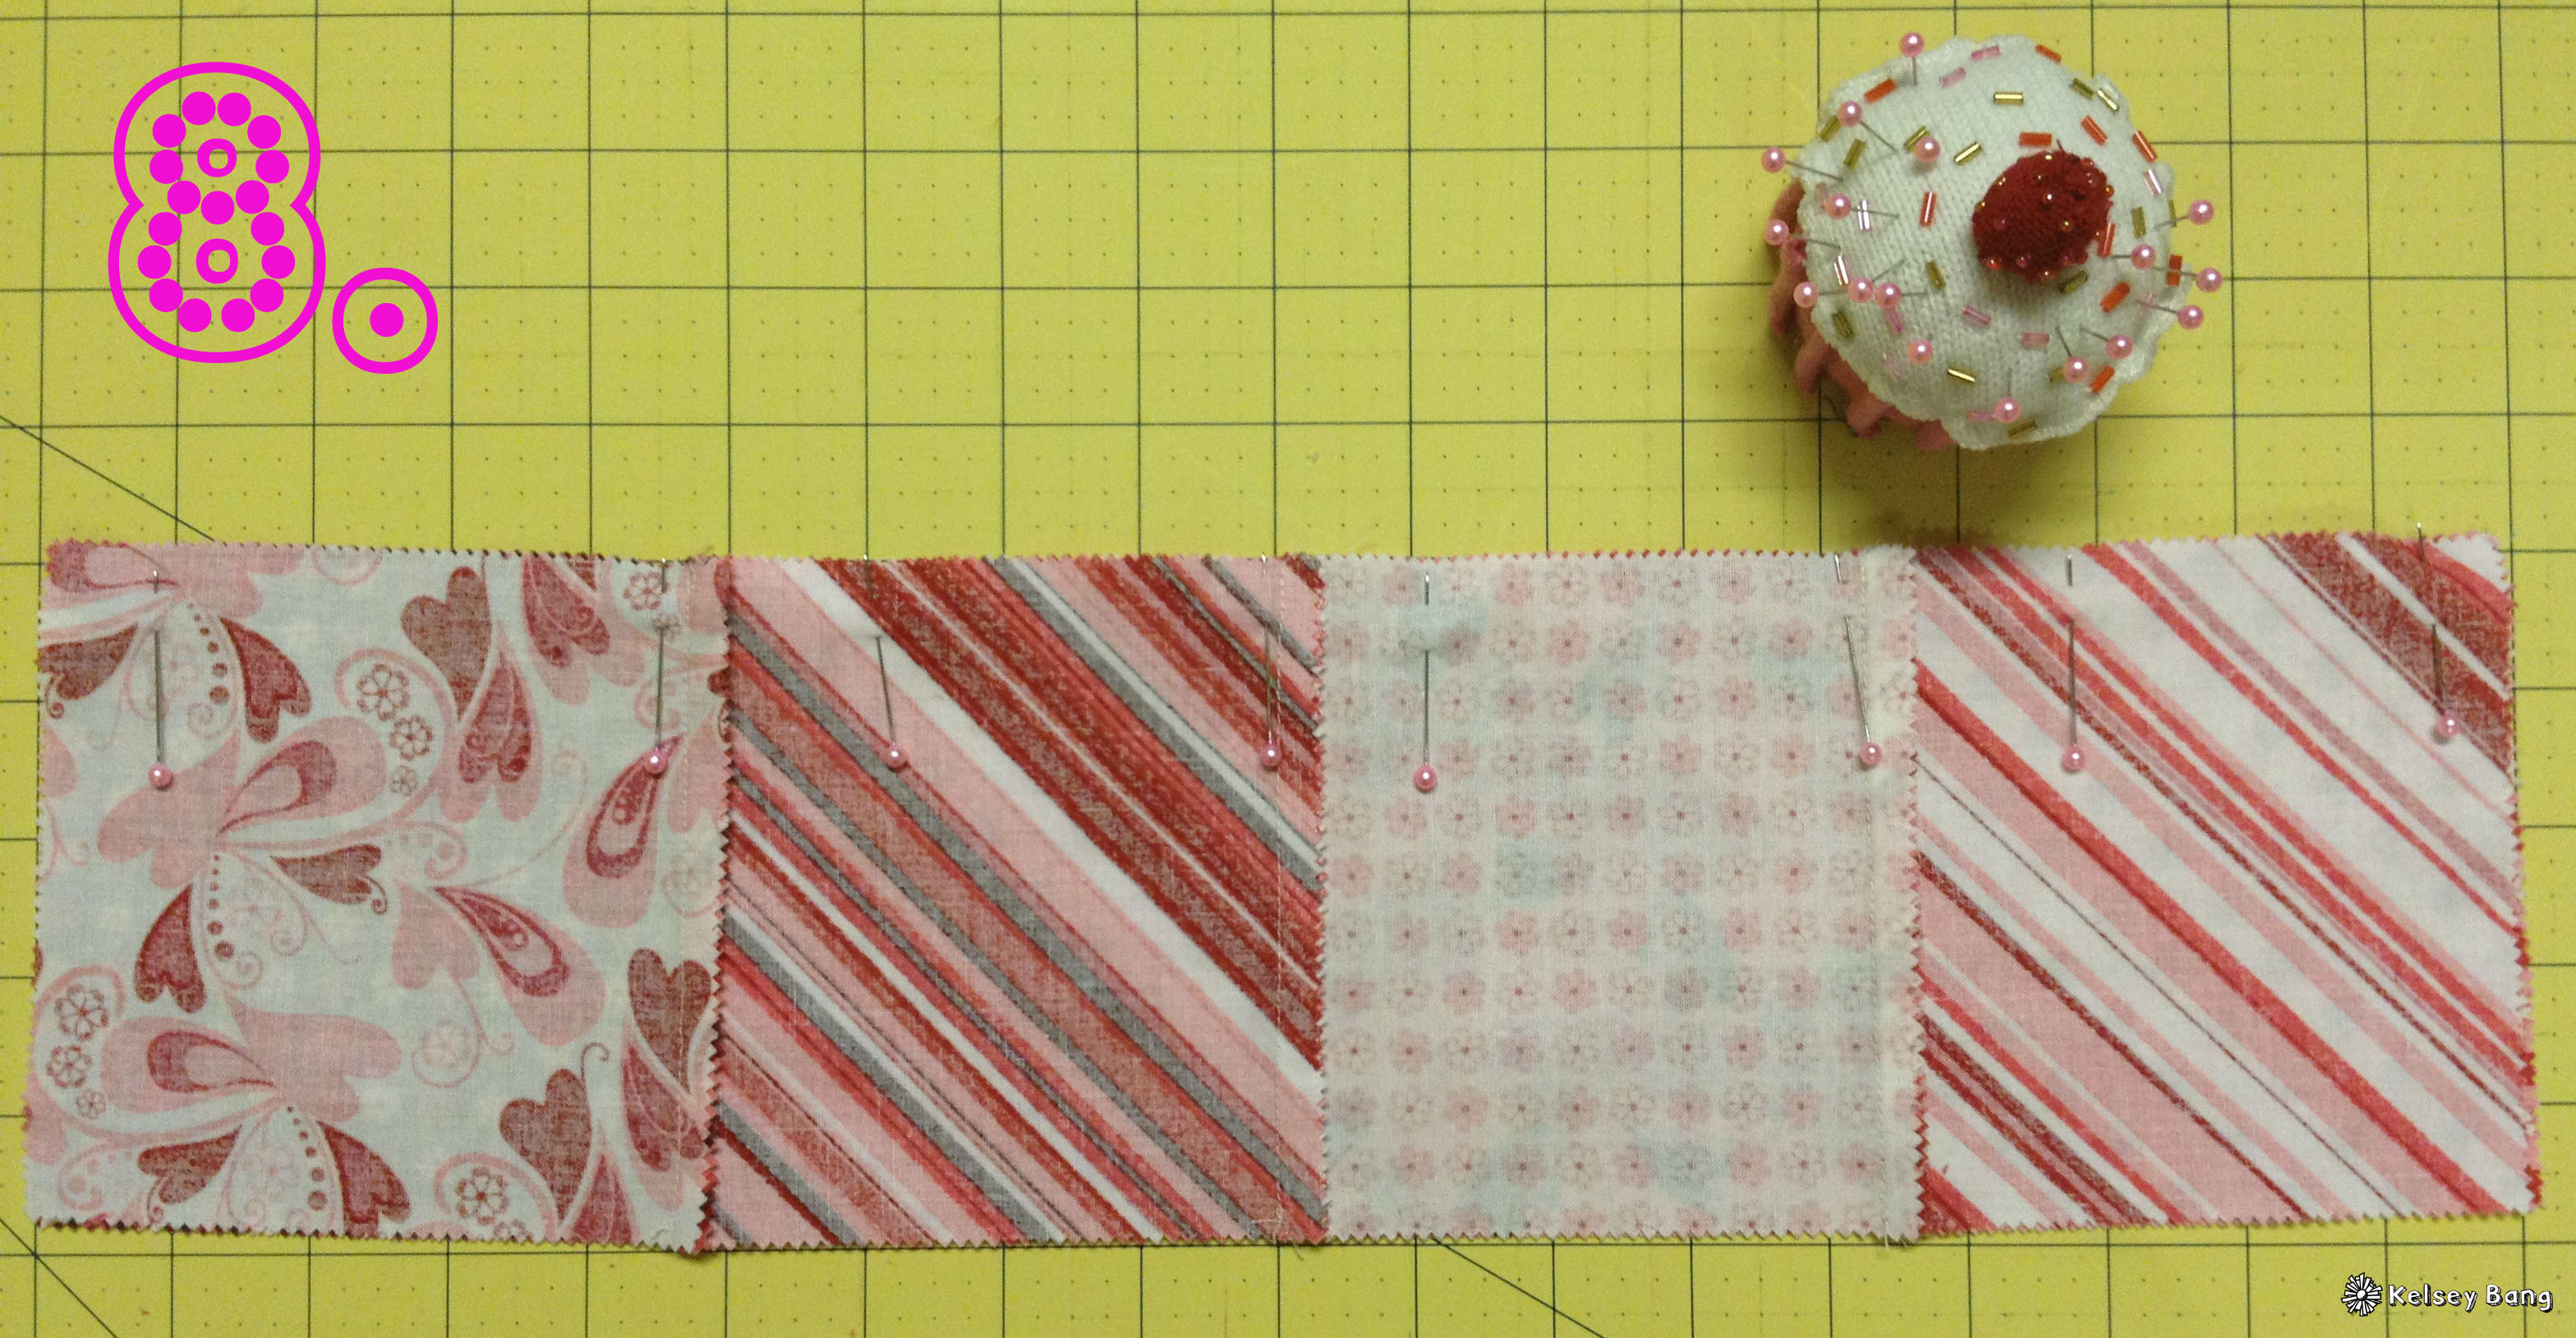
8. Pin rows 1 and 2 together pretty sides of fabric facing each other. Make sure you line up your seams together so when you see them right side out it will look nice. Then sew it together.
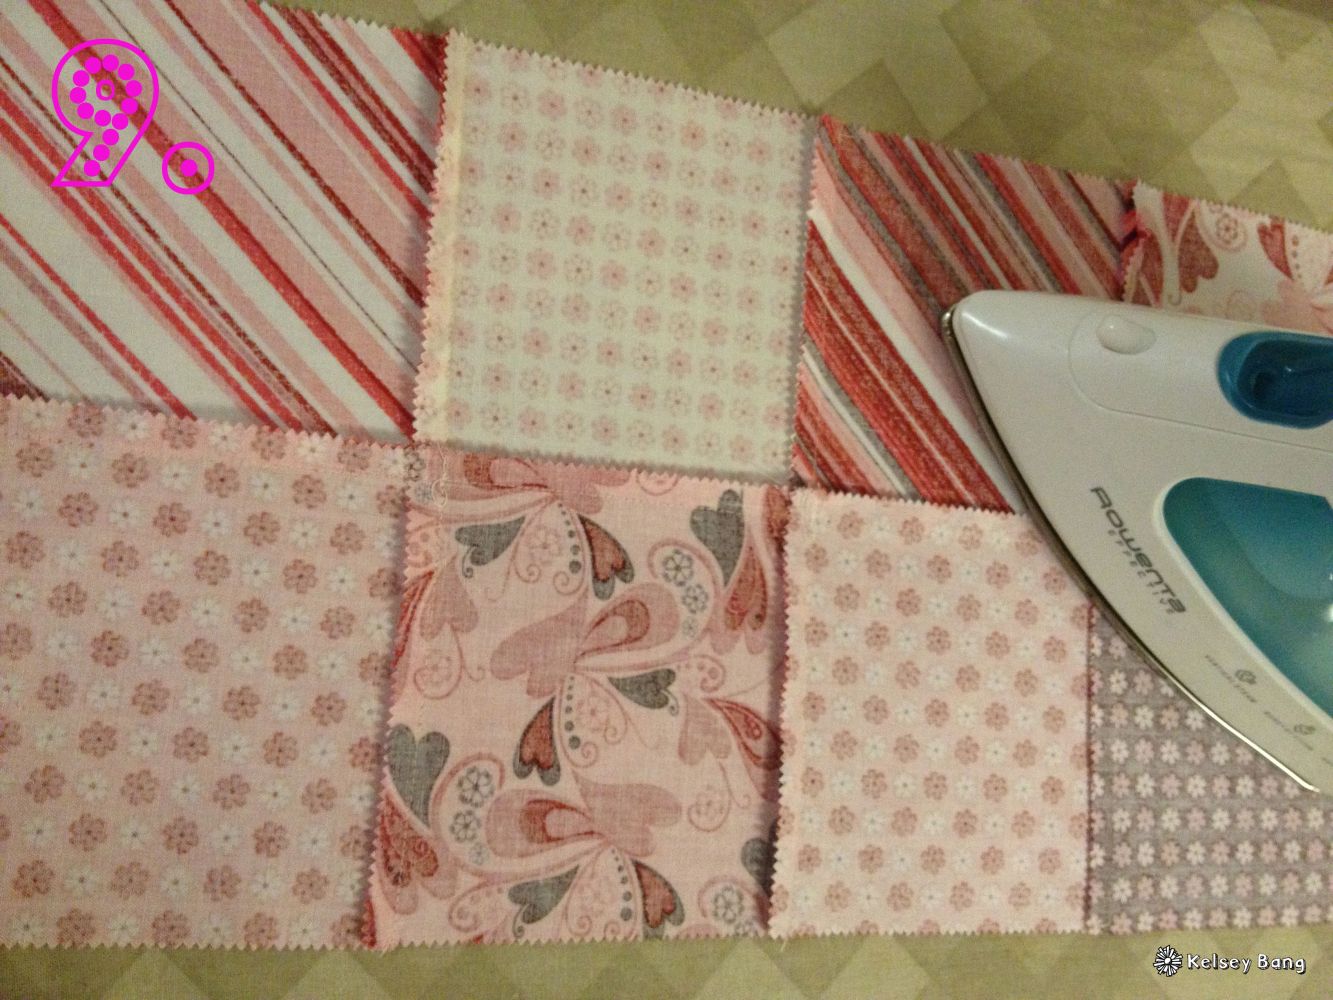
9. Iron your row 1 and 2 seam.
10. Pin row 2 to row 3 pretty sides together lining up your seams.
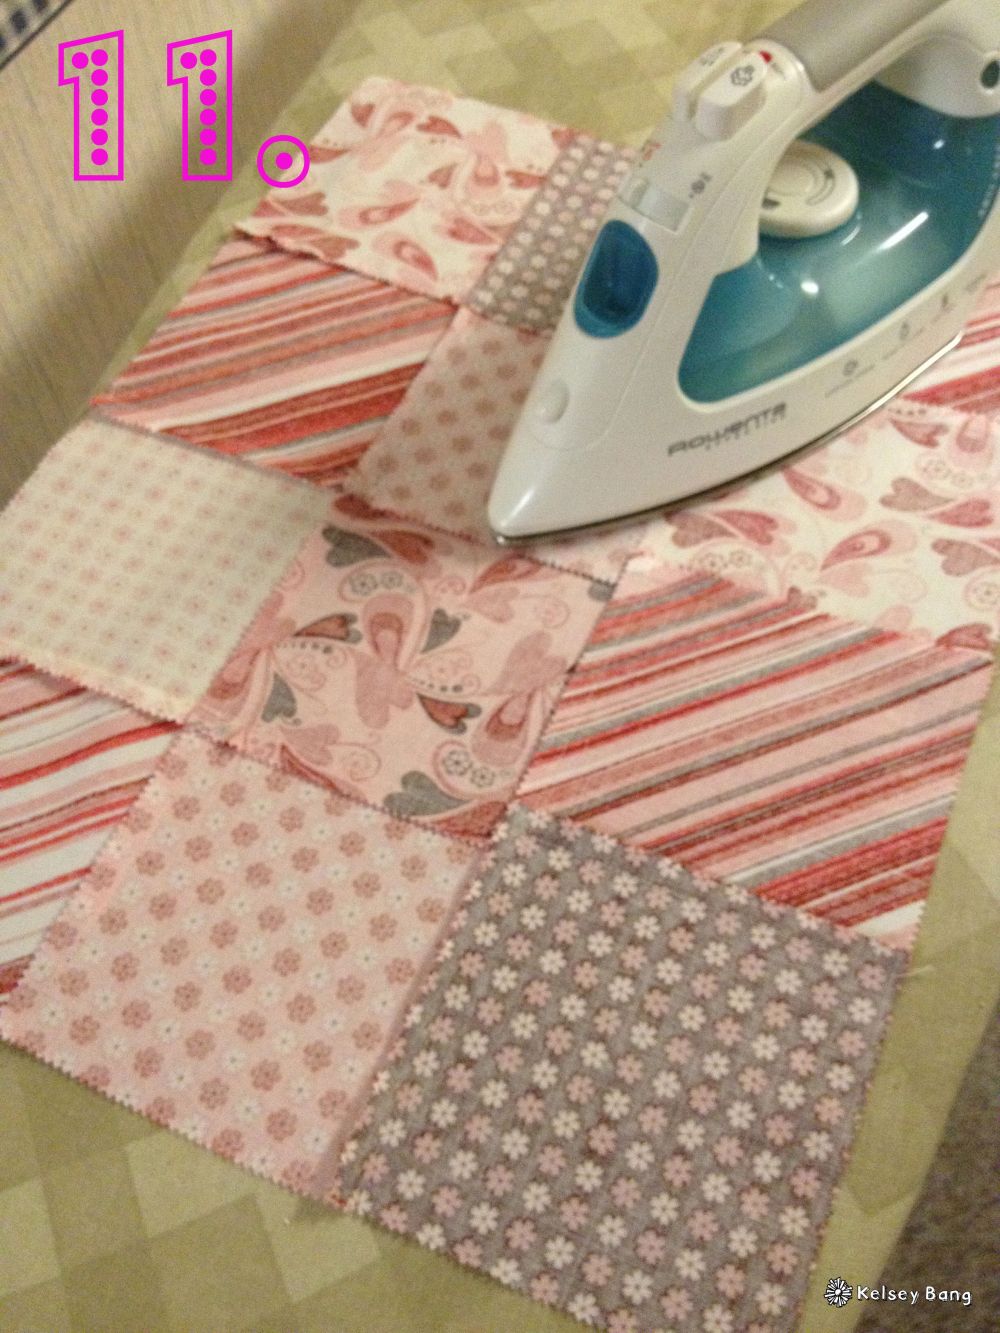
11. Iron your row 2 and 3 seam flat.
**Now your are done with your first place mat top! Repeat steps 4-11 to finish your other place mat tops!
12. After you are done with all 4 of your tops, now it is time to put your placemats together! Take 1 top and one bottom and put them pretty sides together. Then place the interfacing on top of the back of the fabric. This is how you will lay them to pin them together.
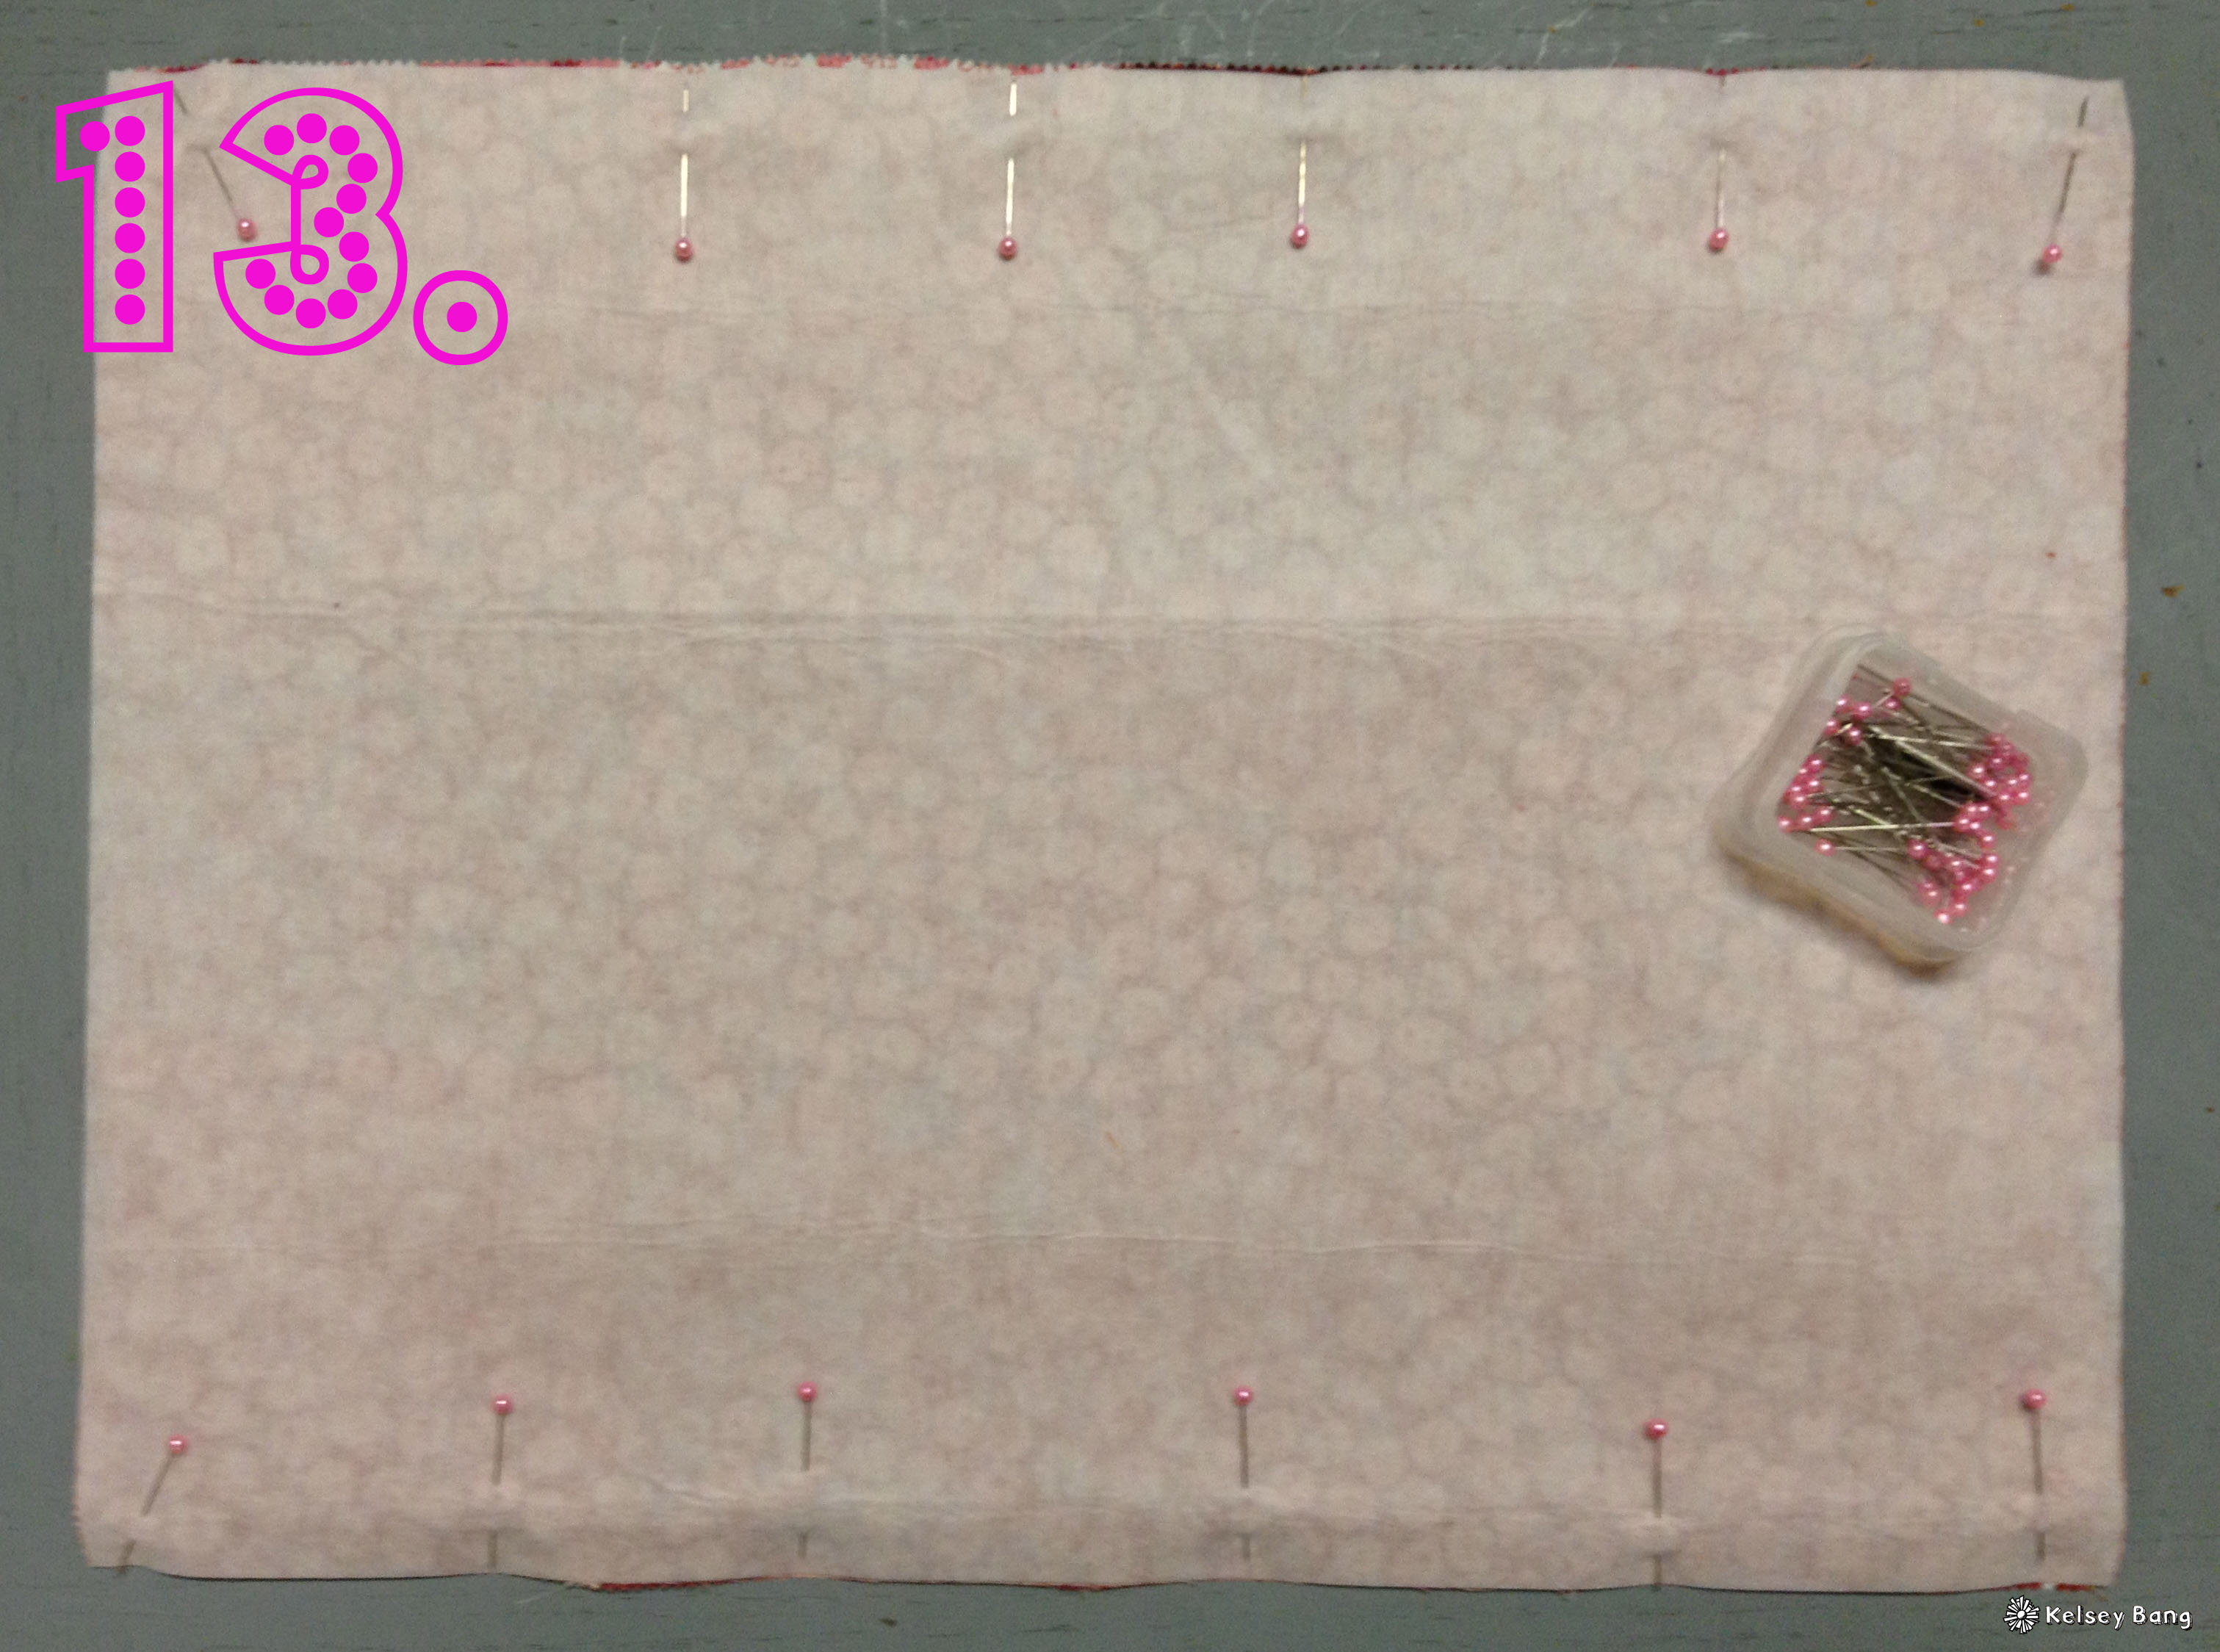
13. Pin your 3 pieces together and sew only along the 2 long 18 inch sides with a l/4 seam allowance.
14. When you finished sewing the 2 long sides, flip the place matt right side out.
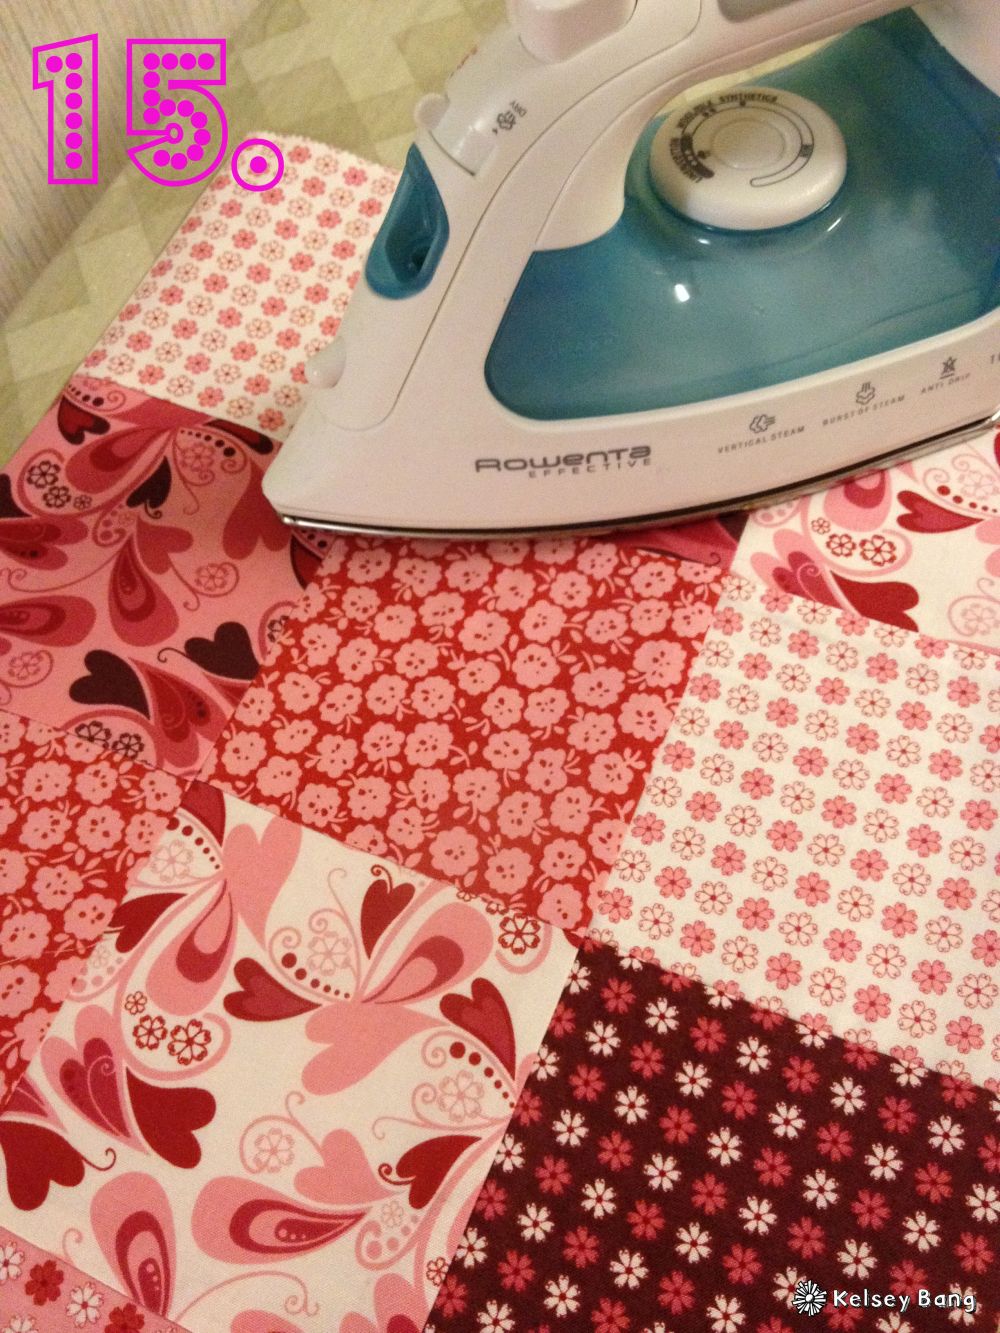
15. Iron your placemat so it is flat and pressed nicely.
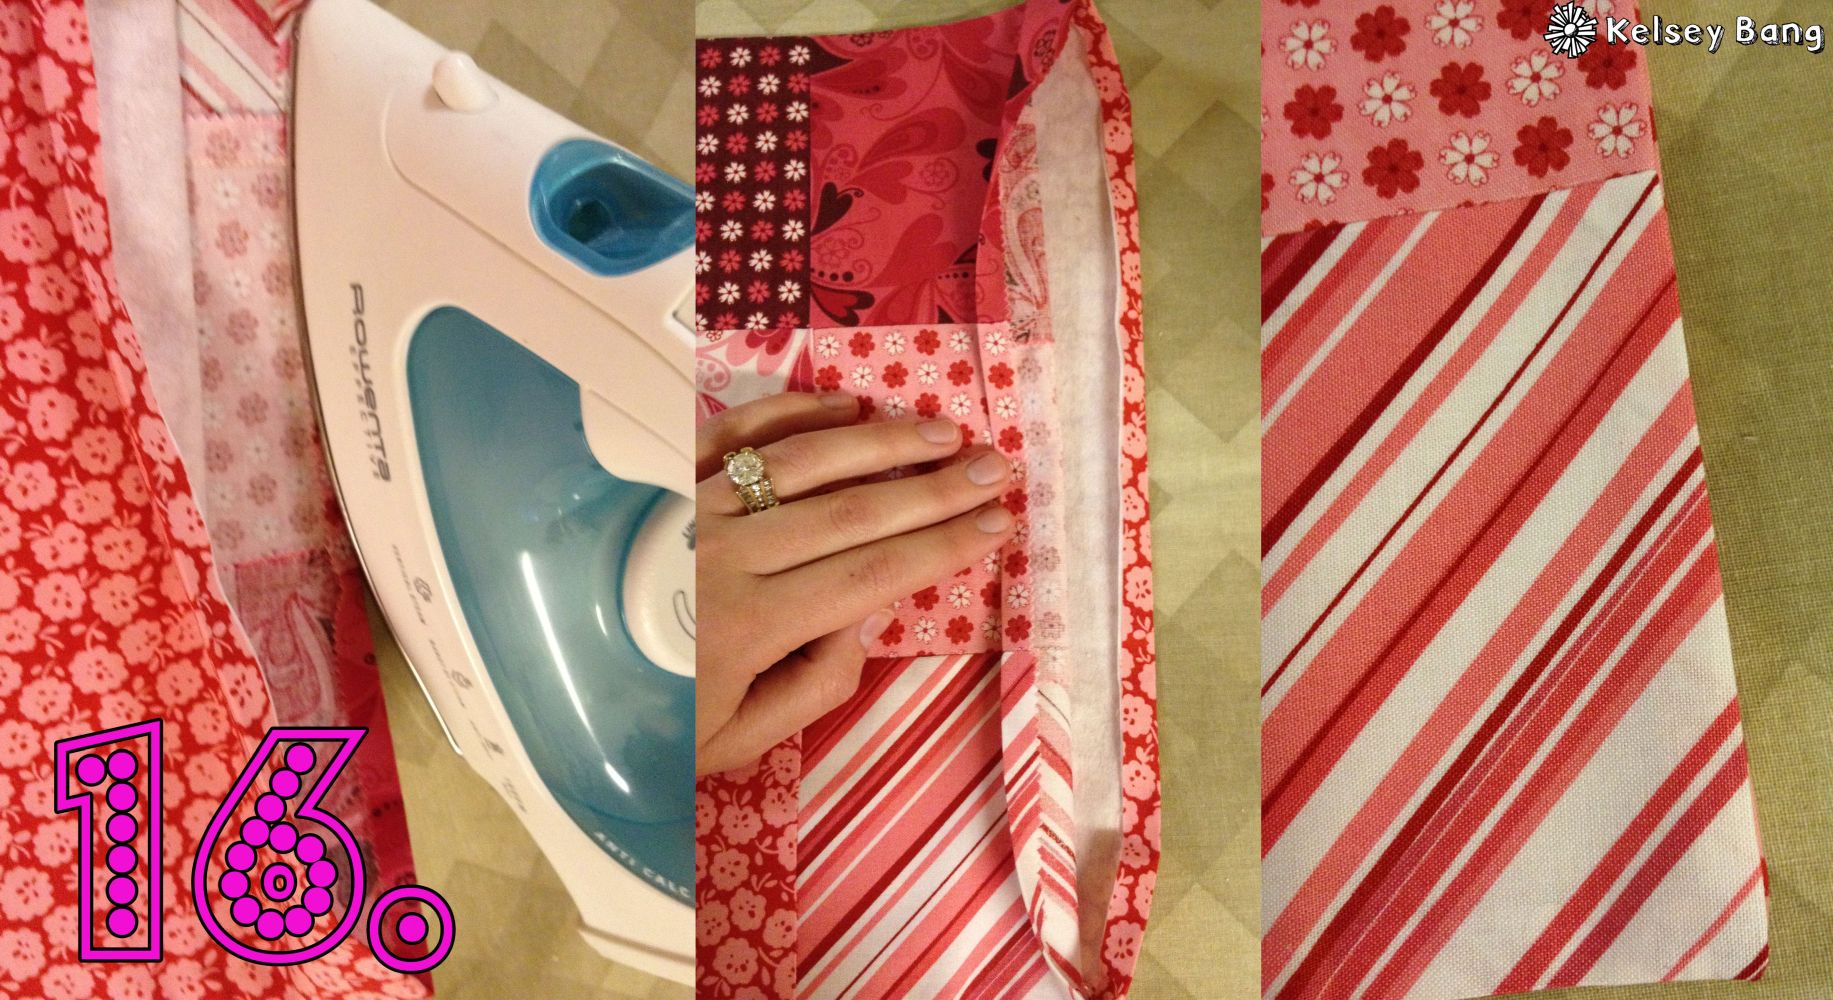
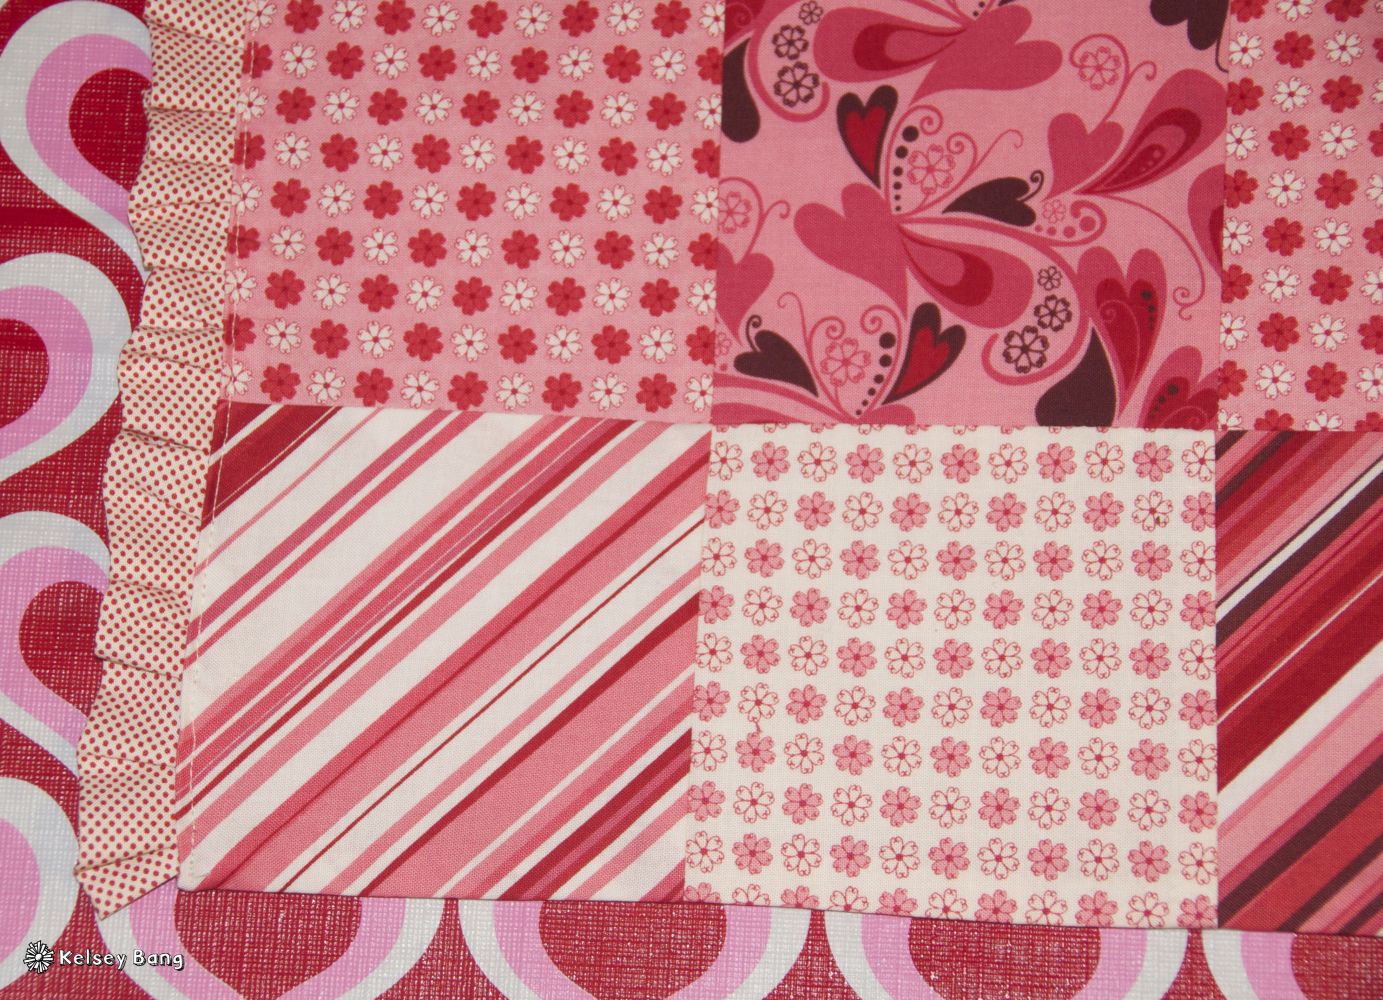
16. Now it is time to turn under the edges on both sides of the placemat 1/4 inch. Turn in it, on the inside so the outside has nice clean edges. If you dont want to make a ruffle, sew up the sides and you are done! If you want to make a cute ruffle, keep following the next steps!
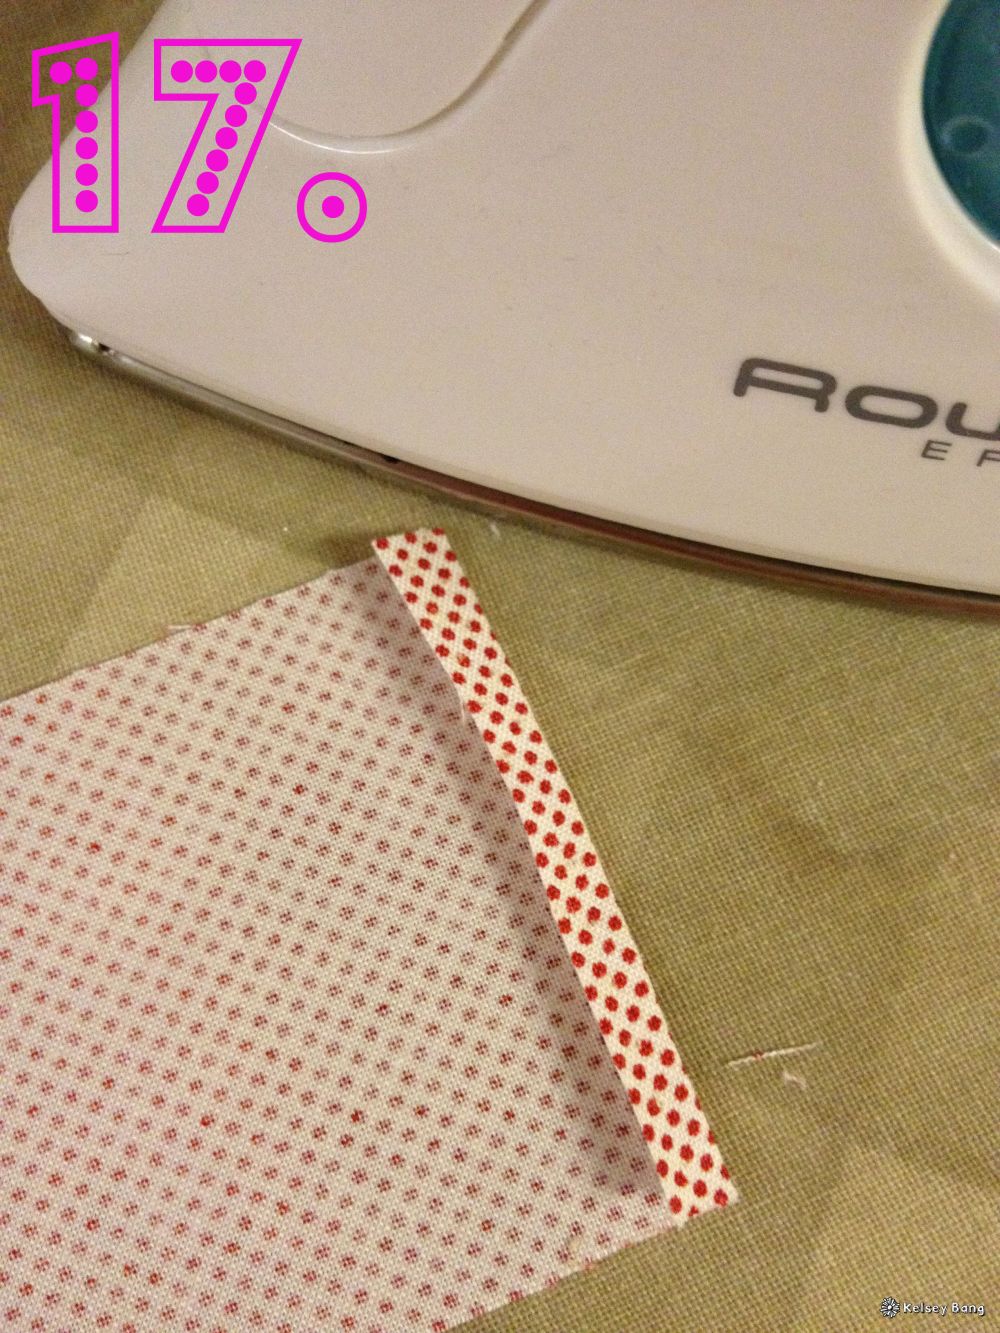
17. Grab your 8, 2×22 inch strips. Iron each of the short 2 inch sides down 1/4 inch.
18. Then iron each strip in half. This will be your ruffle. If you are not comfortable making a ruffle on your own, do 2 gathering stitches at the open end of your ruffle and gather it to create the the ruffle.
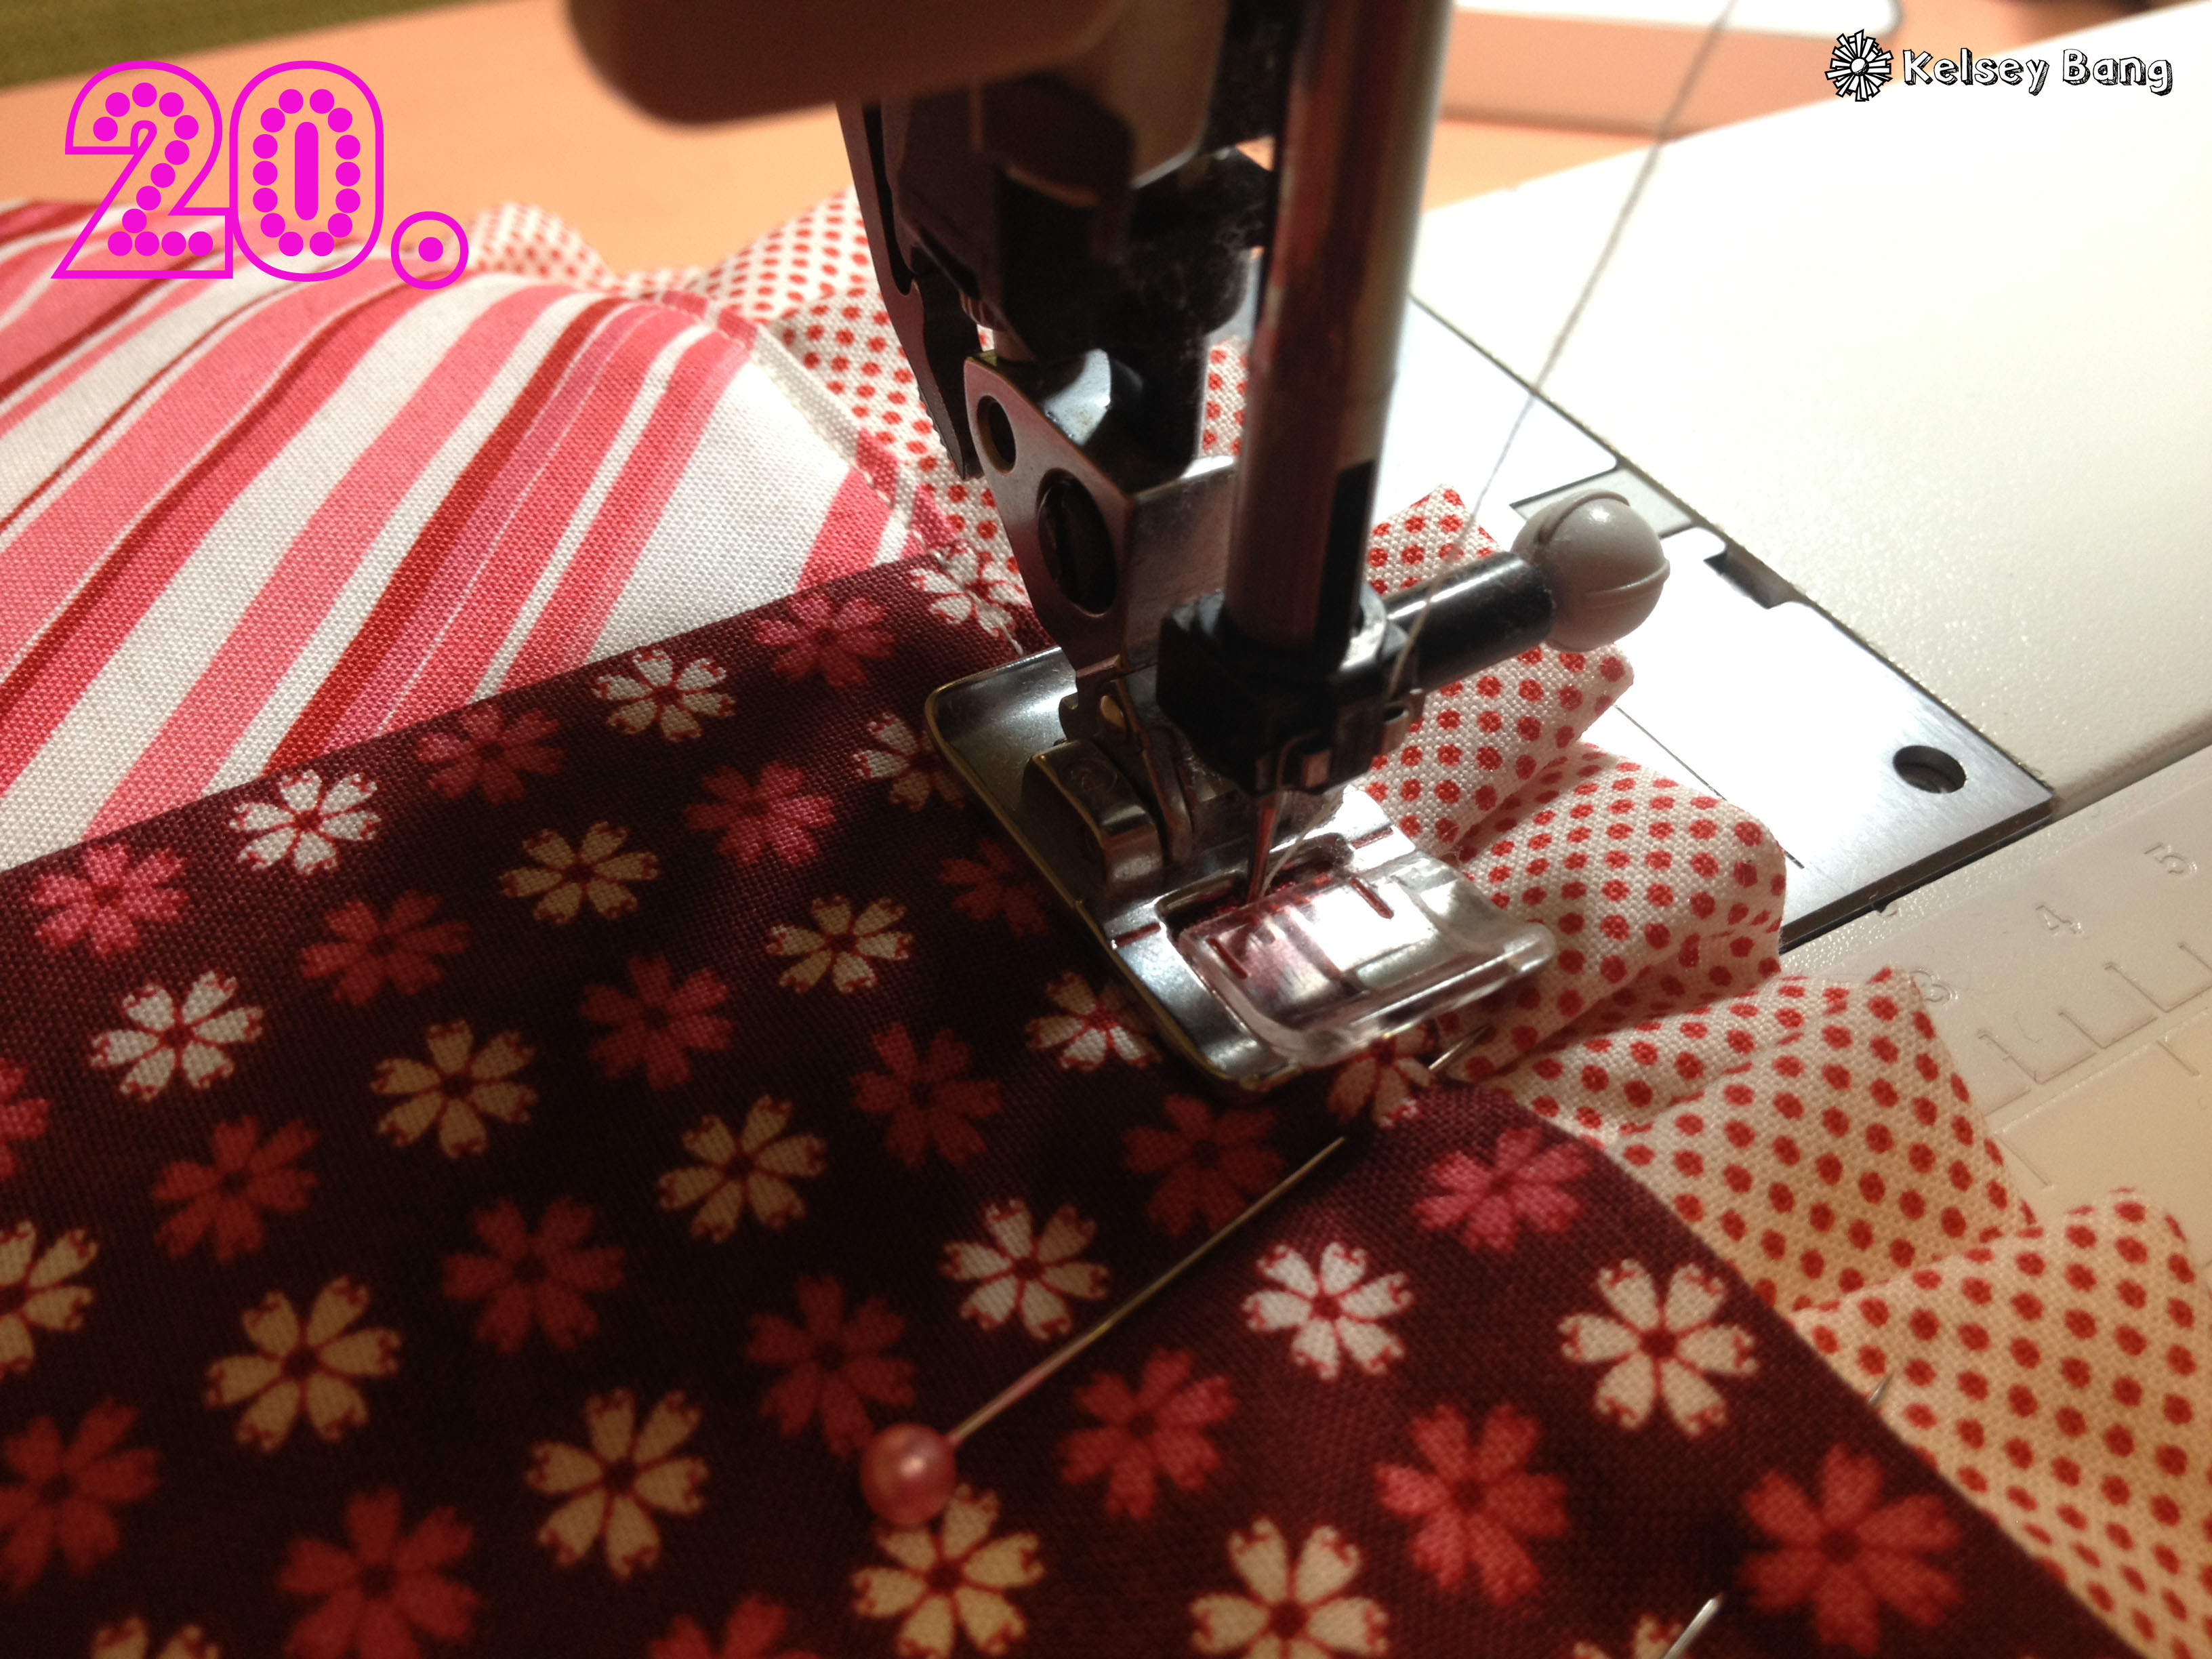
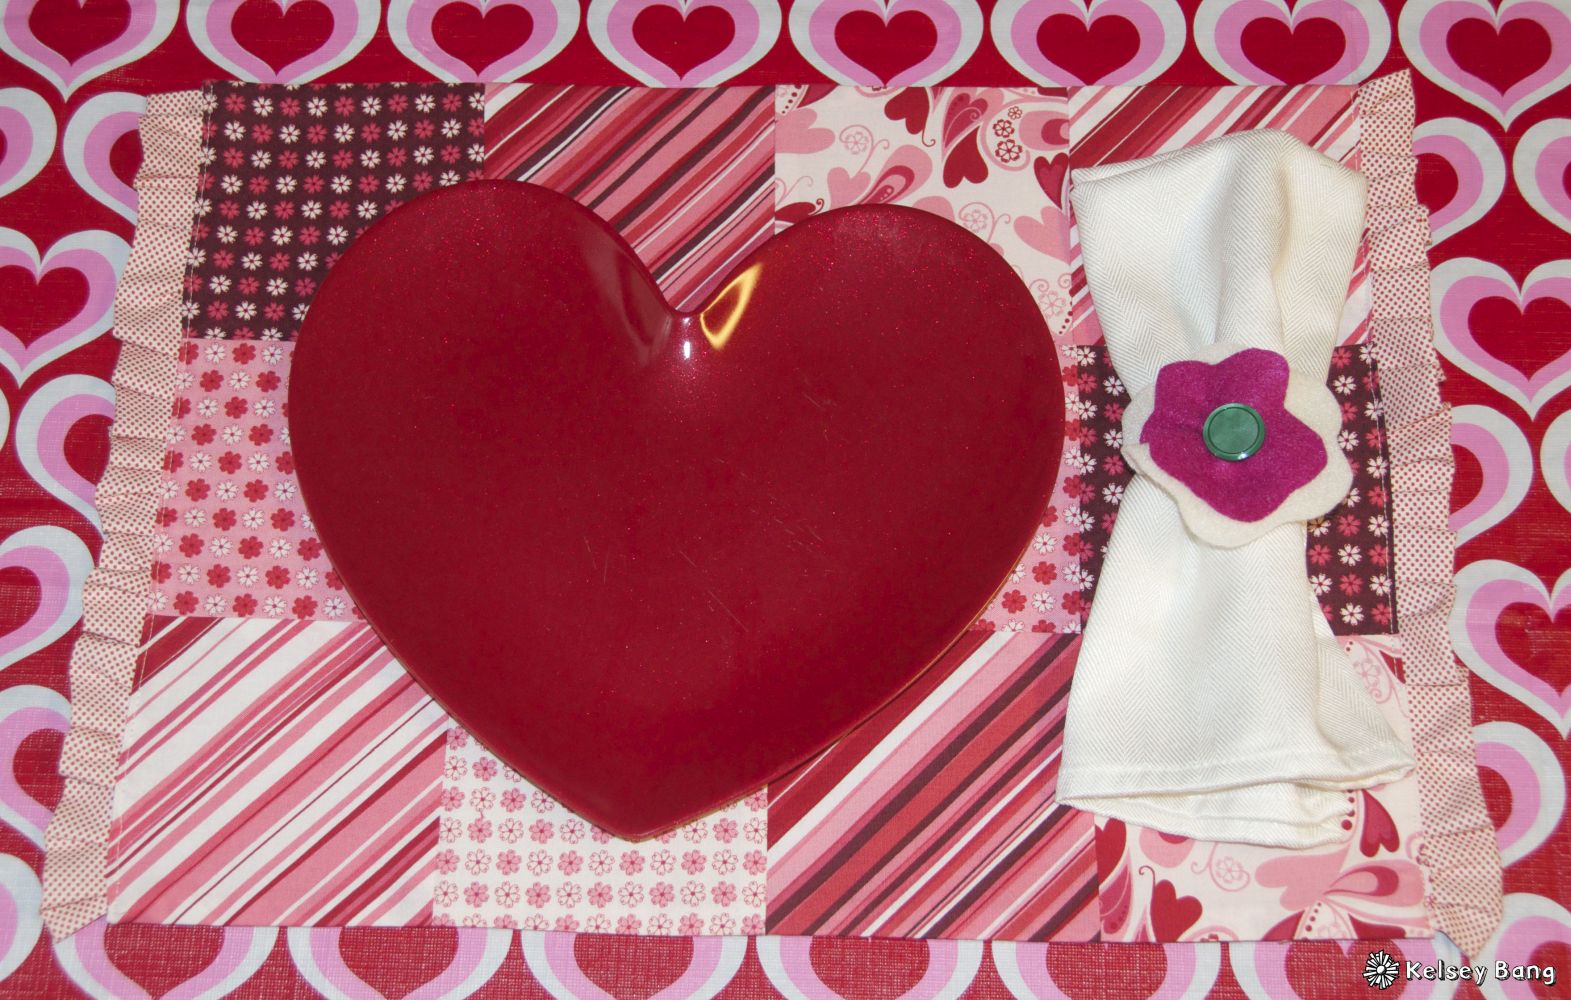
20. After you are all finished pinning, sew. Sew right along the edge on this one. It will create a clean finished look! Wahoo, you are all done now!
Dont mind the apple border, its cute but not my style…. 🙂













Sarah
July 21, 2012I'm in the process of making these (in non-Valentine colors)and they are so adorable! I just wanted to give a heads up that if your charm pack has 30 charms like mine did, 6 extra squares will only give you 3 place mats. So make sure you have enough material for 48 squares (not 36) and save yourself a second trip to the store. Thanks for posting, this is such a fun project!
Aimee - ItsOverflowing.com
February 14, 2012Darling!!! You're so talented! XO, Aimee
april@gingerbread
February 5, 2012Wow these are sooo cute! And I love the cupcake pincushion! I hope you will link up with me here:
http://www.thegingerbreadblog.com/2012/02/sweet-saturday-link-party-v25.html
Hayley
February 2, 2012oh wow- you showed mom right?? She would be SO PROUD! They turned out so cute- love them! Great directions- if my sewing machine was working- I would maybe even consider trying one since you made it look so easy 🙂
Karen
February 2, 2012I love that fabric! The colors are fabulous!! Thanks for stopping by my blog:) Have a great weekend!
Anonymous
December 16, 20241