

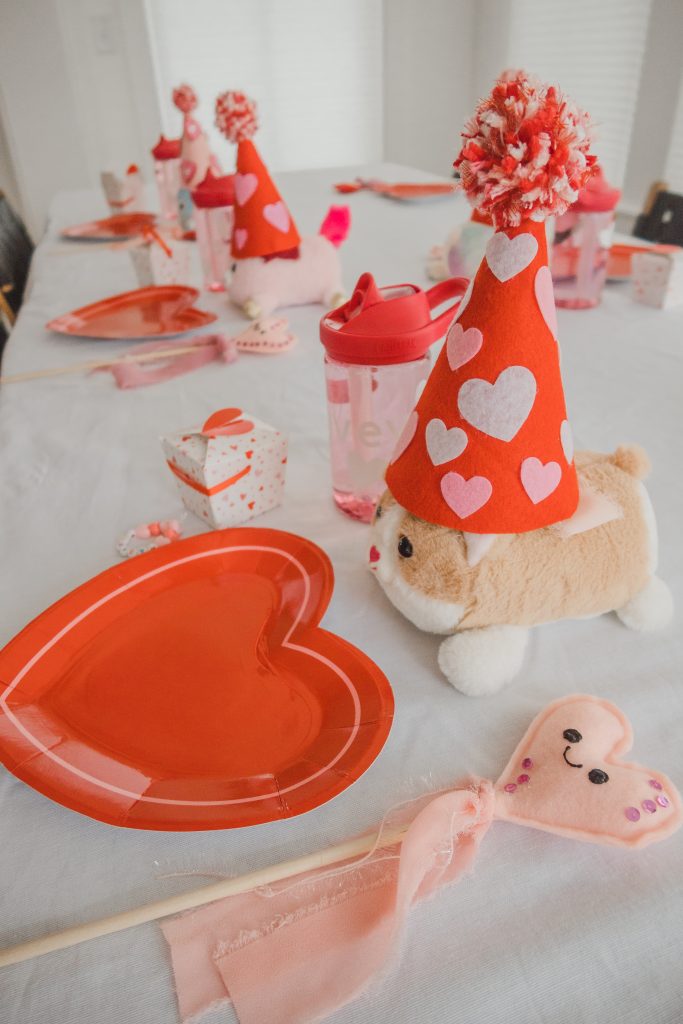
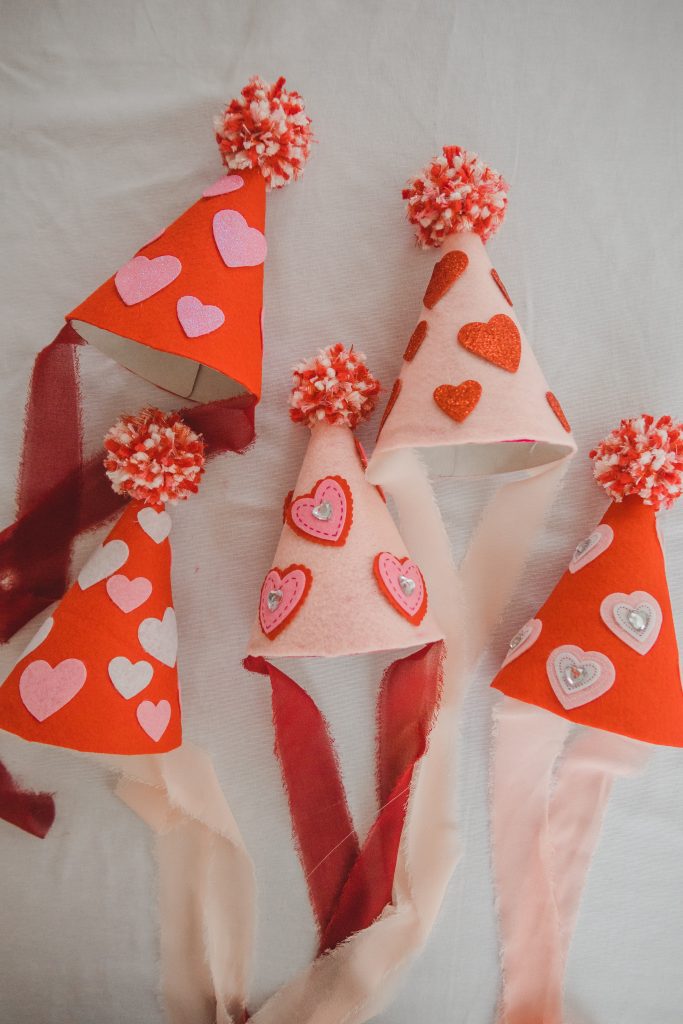
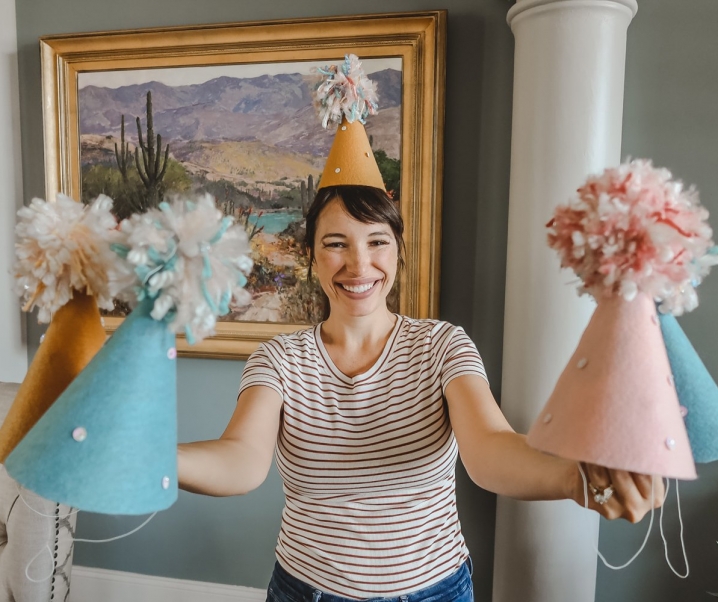
Looking for a fun way to make Valentine’s extra special this year!?! Try making fun Valentine party hats! These are super fun to make and sure to be a crowd pleaser as well!
Valentine’s Heart Pom Pom Party Hat DIY Tutorial
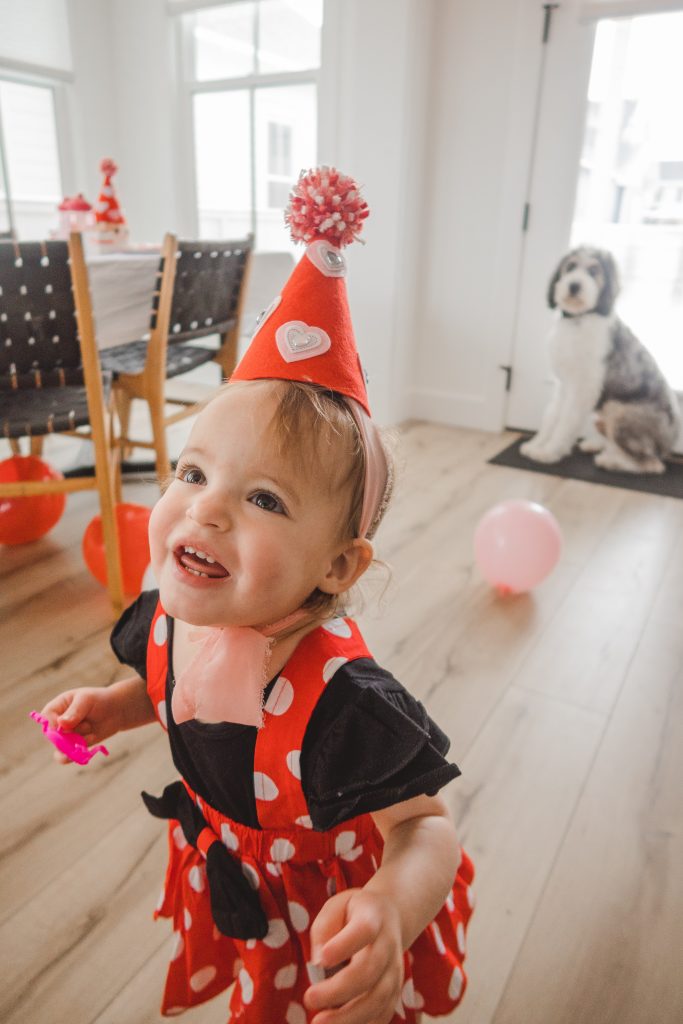
Happy Valentine’s week! I am super excited to be sharing some fun Valentine DIY’s and tutorials this week to prep for the big day! Today is a Valentine’s party hat DIY tutorial! These are super fun to make and work great for adults or kids! I love a good party hat for photos, props, party favors, etc. They are super fun to make and always a hit! Alrighty….well lets get started! First up, lets talk about what you need to make these fun Valentine’s party hats!
[spacer]
Supplies (Makes 12 Hats)
12 Party Hats
1/2 Yard Red Felt, 1/2 Yard Pink Felt
For this project I would recommend buying felt at Joanns. They have it by the yard in the fabric section. Usually around $4 a yard.
Yarn (1-5 Colors)
For these hats pom poms, I used 4 different yarns. A red sparkle yarn, pink sparkle yarn, chunky pink velvet, and a chunky red velvet.
Small Foam/Felt Sticky Hearts
The Dollar Tree is a great place to buy these kinds of things. This is where I got all the hearts for these Valentine party hats. Here are a few options I found online here, here, here. For each hat you need about 6-12 hearts.
Hot Glue Gun/Glue
Fabric Scissors
Any type of scissors will work, but for easy cuts and less hassle, fabric scissors are the way to go.
Chiffon Ribbon (Optional)
The chiffon ribbon is to use instead of the elastic the party hat comes with. If you want to take out a step or cut down on costs, keep the elastic on the party hat and skip getting the chiffon ribbon.

[spacer]
Instructions: How To Make A Valentine’s Party Hat
STEP ONE
Start off by making a pom pom! These are super fun and easy to make. Here is step by step instructions + a little video on how to make these HERE. (Step by step instructions also below in the recipe)
For these sized pom poms I made, instead of wrapping the yarn around four fingers I wrapped the yarn around three fingers for a smaller size. When I am making a bunch of party hats, I like to make all the pom poms at one time before moving onto the next step.
STEP TWO
Plug in the glue gun so it starts to heat up. Put the glue gun on some cardboard or a plate for any excess glue that may drip out of the glue gun.
Take one party hat apart to be a pattern. Lay the party hat flat on the felt and pin the party hat to the felt.
STEP THREE
Cut around the party hat leaving an extra 1/4 inch around each edge. It’s nice to have a little wiggle room with the felt.
STEP FOUR
Take out the pins and the party hat pattern from the felt. At the top of the felt where the point of the hat is, cut a small part off the tip so it’s a straight edge. This will allow for an easier time/wiggle room when glueing a party hat to the felt.


STEP FIVE
Grab a party hat, cut felt, chiffon and head to the glue gun. On the sides where the elastic is, cut it off. If you are not doing the chiffon ribbon ties, keep the elastic. Cut 2 12-18 inch chiffon strips. (Measure on the head you are making the hat for first to see how long of a bow you will need.) On the outside of the hat where the elastic used to be add a little glue. Then place the top of one strip of the chiffon ribbon. Repeat for the other side. Doing it this way, the chiffon ribbon will be covered by felt and more secure.
Now time to glue the felt to the party hat. In the middle of the felt, put some glue for the party hat to attach too. When attaching the party hat, make sure to start with the front smooth part of the party hat and have the back seam towards you. This will help the seams of the party hat to aline with the felt side edges. When putting the party hat down on the glue, start with the lining up the top of the hat to the felt and work your way to the bottom.
STEP SIX
Once the hat is attached to the felt, start hot glueing the rest of the felt around the hat. Where the felt overlaps on the party hat, glue the seam down so everything is secure. Any excess felt on the bottom of the party hat, cut off.
Take your glue gun and place in between the party hat and felt. Add glue around where needed. If needed, pinch the bottom of the party hat and felt where just glued with finger tips to secure it all. Be careful to not burn fingers.
STEP SEVEN
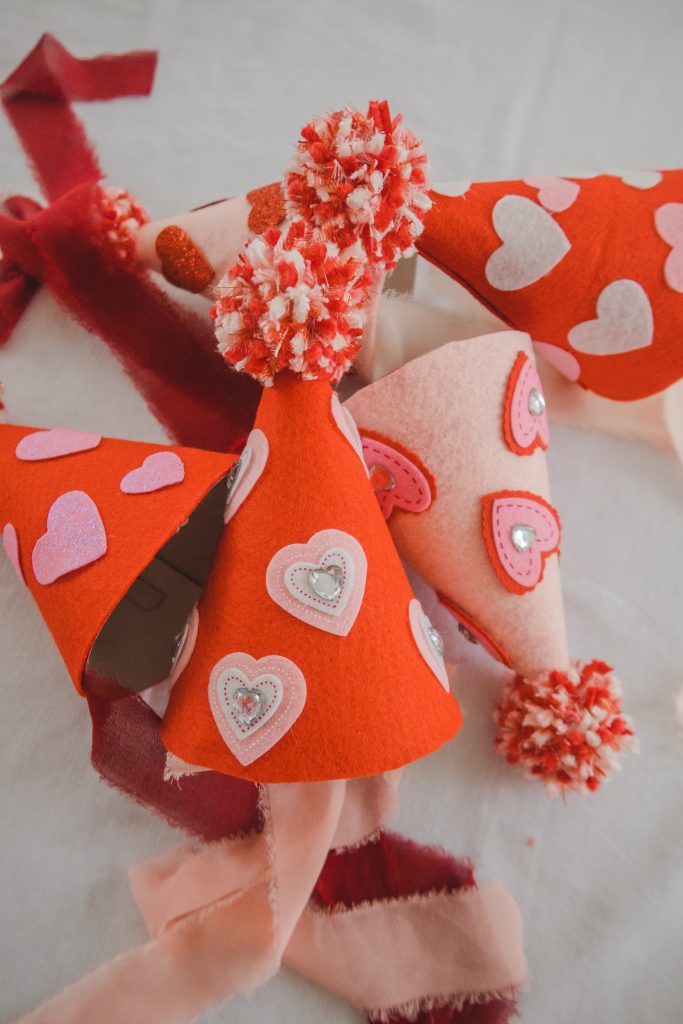
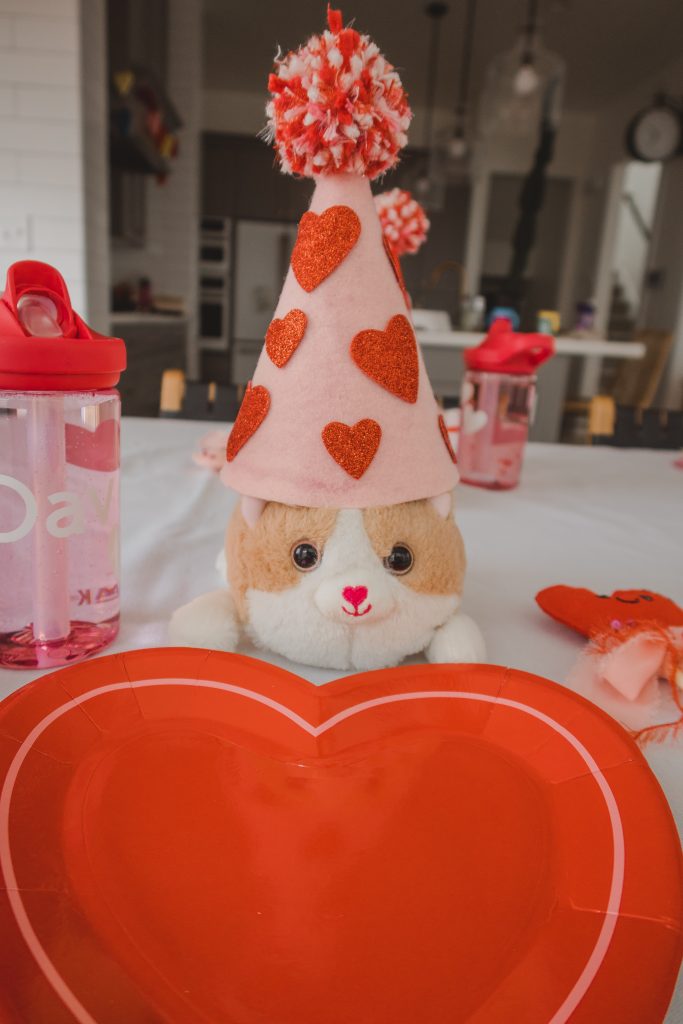
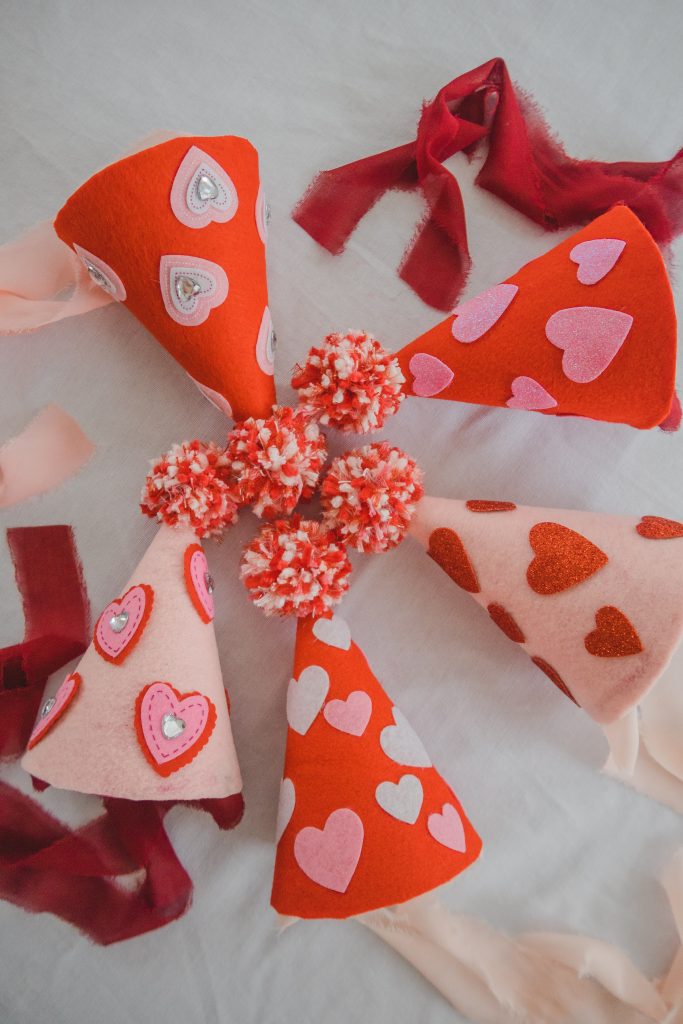
Now for the fun part! Time to add embellishments and bedazzle the party hat! Use foam hearts or jewels, sequin, buttons, etc. I just used 6-10 foam hearts per hat, but lots of fun combo options out there!
STEP EIGHT
Glue a dime sized amount of hot glue on the point of the party hat.
Grab a pom pom and place on the glue on top of the hat. Use fingers to press the sides of the pom pom to the glue. Be careful to not burn fingers. I like to pinch around all the sides of the pom pom to secure it to the glue. If it feels wobbly, add more hot glue underneath the pom pom.
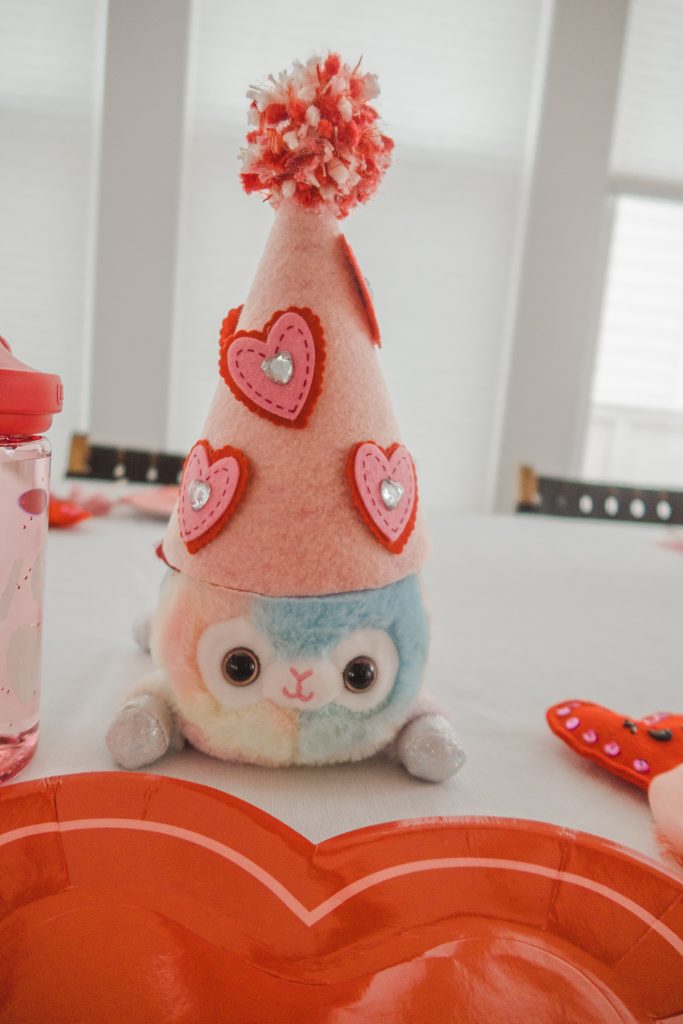
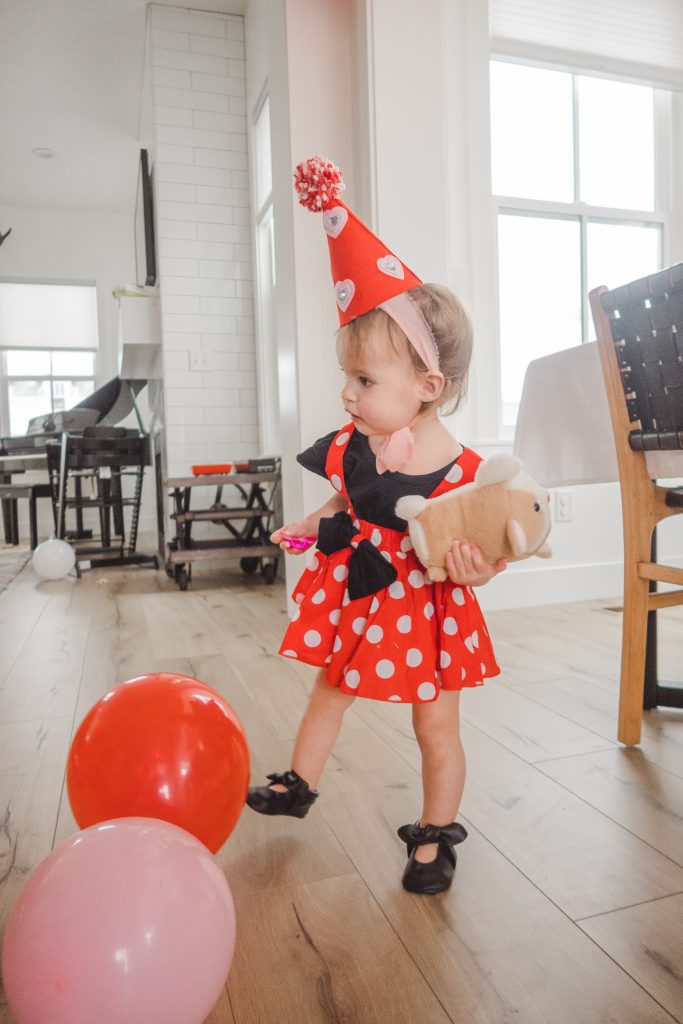
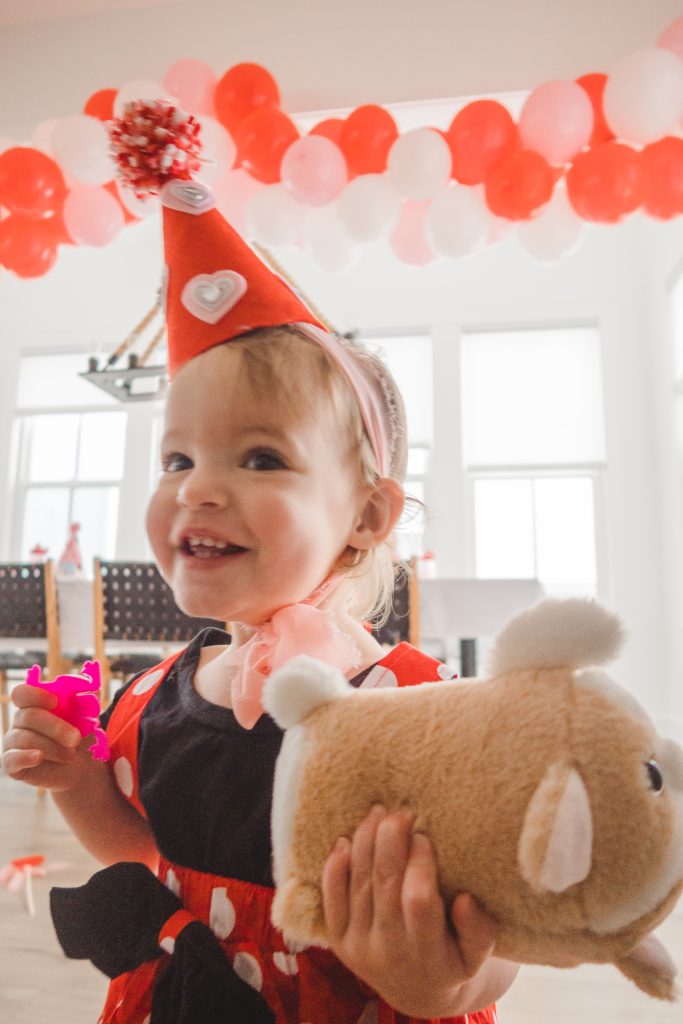
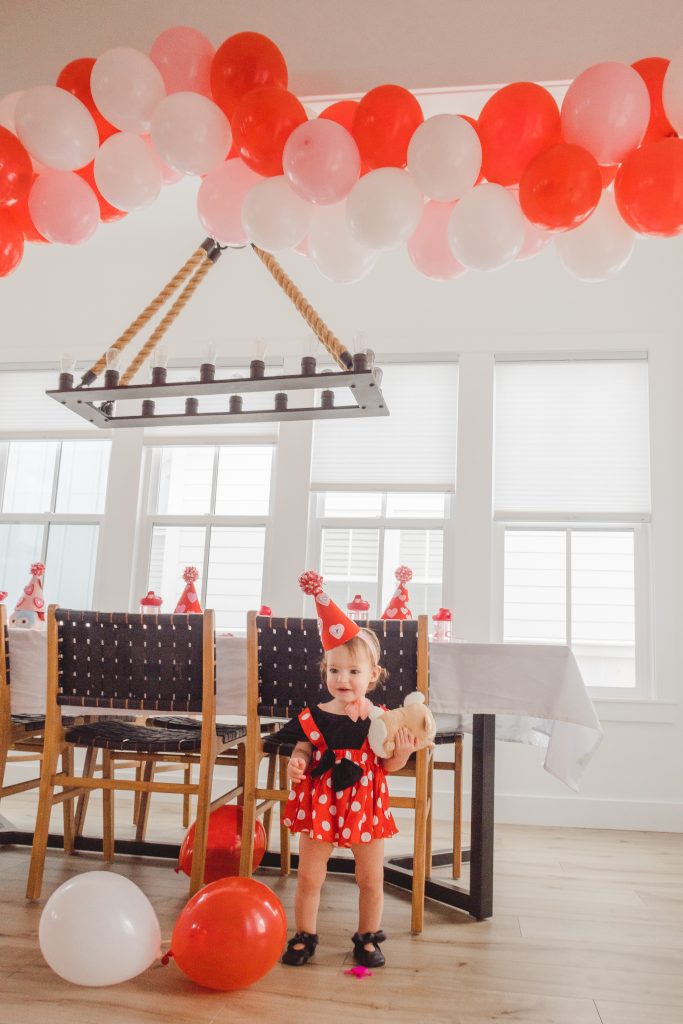
PARTY TIME! Once the pom pom is attached, put that Valentine’s party hat on and have some fun! Happy Valentine’s!

Valentine’s Heart Pom Pom Party Hat DIY
Materials
- 12 Party Hats
- 1/2 Yard Red Felt (For this project I would recommend buying felt at Joanns. They have it by the yard in the fabric section. Usually around $4 a yard.)
- 1/2 Yard Pink Felt
- 1-5 Yarn (1-5 Colors) (For these hats pom poms, I used 4 different yarns. A red sparkle yarn, pink sparkle yarn, chunky pink velvet, and a chunky red velvet.)
- Small Foam/Felt Sticky Hearts (The Dollar Tree is a great place to buy these kinds of things. This is where I got all the hearts for these Valentine party hats. Here are a few options I found online here, here. For each hat you need about 6-12 hearts.)
- Hot Glue Gun/Glue
- Fabric Scissors
- Chiffon Ribbon (Optional) (The chiffon ribbon is to use instead of the elastic the party hat comes with. If you want to take out a step or cut down on costs, keep the elastic on the party hat and skip getting the chiffon ribbon.)
Instructions
Start Off By Making A Pom Pom
- Once you got your yarn colors picked out, find the end of each string and group them together so you have all the ends of each of your yarn in your hand. Have your left palm facing toward you with your thumb up. Place your yarn down on your fingers with the ends opposite of your thumb. Start wrapping all the yarn around your hand using your thumb to keep the yarn in place. You will want to wrap around the yarn till it gets pretty thick.
- For chunky yarn, if I were using just one yarn I would wrap it around my hand about 40 times. If I were using 4-5 yarns, I would wrap it around 20 times. For these sized pom poms I used 3 fingers to wrap around.
- Once you have wrapped your yarn enough, cut the yarn. Then you are going to pull the yarn ball off your fingers leaving it as if it was still wrapped around your fingers and set it on the table. With a corresponding yarn color, pick one and cut about a 12 inch section. Take that section and place it flat on the table. Put your yarn ball on top of it with the openings on each side of the strings. Tie that string in the middle of your yarn ball pulling tight and tie it in a knot.
- Now is the fun part! Take your scissors and cut all the loops from your yarn ball. This makes the fun pom pom ball shape! Trim up any long yarn pieces hanging so you get a ball shape. Taaa dahhh you have your pom pom!
Cut Out Felt
- Plug in the glue gun so it starts to heat up. Put the glue gun on some cardboard or a plate for any excess glue that may drip out of the glue gun.
- Take one party hat apart to be a pattern. Lay the party hat flat on the felt and pin the party hat to the felt. (If you are making 12 hats, this "pattern" hat will be put back together for your last party hat.)
- Cut around the party hat leaving an extra 1/4 inch around each edge. It's nice to have a little wiggle room with the felt.
- Take out the pins and party hat pattern from the felt. At the top where the point is, cut a small part off the tip so it's a straight edge.
Add Chiffon Ribbons To The Party Hat
- On the sides where the elastic is, cut it off. If you are not doing the chiffon ribbon ties, keep the elastic. Cut 2 12-18 inch chiffon strips. (Measure on the head you are making the hat for first to see how long of a bow you will need.) On the outside of the hat where the elastic used to be add a little glue. Then place the top of one strip of the chiffon ribbon. Repeat for the other side. Doing it this way, the chiffon ribbon will be covered by felt and more secure.
Glue Felt To Party Hat
- Grab a party hat, cut out felt and head to the glue gun. In the middle, put some glue for the party hat to attach too. When attaching the party hat, make sure it's the front smooth part of the party hat. This will help the seams of the party hat to aline with the felt side edges. When putting the party hat down on the glue, start with the lining up the top of the hat to the felt and work your way to the bottom.
- Once the hat is attached to the felt, start hot glueing the rest of the felt around the hat.
- Where the felt overlaps on the party hat, glue the seam down so everything is secure.
- Any excess felt on the bottom of the party hat, cut off.
- Take your glue gun and place in between the party hat and felt. Add glue around where needed. If needed, pinch the bottom of the party hat and felt where just glued with finger tips to secure it all. Be careful to not burn fingers.
Add Embellishments To The Party Hat
- Hot glue foam hearts, jewels, buttons, sequin, whatever you want to the hat. Leave a little room at the top point where the pom pom will go.
- Once done adding embellishments, add a dime sized amount of hot glue on the point of the party hat.
- Grab a pom pom and place on the glue on top of the hat. Use fingers to press the sides of the pom pom to the glue. Be careful to not burn fingers. I like to pinch around all the sides of the pom pom to secure it to the glue. If it feels wobbly, add more hot glue underneath the pom pom.
- Now you are done! Put on that party hat and enjoy! If you are making more party hats, repeat the steps over again Happy Valentines!!

If You Liked This Post, You Might Like These Posts:
How To Make White Hot Chocolate Bombs
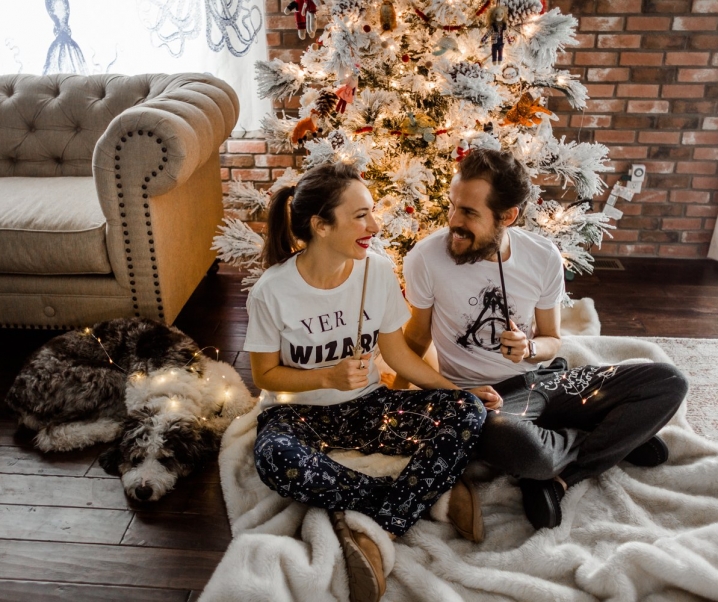
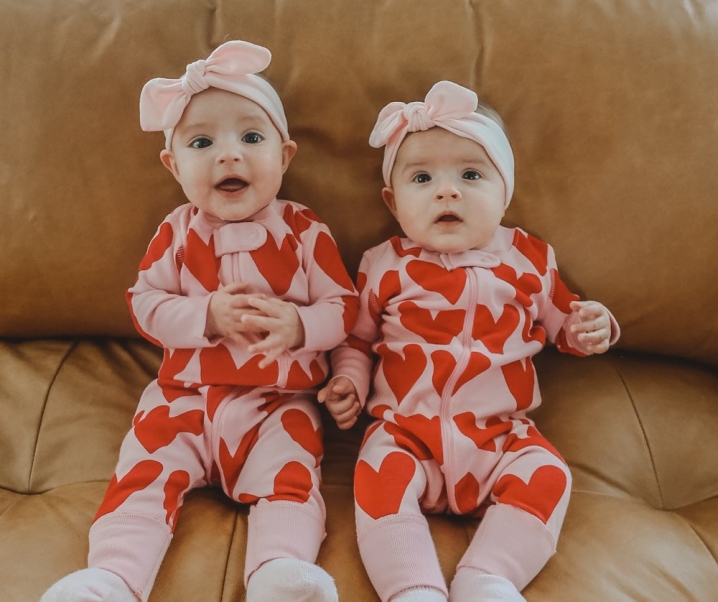
Cutest Valentine PJ’s For Kids
[spacer]
[spacer]
Shop This Post:


55acecasino
March 7, 2026Someone told me about 55acecasino the other day. Not going to lie, was not disapointed. If you want to check them out, here you go: 55acecasino.